Maintenance
2728−1/A1
Winterthur Gas & Diesel Ltd.
3/ 6
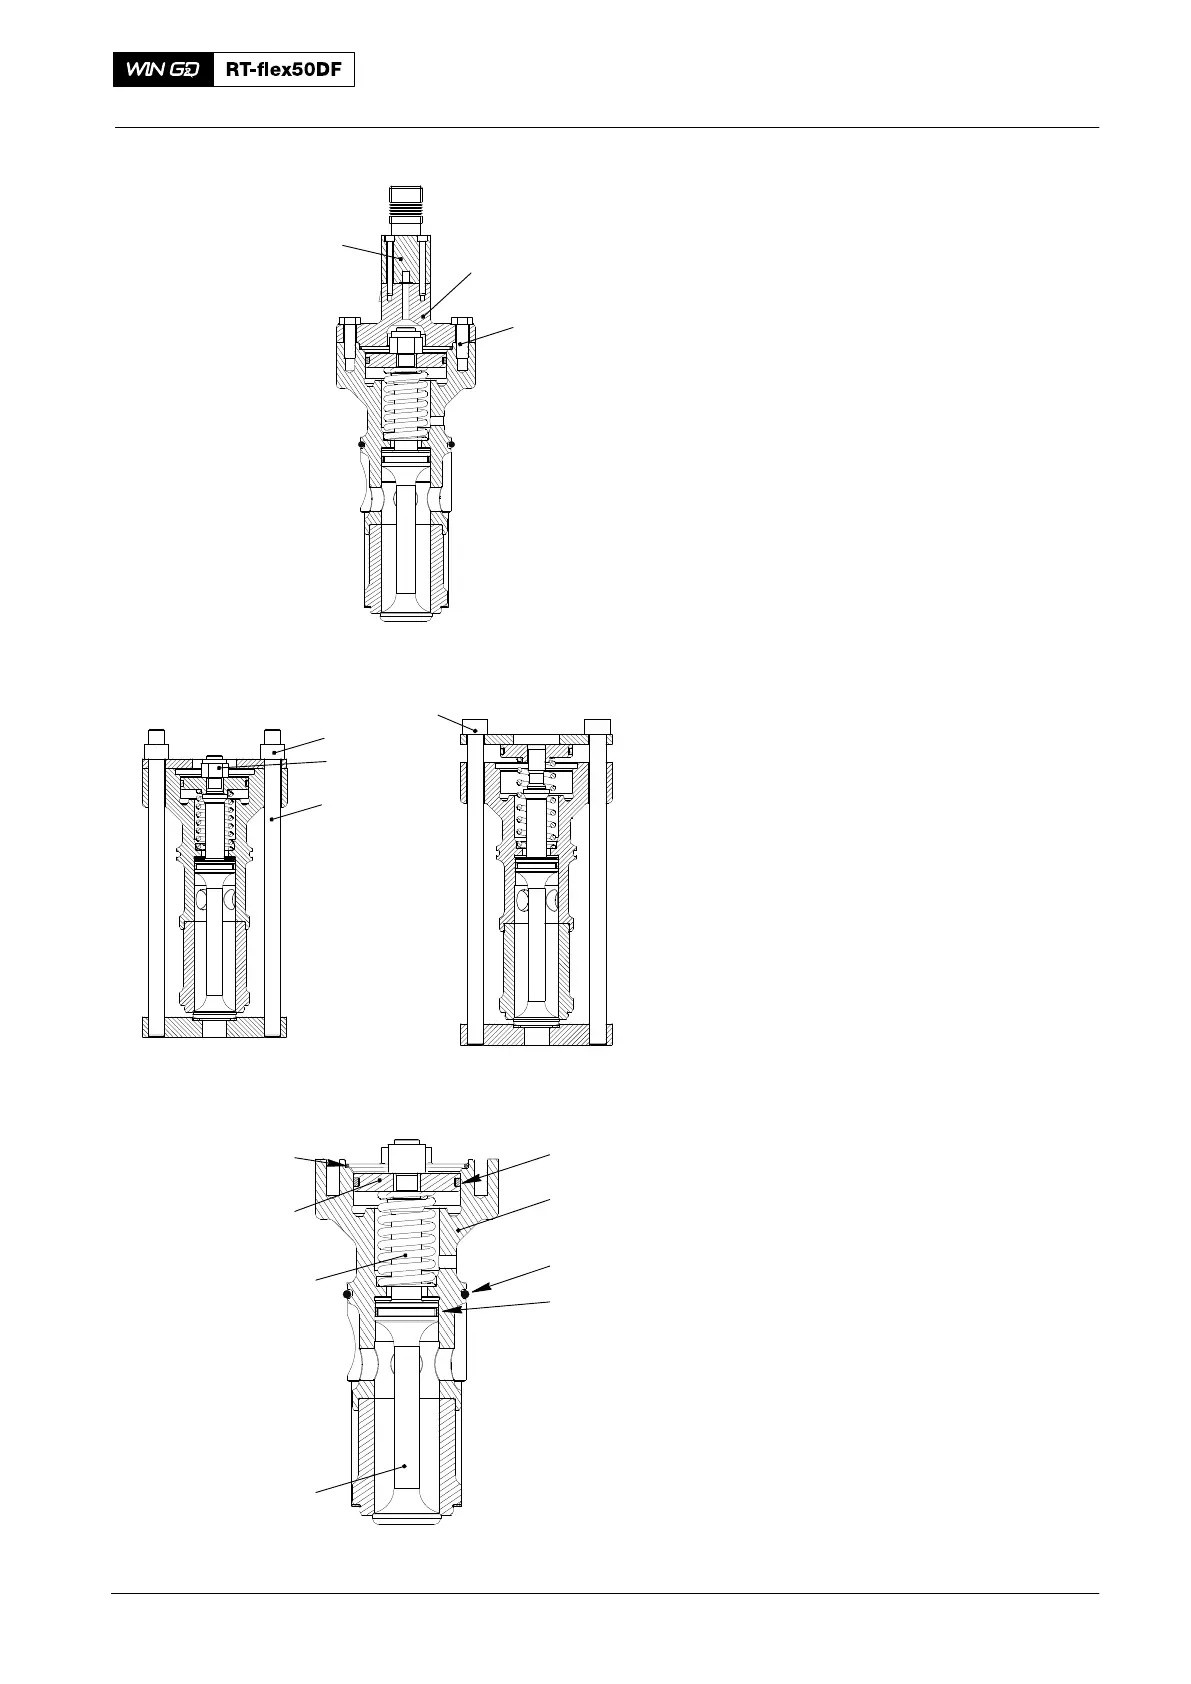
4. Disassemble
1) Put the starting air valve in a vice.
Make sure that the vice jaws do not
damage the starting air valve.
2) Remove the two screws (2, Fig. 2).
3) Remove the cover (1) together with the
3/2-way solenoid valve (3).
4) Attach the tool (94281, Fig. 3) to the
starting air valve.
5) Tighten equally the two nuts (1).
6) Remove the self-locking nut (2).
7) Carefully loosen the two nuts (1) until
there is no spring pressure.
8) Remove the tool (94281).
9) Remove the piston (7, Fig. 4) from the
valve spindle (5).
10) Remove the compression spring (6)
from the housing (2).
11) Remove the valve spindle (5) from the
housing (2).
12) Remove and discard the piston rings
(1, 4).
13) Remove and discard the O-rings (3, 8).
2016
Starting Air Valve: Removal, Disassemble, Grinding, Assemble, Installation
3
2
1
WCH0192
Fig. 2
Fully Tightened
Position
1
2
94281
Loosened
Position
1
Fig. 3
WCH03192
3
8
4
5
6
1
7
2
Fig. 4