Maintenance8447−1/A1
Winterthur Gas & Diesel Ltd.
4/ 5
18) Align accurately the hand drill and the grinding tool (94841, Fig. 3) with the
hydraulic pipe (1) as shown.
19) Use light pressure and start grinding.
20) Regularly remove the unwanted material from the grinding tool (94841).
21) Make sure that the circular marks around the sealing face of the pipe are concentric.
22) Change the emery cloth for a smoother grade, then do step 3) to step 21) again until
you get a smooth finish.
23) Replace the emery cloth with a polishing cloth as a last step to polish the HP servo oil
pipe.
24) Clean the HP servo oil pipe (1).
25) If necessary, do step 3) to step 24) for the other servo oil pipes.
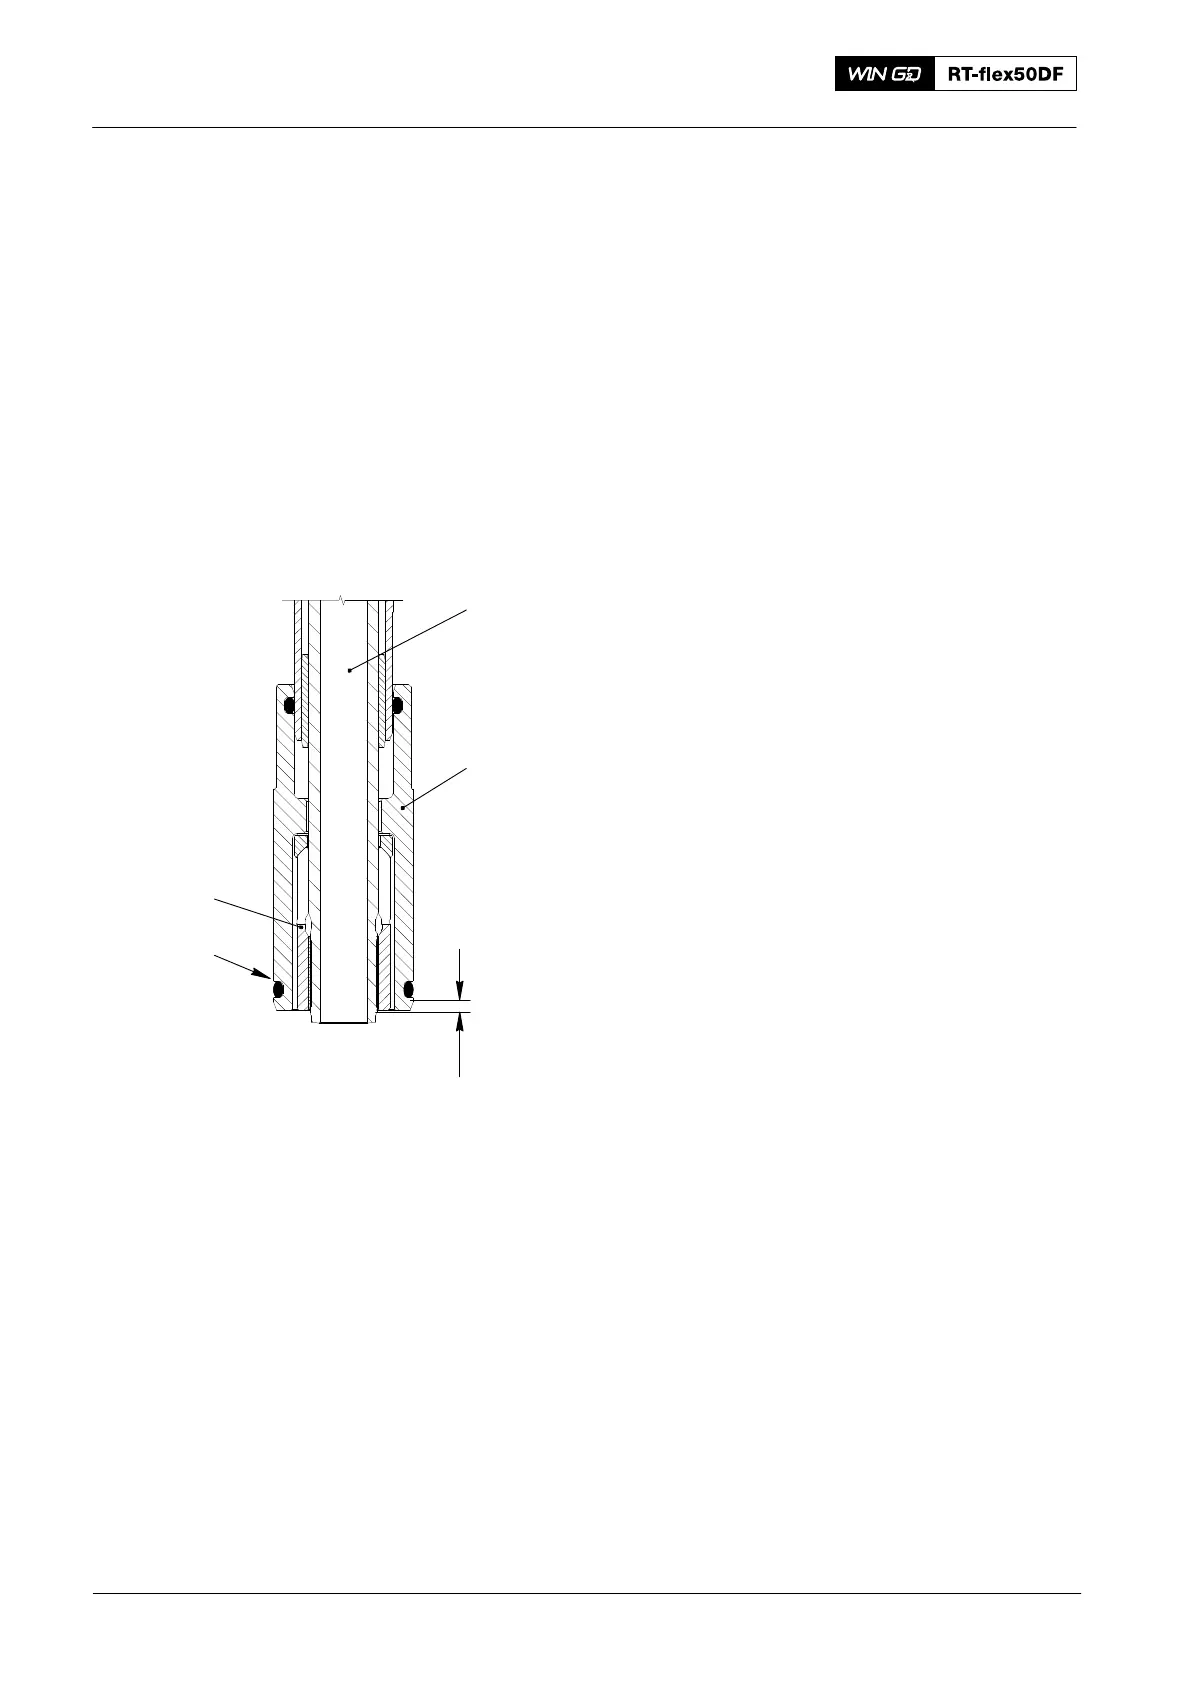
4. Adjustment
1) Make sure that the claw (4, Fig. 4) is
correctly attached to the HP servo oil
pipe (1).
2) Do a check of the O-ring (3). If the
O-ring is unserviceable, remove and
discard it.
3) Make sure that there is a distance of
5.5 mm between the end of the HP
servo oil pipe (1) and the claw (4).
Note: You can adjust the claw (4) with an
open-ended wrench.
2016
HP Servo Oil Pipe: Removal, Grind, Installation
4
2
5.5 mm
1
3
WCH02974
Fig. 4