Scan to Mailbox
ColorQube™ 9301/9302/9303
Workflow Scanning
171
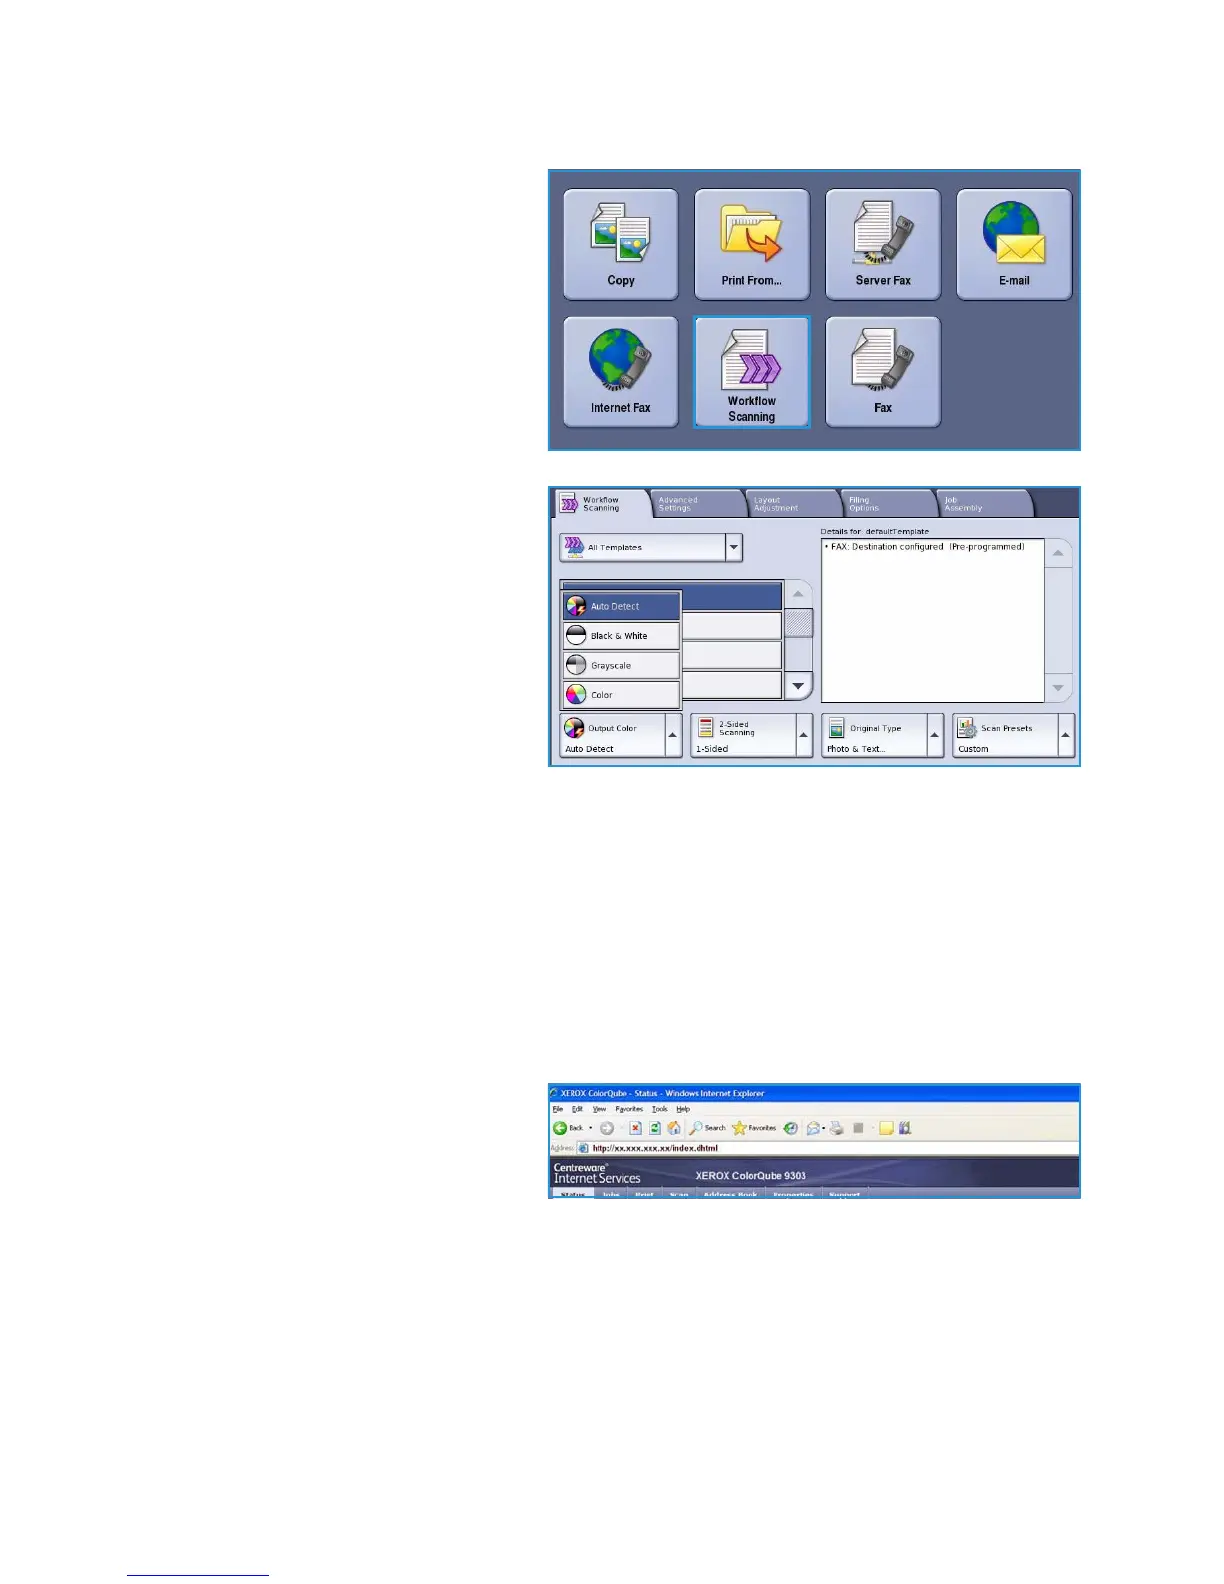
3. Press the Services Home button and
select the Workflow Scanning option.
The Workflow Scanning features are
displayed.
4. Select your private folder template
from the templates list.
5. Enter your folder password using the
keyboard.
The template settings are updated to
your customized settings defined
when the folder was created.
6. Make programing changes to Output
Color, 2 Sided Scanning, Original
Type and Scan Presets as required.
Refer to Workflow Scanning Options
on page 150 for more information.
7. Additional Workflow Scanning
options are provided on each of the
tabs. Refer to the following sections
for further information:
• Advanced Settings on page 153
• Layout Adjustment on page 156
• Filing Options on page 159
• Job Assembly on page 162
8. Press Start to scan the originals and process the Workflow Scanning job.
Remove the originals from the document feeder or glass when scanning has completed.
The Workflow Scanning job enters the job list ready for filing.
9. Select Job Status to view all the job lists and check the status of your job. Refer to the Machine
and Job Status guide for more information.
The scanned images are filed in your private folder and are accessed using Internet Services.
10. To access Internet Services, open the web browser from your Workstation.
In the URL field, enter http:// followed
by the IP Address of the device. For
example: If the IP Address is
192.168.100.100, enter the following
into the URL field:
http://192.168.100.100.
Press Enter to view the Home page.
The Internet Services options for your device are displayed.
Note To find out the IP address of your device, print a configuration report. Refer to the Machine
and Job Status guide for instructions.
11. Select Scan and select Mailboxes from the display options. Select your private folder, enter the
folder password and select OK.
 Loading...


