Job Assembly
ColorQube™ 9301/9302/9303
Copy
43
6. Using Program Next Segment, select the options required for the second segment.
7. Load the second segment originals and press Start.
8. Repeat these steps until all segments of your job have been programed and scanned.
9. After the last segment has been scanned, select Print the Job to indicate you have finished
scanning and the job can be processed and completed.
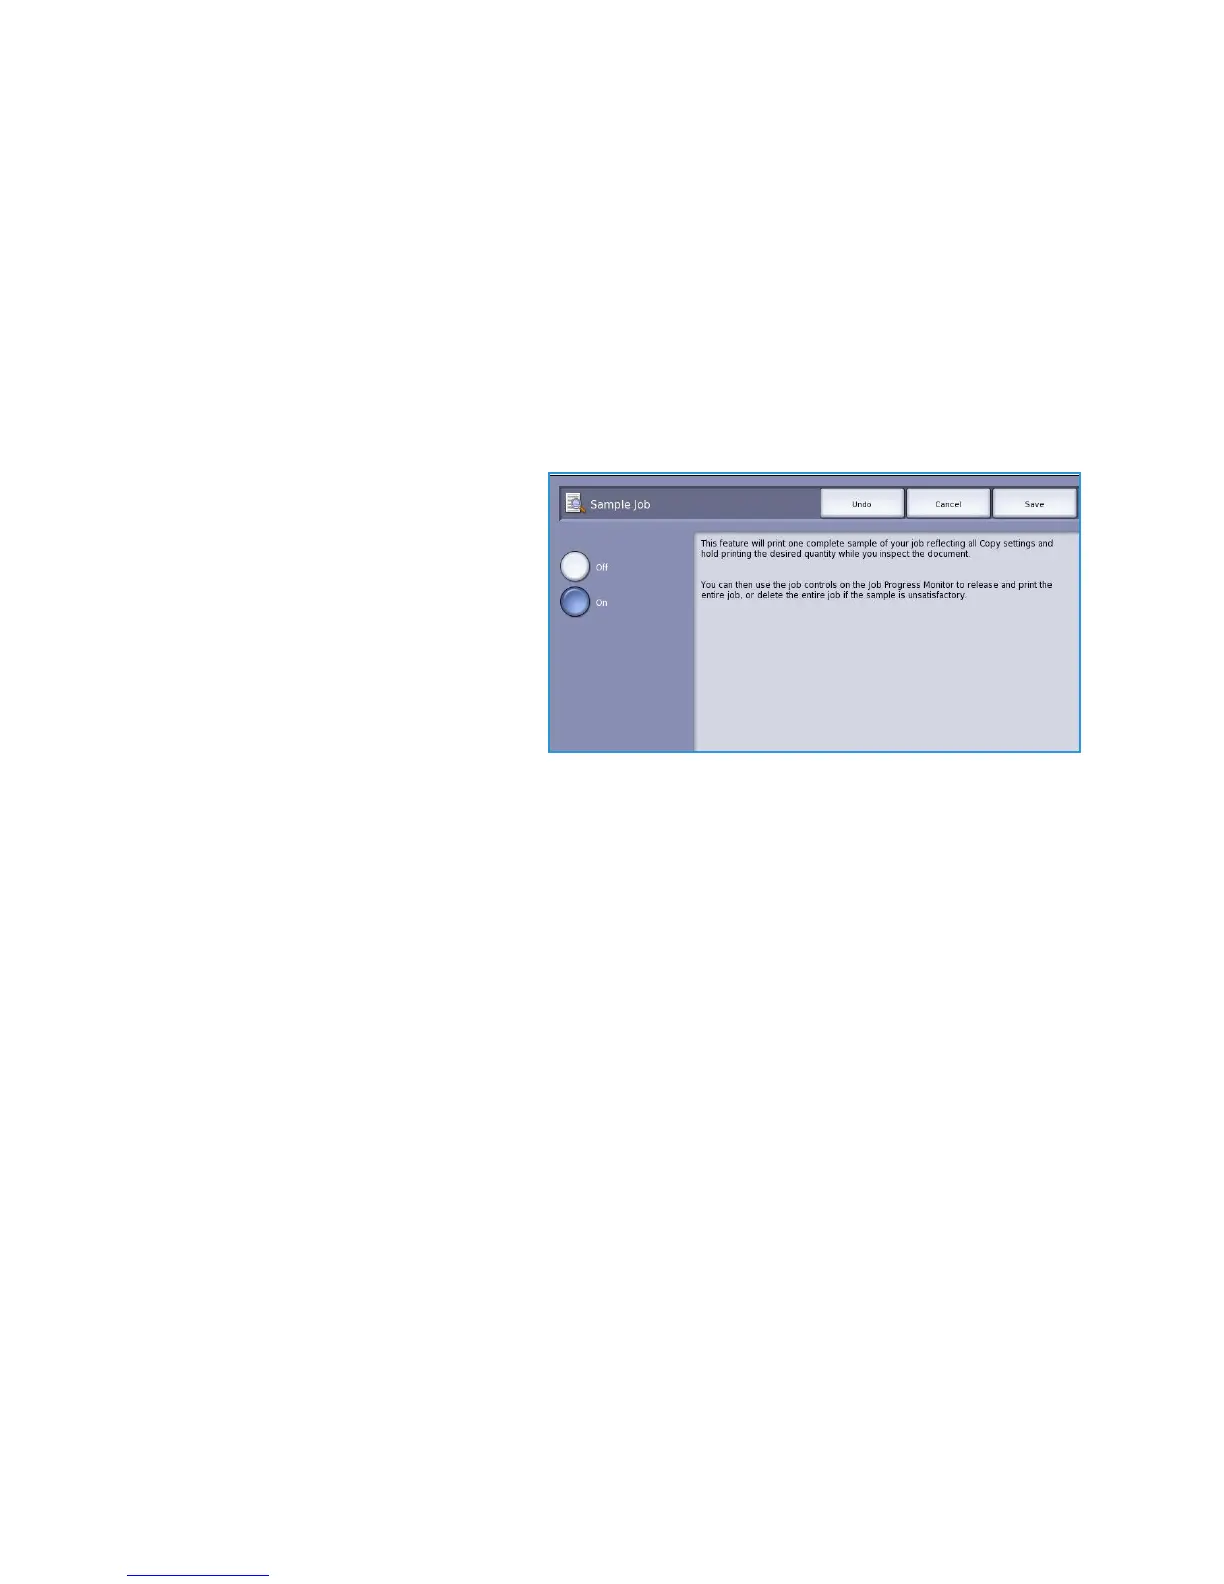
Sample Set
When copying a large number of sets, use the Sample Set feature to review a proof copy to ensure that
all the print settings are correct before printing the remaining sets.
1. Select the Sample Set button on the Job Assembly tab.
2. Select the On button and then select
Save.
3. Load the originals in the document
feeder and program the job
requirements.
4. Enter the total quantity required and
press the Start button.
One copy set of the job, the Sample
Set, is printed.
The Job Progress screen is displayed
and the job is held in the Job List.
5. If the Sample Set is acceptable, select Release. The programed number of sets will be produced.
If the Sample Set is unacceptable, select Delete and Delete Job to confirm. Your job will be
deleted from the list.
Note If the Job Progress screen is not displayed, access your job by selecting the Job Status
button. Select the job in the list and select Release or Delete.

 Loading...