Scan to Mailbox
ColorQube™ 9301/9302/9303
Workflow Scanning
170
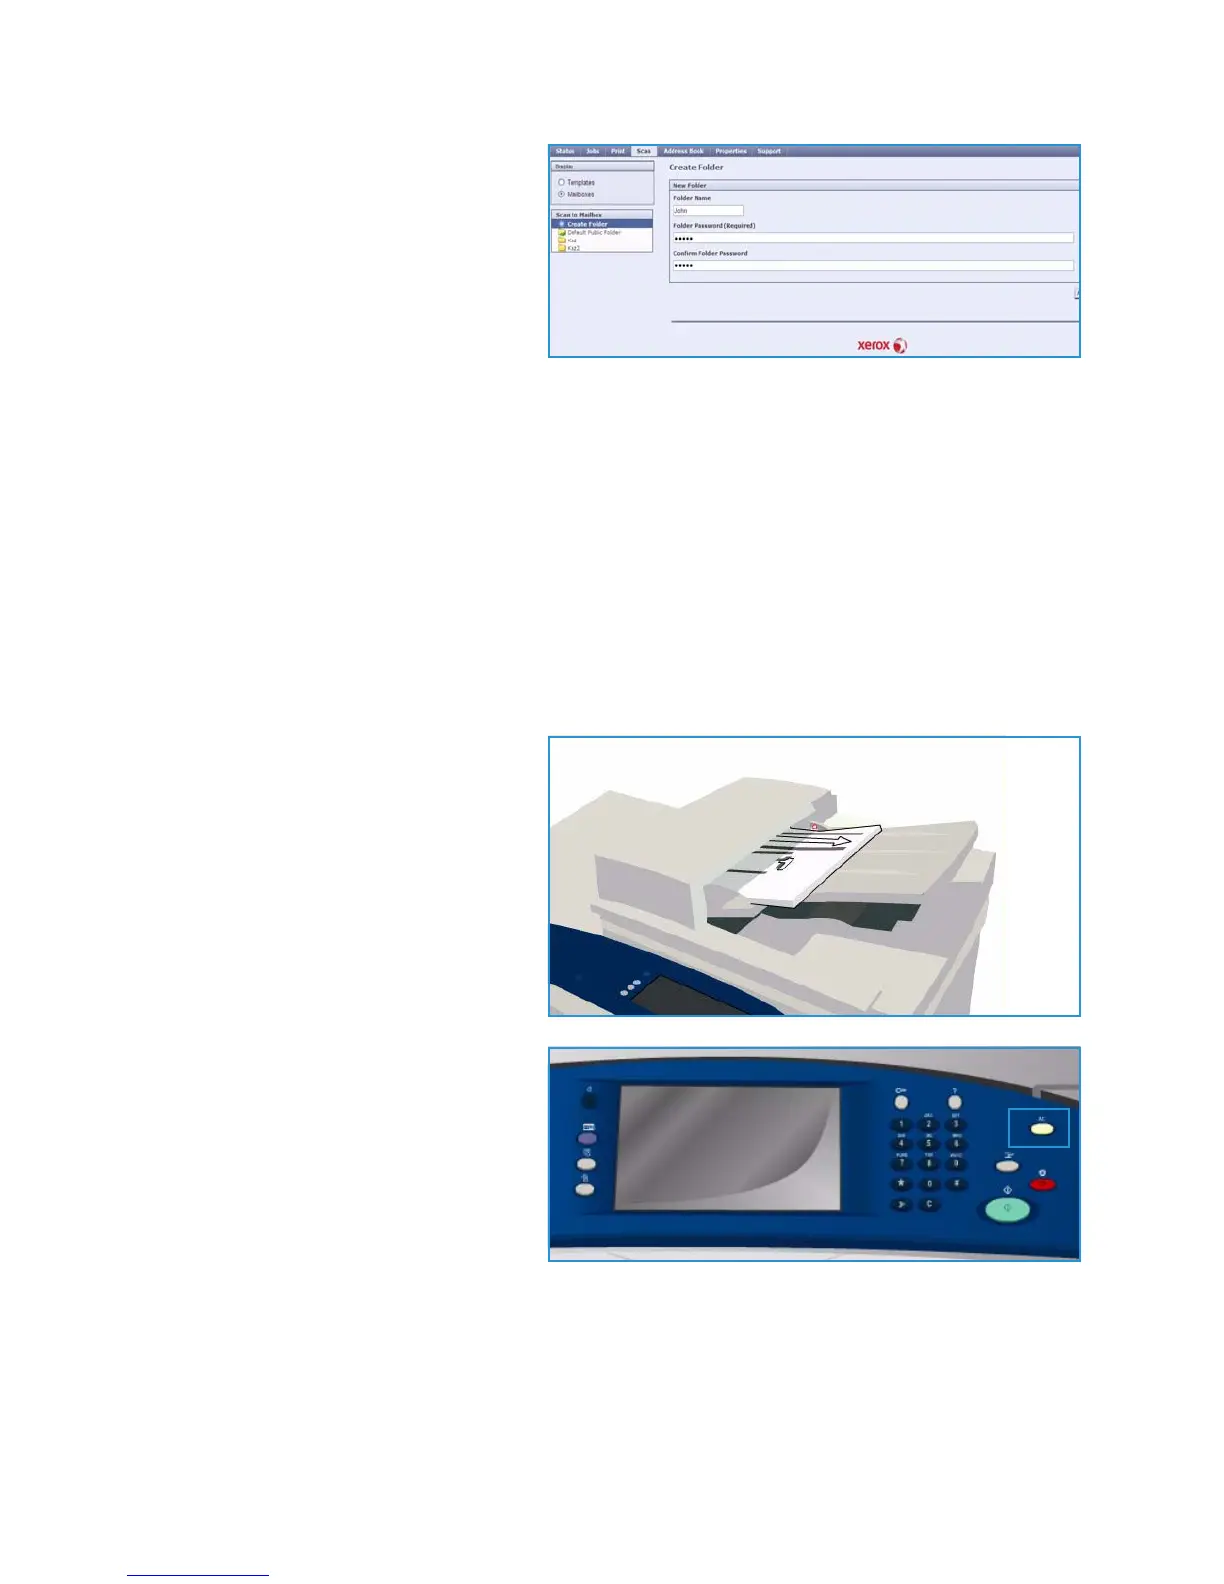
4. Select Scan and select Mailboxes
from the display options.
The Scan to Mailbox options are
displayed.
5. Select Create Folder and enter the
folder name, a password and confirm
the password.
6. Select Apply.
The new folder is created and is displayed in the folder list.
7. To access the private folder and customize the options, enter the folder password.
Select Personalise Settings to customize the scanning selections using the Edit option. Select
Apply after customizing each option.
When you have finished customizing your scanning options, select Back to return to the Folder
Contents screen.
8. To change your folder password or delete the folder, use the Modify Folder option.
Your private folder is now setup and will display in the templates list when Workflow Scanning is
selected on the device.
Using Scan to Mailbox
1. Load the original documents in the
document feeder or on the document
glass.
2. Press the Clear All (AC) button twice
and then Confirm to cancel any
previous screen programing
selections.
 Loading...


