Faxing
Phaser 6121MFP Multifunction Printer
User Guide
118
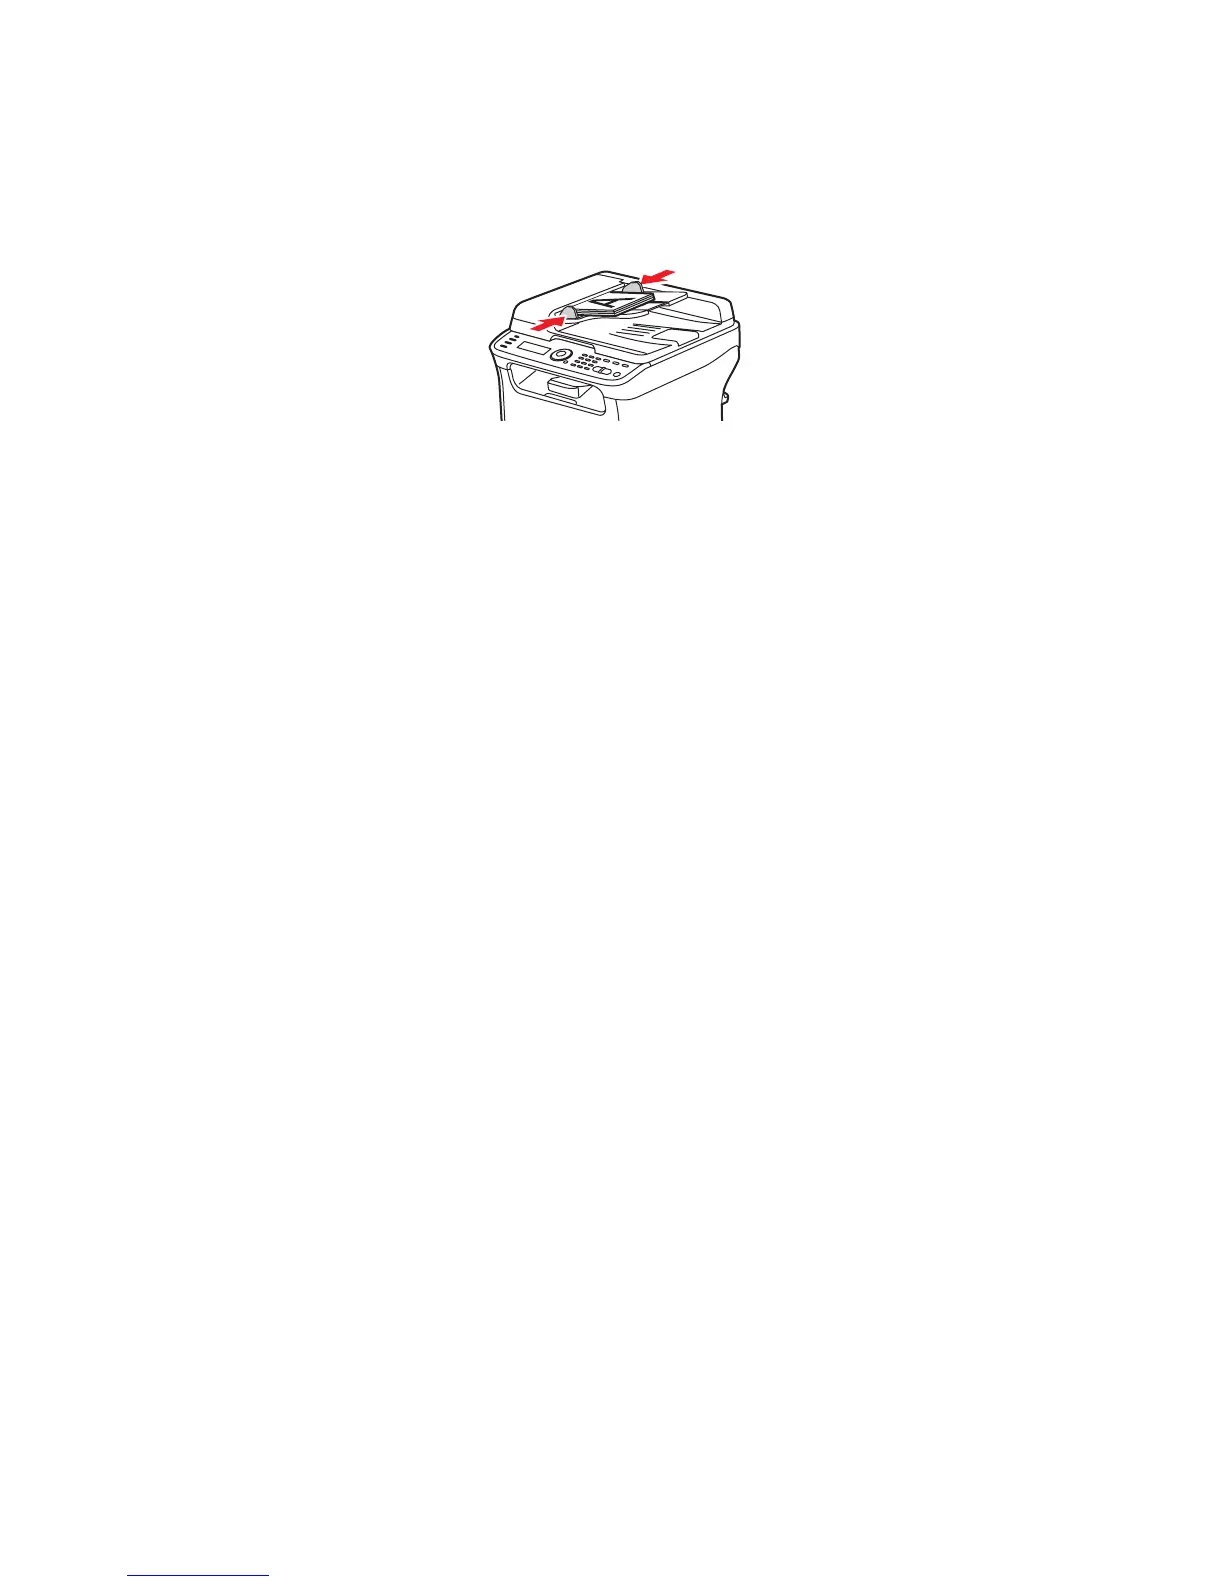
Sending a Fax from the Auto Document Feeder
1. Remove any staples or paper clips from the pages and insert the pages faceup with the top of the
pages entering the feeder first. Adjust the paper guides so they fit against the originals as shown:
Note: Do not load more than 35 pages into the auto document feeder.
2. On the printer control panel, press the Fax button.
3. The menu displays “Fax To.” Press the OK button and then use the alphanumeric keypad to enter
the fax telephone number. Press OK.
Note: If the fax number requires a pause, press the Redial/Pause button to insert a 2.5-second
pause where needed. The pause entered displays as a “P” in the fax number you see in the menu.
4. Press the Down Arrow button to go to Finish and then press OK, then press the Start/B&W button.
Note: Depending on your default fax settings, the printer either first scans the pages, dials, and
waits for a connection before sending the fax, or the printer dials, waits for a connection, and then
scans the pages. The printer then transmits the fax. The fax transmission status is printed on the
confirmation page that prints after the fax is sent. To change fax send default options, see
Changing the Default Fax Send Options on page 123.
Sending a Fax Manually Using the On Hook Button
When sending a fax internationally, you may need to listen in as the fax connection goes through
various exchanges before connecting to the destination number. In that case, you can send the fax
manually so that when you finally hear the fax tone, you can start the fax transmission.
To send a fax manually using the On Hook button:
1. Load the document into the auto document feeder.
Note: When sending a fax manually using the On Hook feature, you must load the document into
the auto document feeder instead of placing the document on the document glass or else an error
will occur.
2. If desired, adjust the image quality. See Selecting Fax Options for Single Jobs on page 123.
3. On the printer control panel, press the On Hook button.
4. At the printer control panel, do one of the following to enter a fax number:
• Use the alphanumeric keypad to enter the fax number and then press the Start/B&W button.
•Press the Address Book button and then, when prompted, enter a Speed Dial number. Confirm
that the recipient displayed is the one you want and then press the OK button.
•Press the Redial/Pause button to use the number of the last recipient dialed.
6121-078
 Loading...


