Setting Up Your System
37
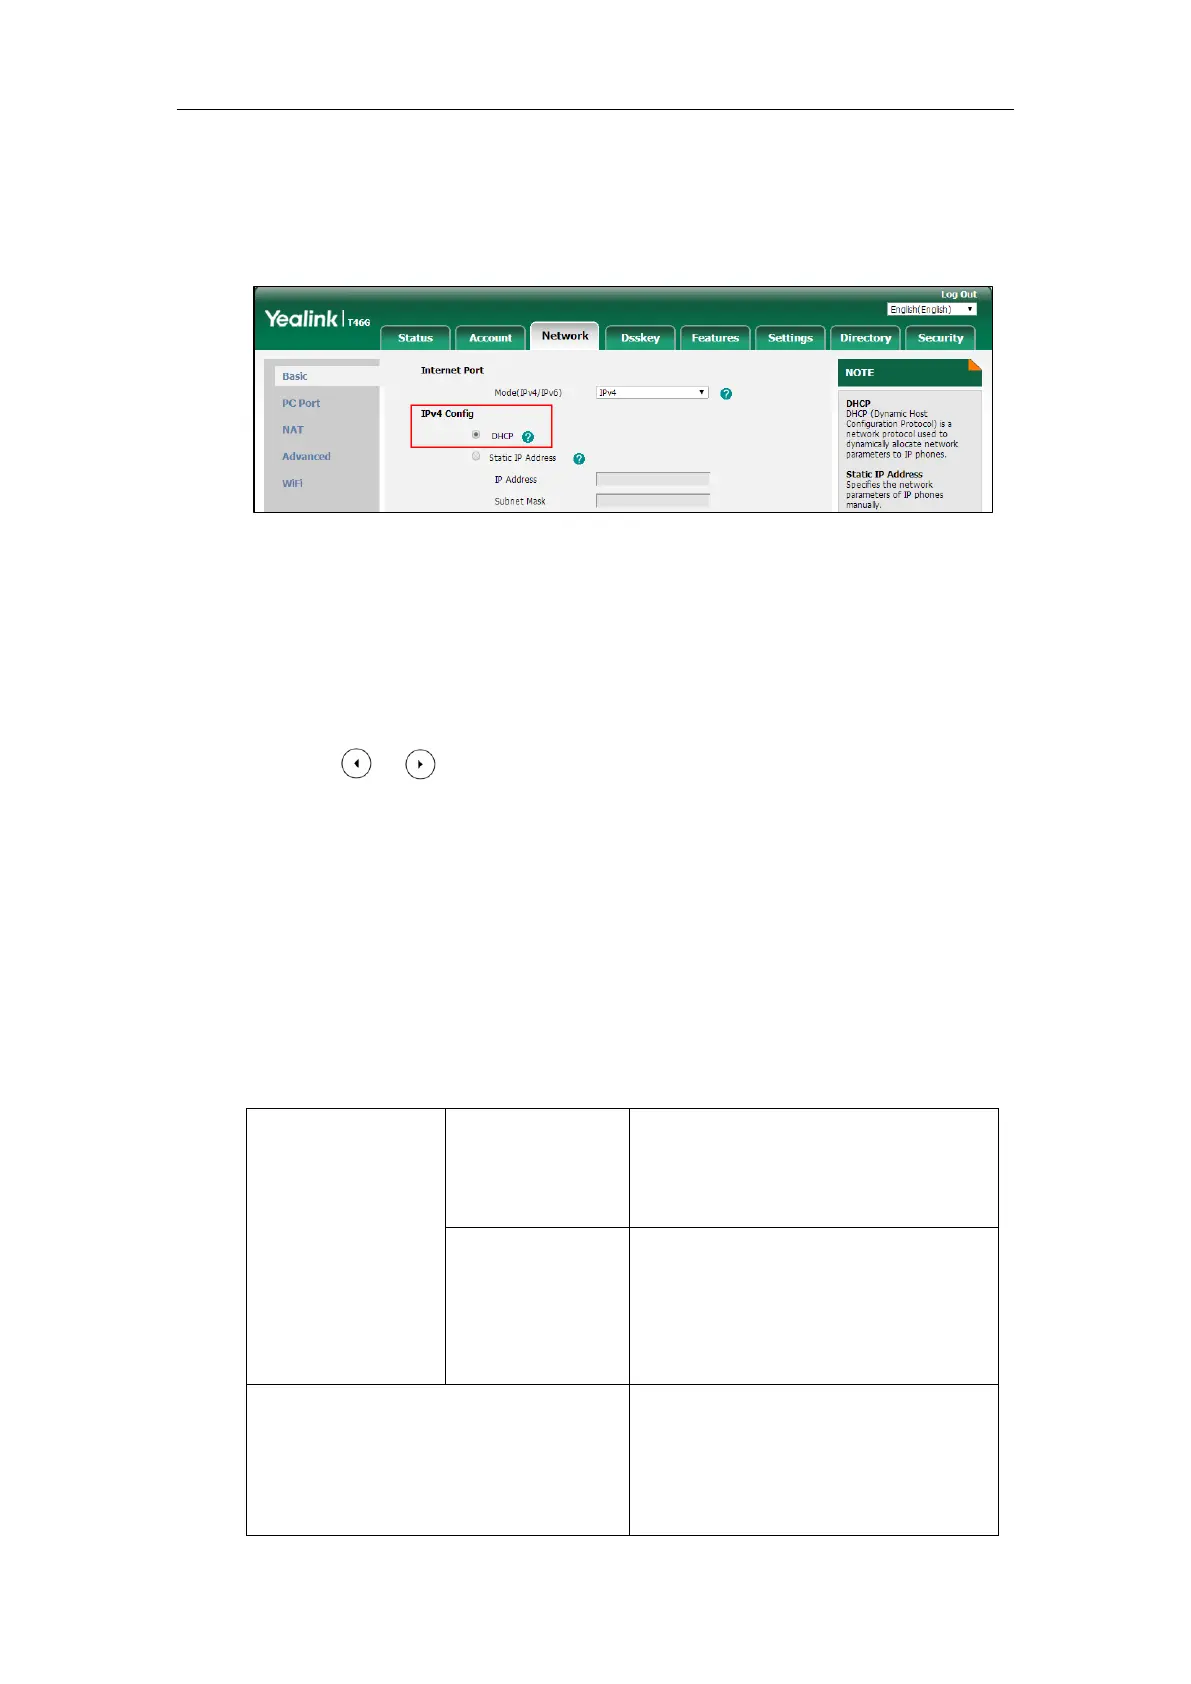
To configure DHCP via web user interface:
1. Click on Network->Basic.
2. In the IPv4 Config block, mark the DHCP radio box.
3. Click Confirm to accept the change.
A dialog box pops up to prompt that the settings will take effect after a reboot.
4. Click OK to reboot the phone.
To configure DHCP via phone user interface:
1. Press Menu->Advanced (default password: admin) ->Network->WAN Port->IPv4.
2. Press or , or the Switch soft key to select the DHCP from the Type field.
3. Press the Save soft key to accept the change.
A dialog box pops up to prompt that the settings will take effect after a reboot.
4. Click OK to reboot the phone.
Static DNS
Static DNS address(es) can be configured and used even though DHCP is enabled.
Procedure
Static DNS can be configured using the following methods.
Central Provisioning
(Configuration File)
Configure the static DNS feature.
Parameter:
static.network.static_dns_enable
Configure static DNS address.
Parameters:
static.network.primary_dns
static.network.secondary_dns
Configure the static DNS feature.
Configure static DNS address.
Navigate to:
http://<phoneIPAddress>/servlet?p=netwo

 Loading...