Home
YOKOGAWA
Measuring Instruments
WT1801E
YOKOGAWA WT1801E User Manual
4
of 1
of 1 rating
154 pages
Give review
Manual
Specs
To Next Page
To Next Page
To Previous Page
To Previous Page
Loading...
1-15
IM WT18
O
1E-02EN
1.1
1
Setting the Crest Factor
This section explains how to set the crest factor
.
►
“Crest Factor (Crest Factor)” in the features guide
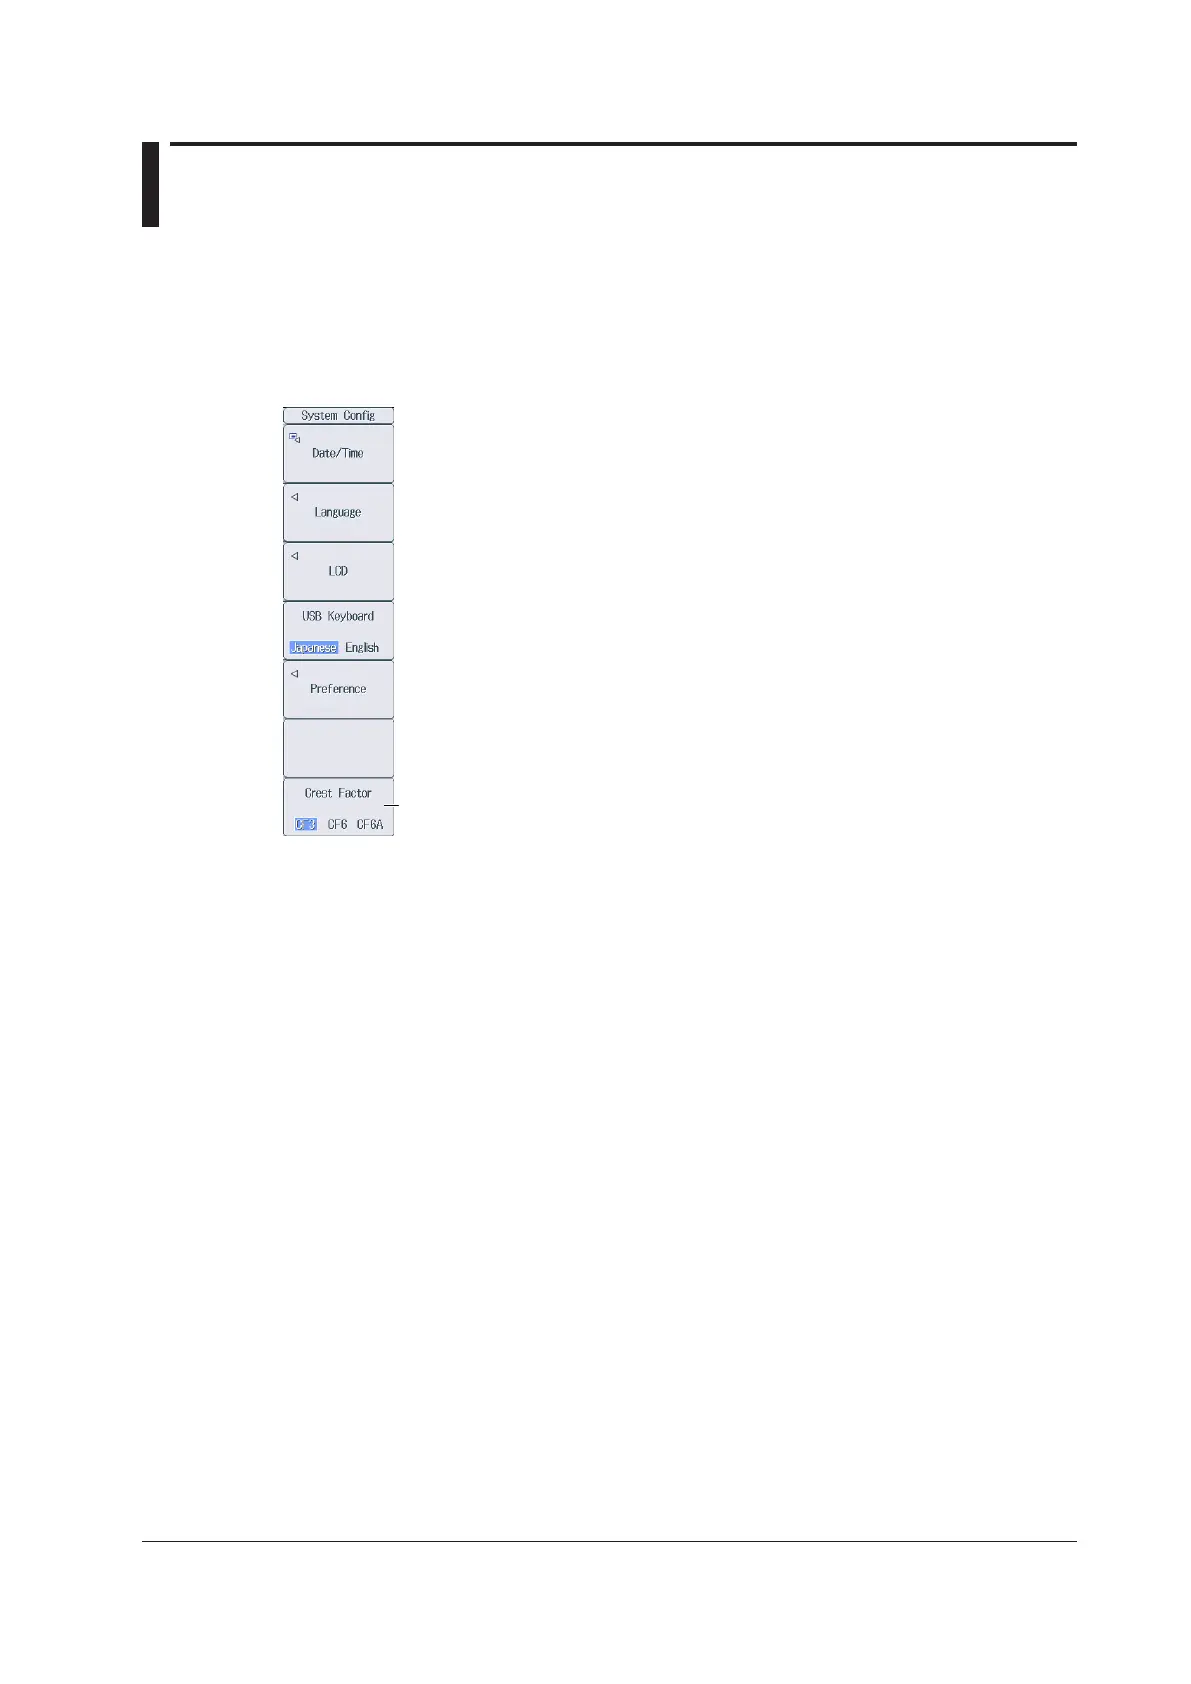
System Config Menu
Press
UTILITY
and then the
System Config
soft key to display the following menu.
Set the crest factor (CF3, CF6, CF6A).
25
27
Table of Contents
Default Chapter
4
Symbols and Notation Used in this Manual
4
Key Operation and Functions
5
Entering Values and Strings
7
Table of Contents
9
Chapter 1 Basic Measurement Conditions
12
Configuring the Wiring System Settings
12
Setting the Voltage and Current Ranges
13
Setting the External Current Sensor Range (Option)
15
Setting the External Current Sensor Conversion Ratio (Option)
16
Setting the Display Format of the External Current Sensor Range (Option)
17
Setting the Scaling Feature When Using a VT or CT
18
Setting the Valid Measurement Range
20
Setting the Efficiency Equation
23
Turning the Independent Input Element Configuration on and off
24
Setting Delta Computation
25
Setting the Crest Factor
26
Setting Measurement Periods
27
Setting Line Filters
28
Setting Frequency Filters
29
Setting the Data Update Interval
30
Setting Averaging
31
Displaying the Menu for Configuring All Elements
32
Displaying the Setup Parameter List
33
Chapter 2 Harmonic Measurement Conditions (Option)
35
Setting Harmonic Measurement Conditions
35
Chapter 3 Motor Evaluation Conditions (Option)
37
Setting Motor Evaluation Conditions
37
Chapter 4 Auxiliary Input Conditions (Option)
39
Setting Auxiliary Input Conditions
39
Chapter 5 Holding Measured Values and Performing Single Measurements
40
Holding Measured Values
40
Performing Single Measurements
41
Chapter 6 Power Measurement (Numeric Data Display)
42
Setting the Display Format
42
Switching the Displayed Page
43
Changing the Displayed Items on the 4 Items, 8 Items, and 16 Items Displays
46
Changing the Displayed Items on the Matrix Display
47
Changing the All Items Display
50
Changing the Harmonics List Display (Option)
51
Setting the Custom Display
53
Chapter 7 Computations
57
Setting User-Defined Functions
57
Setting User-Defined Events
58
Setting Apparent Power, Reactive Power, and Corrected Power Equations
59
Setting the Sampling Frequency
60
Setting the Phase Difference Display Format
61
Setting Master and Slave Synchronized Measurement
62
Setting the Voltages or Currents Whose Frequencies will be Measured
63
Chapter 8 Integrated Power (Watt Hour)
64
Setting Independent Integration
64
Setting Integration Conditions
65
Starting, Stopping, and Resetting Integration
68
Integration Resume Action at Power Failure Recovery
69
Chapter 9 Waveform Display
70
Setting the Display Format
70
Turning the Display of Waveforms on and off and Setting the Vertical Zoom Factors and Vertical Positions
72
Chapter 10 Trend Display
73
Setting the Display Format
73
Turning the Trend Display on and off and Setting the Measurement Functions to Display and the Vertical Scales
75
Chapter 11 Bar Graph Display (Option)
76
Setting the Display Format
76
Setting the Measurement Function to Display and the Vertical Scale
77
Chapter 12 Vector Display (Option)
78
Setting the Display Format
78
Setting the Element and Wiring Unit to Display and the Zoom Factor
79
Chapter 13 Split Display
80
Configuring the Split Display
80
Chapter 14 Cursor Measurements
82
Performing Cursor Measurements on Waveforms
82
Performing Cursor Measurements on Trends
83
Performing Cursor Measurements on Bar Graphs
84
Chapter 15 High Speed Data Capturing
85
Setting the Number of Data Captures and Configuring the Capture Control Settings
85
Configuring the Save Conditions of Captured Numeric Data
88
Changing the Displayed Items for High Speed Data Capturing
90
Starting and Stopping High Speed Data Capturing
93
Chapter 16 Storing Data
95
Configuring Storage Control
95
Setting the Numeric Data Items to Store
98
Configuring the Save Conditions of Stored Numeric Data
99
Starting, Stopping, and Resetting Storage
100
Chapter 17 Saving and Loading Data
102
Connecting USB Memory Devices
102
Saving Setup Parameters
104
Saving Waveform Display Data
106
Saving Numeric Data
107
Loading Setup Parameters
109
File Operations
110
Chapter 18 Saving Screen Images
117
Saving Screen Images
117
Chapter 19 Printing Screen Images and Numeric Data (Option)
118
Loading Roll Paper into the Built-In Printer (Option)
118
Printing Using the Built-In Printer (Option)
122
Chapter 20 Ethernet Communication
126
Connecting this Instrument to a Network
126
Configuring TCP/IP Settings
128
Accessing this Instrument from a PC (FTP Server)
129
Monitoring the Display of this Instrument from a PC (Web Server)
130
Connecting to a Network Drive
133
Using SNTP to Set the Date and Time
134
Chapter 21 Other Features
135
Viewing System Information (Overview)
135
Initializing Settings
136
Setting the Message, Menu, and USB Keyboard Languages
137
Setting the Screen Brightness and Configuring the Display Color Settings
138
Configuring the Environment Settings
139
Configuring D/A Output Items (Option)
140
Carrying out Self-Tests (Selftest)
141
Performing Zero-Level Compensation
143
Using the NULL Feature
144
Locking the Keys
145
Appendix
146
Appendix 1 Messages and Corrective Actions
147
4
Based on 1 rating
Ask a question
Give review
Questions and Answers:
Need help?
Do you have a question about the YOKOGAWA WT1801E and is the answer not in the manual?
Ask a question
YOKOGAWA WT1801E Specifications
General
Brand
YOKOGAWA
Model
WT1801E
Category
Measuring Instruments
Language
English
Related product manuals
YOKOGAWA WT1800
167 pages
YOKOGAWA WT1803
167 pages
YOKOGAWA WT130
204 pages
YOKOGAWA WT500
360 pages
YOKOGAWA WT230
316 pages
YOKOGAWA WT330
122 pages
YOKOGAWA wt3000
384 pages
YOKOGAWA WT5000
233 pages
YOKOGAWA WT332E
136 pages
YOKOGAWA WT333E
143 pages
YOKOGAWA WT310EH
143 pages
YOKOGAWA WT3002E
256 pages