Page 4-82 110XiIIIPlus Maintenance Manual 13185L-002 Rev. A 1/24/06
Section 4 Maintenance
Replace the Black-Mark Sensor
Remove the Sensor
1. Refer to RRP No. 1 on page 4-14. Turn the printer Off (O) and remove the AC
power cord and data cables.
2. Refer to RRP No. 2 on page 4-16 and remove the electronics cover.
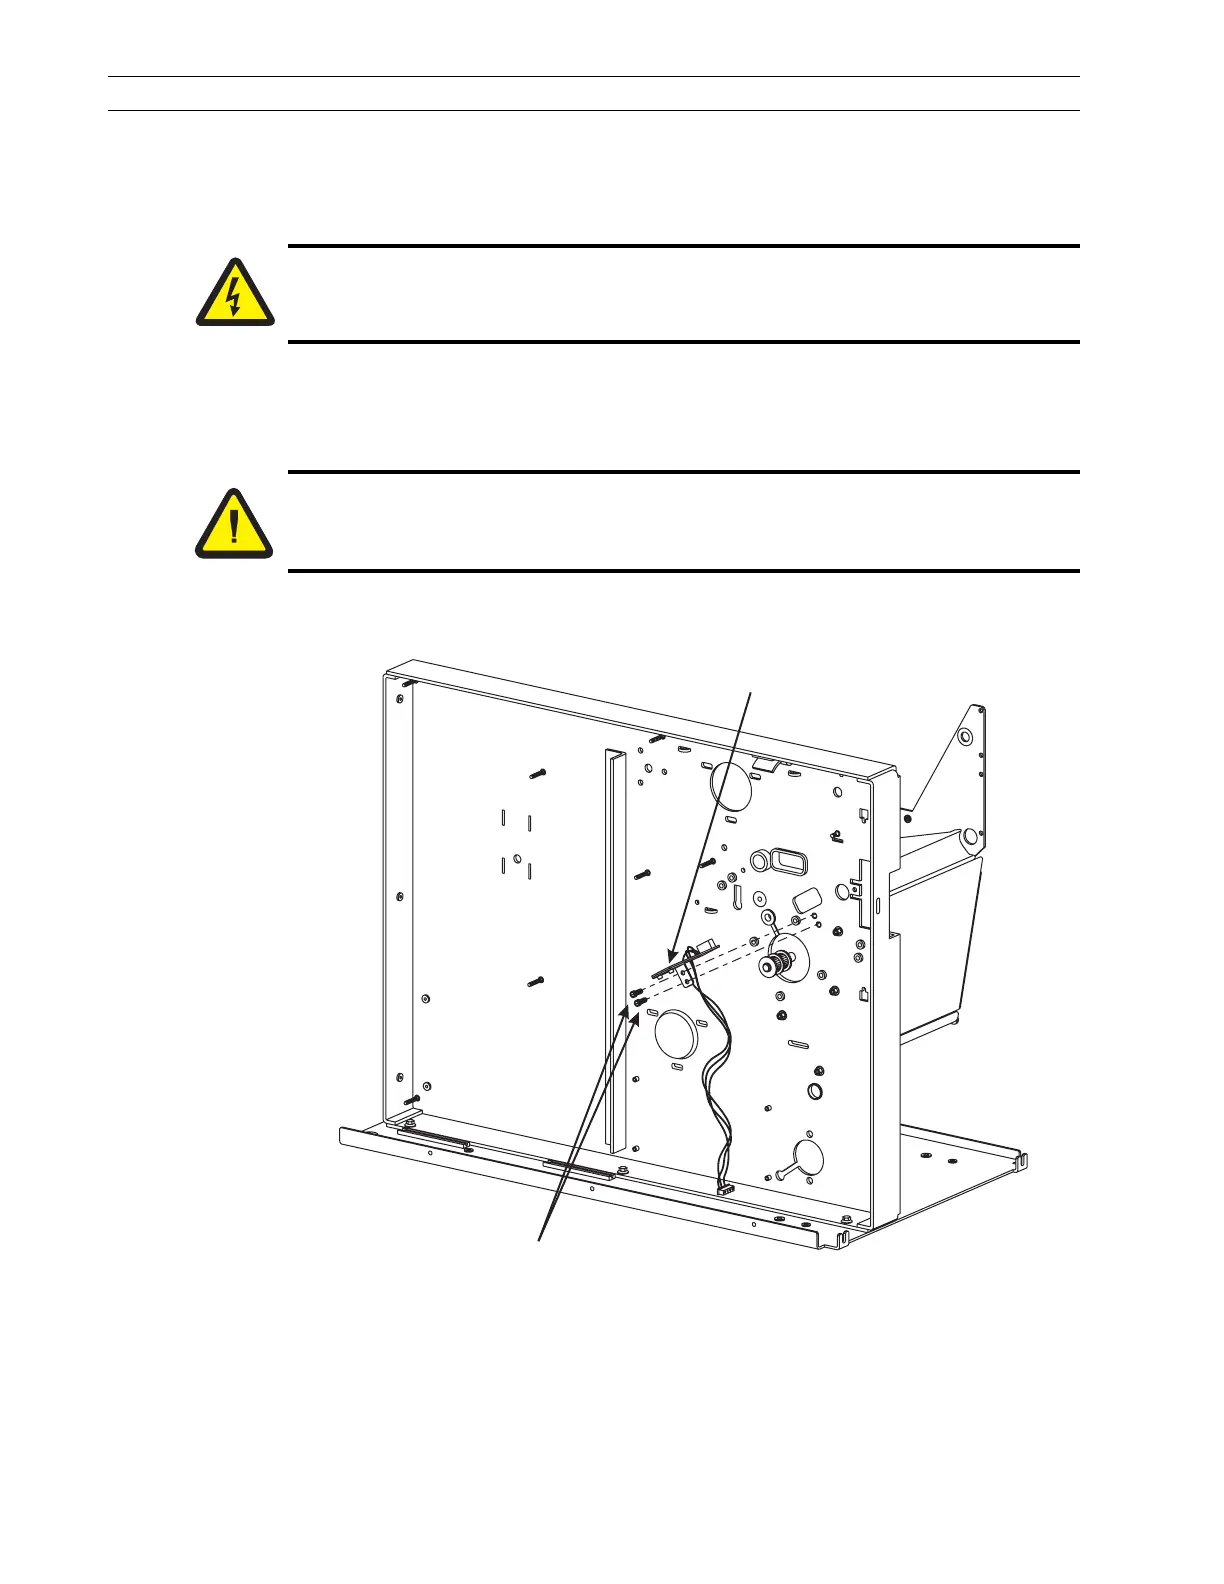
3. Refer to Figure 4-55. Remove the screws securing the black-mark sensor, and
remove the sensor.
Figure 4-55. Install the Black-Mark Sensor
4. Refer to Figure 4-56. Follow the sensor leads back to connector P6 on the main
logic board and disconnect it. Cut cable ties as necessary.
5. Remove the nuts securing the cable clamps.
Caution:
Unless indicated otherwise, turn the printer Off (O) and disconnect the printer
from the power source before performing the following maintenance.
Caution:
This installation must be performed by a qualified service technician.
Black-Mark
Sensor
Screws
 Loading...