13185L-002 Rev. A 1/24/06 110XiIIIPlus Maintenance Manual Page 4-85
Maintenance Section 4
11. Reinstall the main logic board.
12. Reconnect all cables and small wire connectors previously removed.
13. Refer to Figure 4-9 on page 4-19. Reinstall any optional memory or font boards and
the option card shield.
14. Reinstall optional interface boards.
15. Reconnect cabling to interface boards.
16. Reinstall the electronics cover.
Adjust Spindle Tension
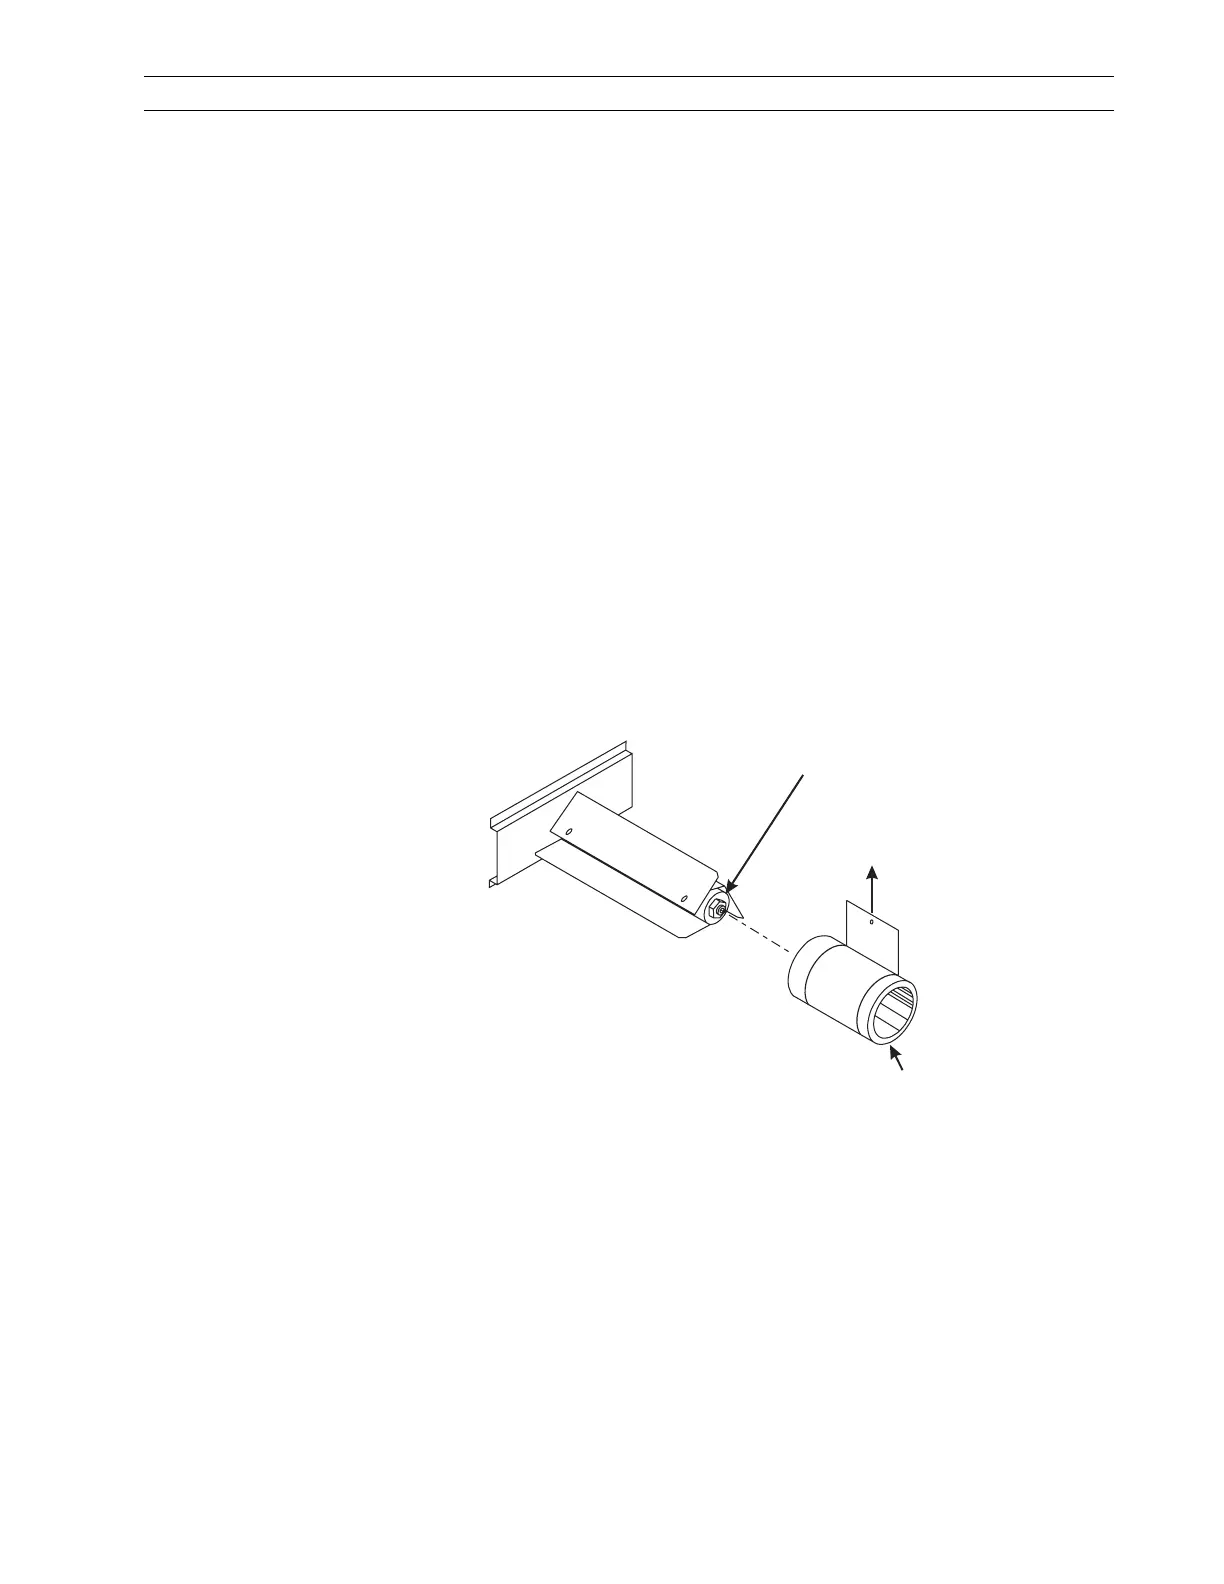
1. Use adhesive tape to attach a 2 in. (5 cm) wide strip of polyester film (Zebra part
number 01776) to an empty core as illustrated. Wind the polyester film around the
core about five times in the direction indicated.
2. Measure tension by slowly pulling the film with a spring scale. Pull only in the
direction shown. The pull rate should typically be 2 in. (50 mm) per second.
3. The spring tension reading should be 300 grams ±50 grams (0.66 in. lb.
±0.11 in. lb). Make adjustments using the tension adjustment nut:
• Clockwise increases tension.
• Counterclockwise decreases tension.
Figure 4-58. Adjust Spindle Tension
4. Recheck the tension after running a full roll of labels.
5. Reinstall the electronics cover.
6. Reinstall the media and ribbon.
Media Supply
Spindle Assembly
Media
Core
Tension Adjustment
Nut
 Loading...