11 Networking Instructions for Use
2660021169042 Rev. A 2018-0311.3 Connecting Review Stations to Instrument Data Archives
178 / 246 2660021169042 Rev. A 2018-03
11.3 Connecting Review Stations to Instrument Data
Archives
NOTE
Some IT departments only allow computer administrators to
map network drives.
If your computer does not allow you to map network drives,
contact your institution's IT representative to request that a
computer administrator map this drive for you.
When a review station connects to one or more PLEX® Elite 9000
instruments, the reviewer (doctor) can access patient scans saved
there. As soon as an operator saves a patient's scans, a doctor can
view, compare, annotate, edit them from their computer (on the
same network).
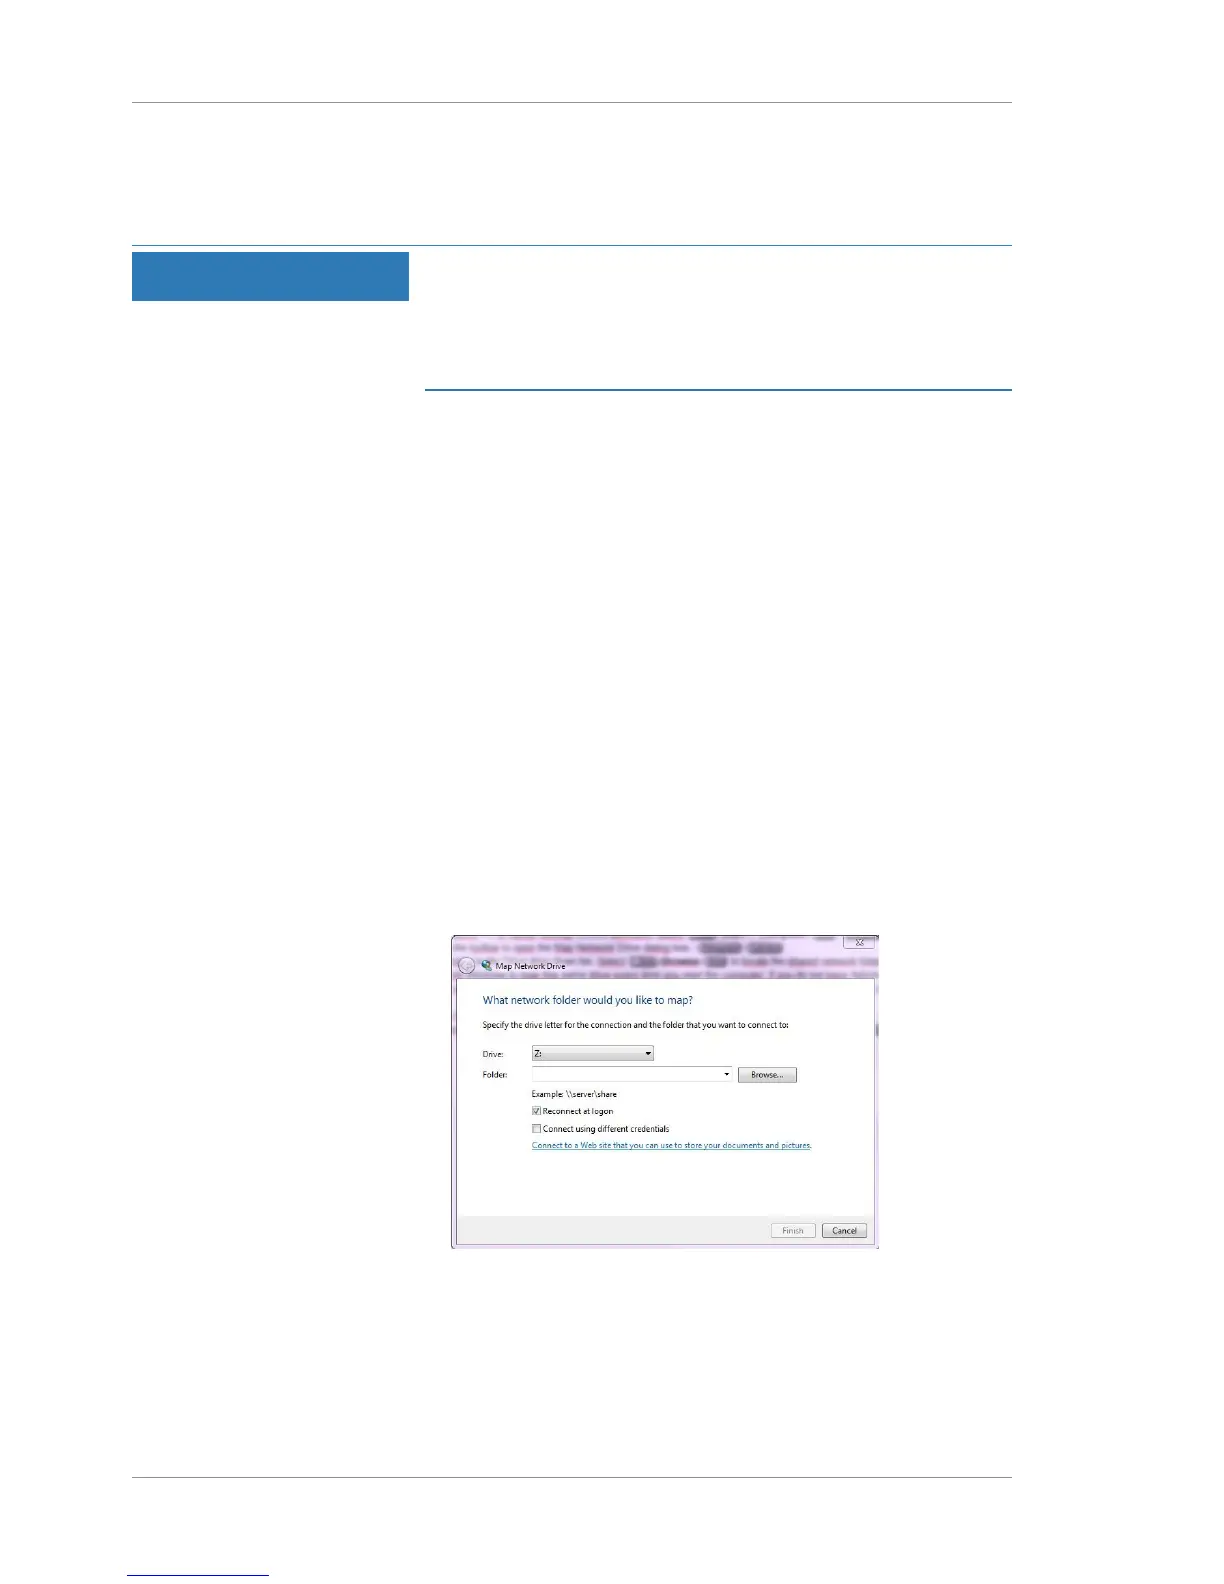
This procedure describes how map a network drive using the
Windows control panel. When you map a network drive from the
review station to the instrument, the review station retains this
connection for future access.
þ The instrument 's data folder is shared: (Setting Up a Network
File Server (external NAS) [}180]).
þ Review software is installed on the review station: (Install
Review Station Software [}48]).
þ The review station is on the same network as the instrument:
(Networking [}175]).
þ You have administrator rights to the review station.
u On the Review Station, select Start > Computer.
u From the Windows control panel (networking options), select
Map Network Drive.
u For Drive, select Z.
u Click Browse and navigate to the instrument's shared folder on
the network.
u Click OK.
u Check Reconnect at Logon.

 Loading...