204 Agilent 7100 Capillary Electrophoresis System User Manual
8Maintenance
Cleaning the Electrodes, Pre-punchers and Insulation Plate
1 Remove the plastic screw which secures the pre-punchers using a Pozidriv
screwdriver.
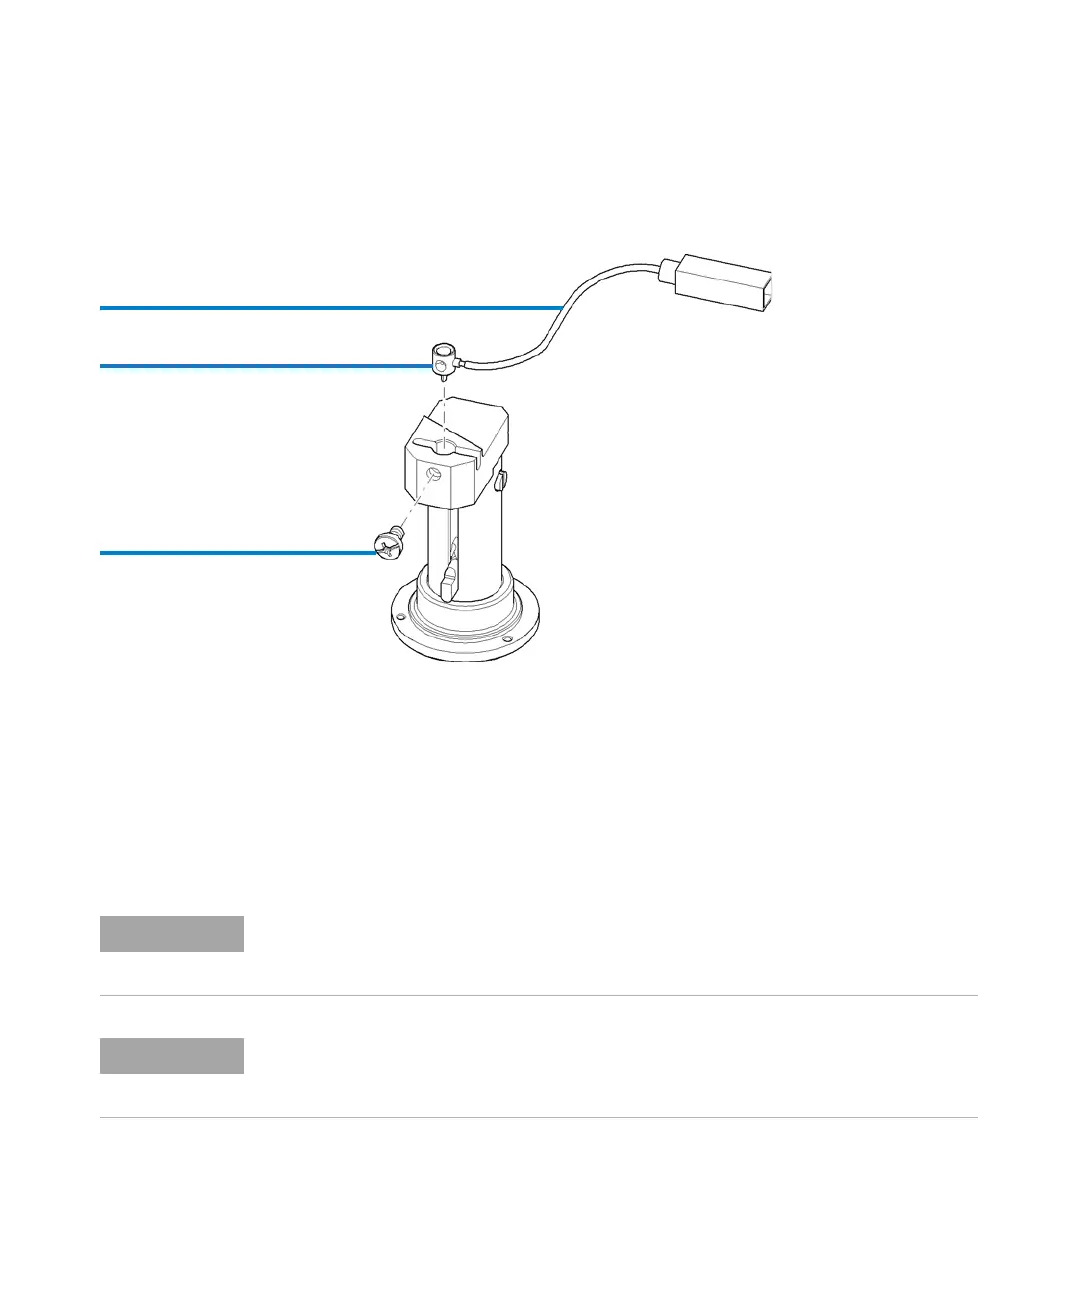
Figure 63 Plastic screw of the pre-puncher
2 The pre-puncher has a hole which can be used to gently lever it out using a
paper clip. Carefully pull the pre-puncher out of the inlet, outlet and
replenishment lift.
3 Unscrew the teflon inlet pre-puncher tubing (labeled 7 on the tubing), the
outlet pre-puncher tubing (labeled 8). The pre-puncher for the
replenishment lift is not connected to a tube.
Teflon tubing
Inlet pre-puncher
Screw, plastic
The outlet lifter tubing (labeled 8) might be physically disconnected from the pressure
system. This status is advantageous in case no high pressure applications are used. This
connection is required for applications in CE+p and CEC mode.
The teflon tube does NOT need to be removed from the pre-punchers for cleaning. If the
connection between the tube and the pre-puncher is not tight, since the tube became
wider, shorten the tube and shift it on the pre-puncher again.
 Loading...


