42 N9912A FieldFox User’s Guide
All other trace settings, such as measurement, format, and limit lines, are
applied individually to the ACTIVE trace in the same manner as when a single
trace is present.
When creating markers, by default a marker is created on ALL traces as shown
in the above image. However, they can be created individually by disabling
Coupled Markers. Learn more on page 138.
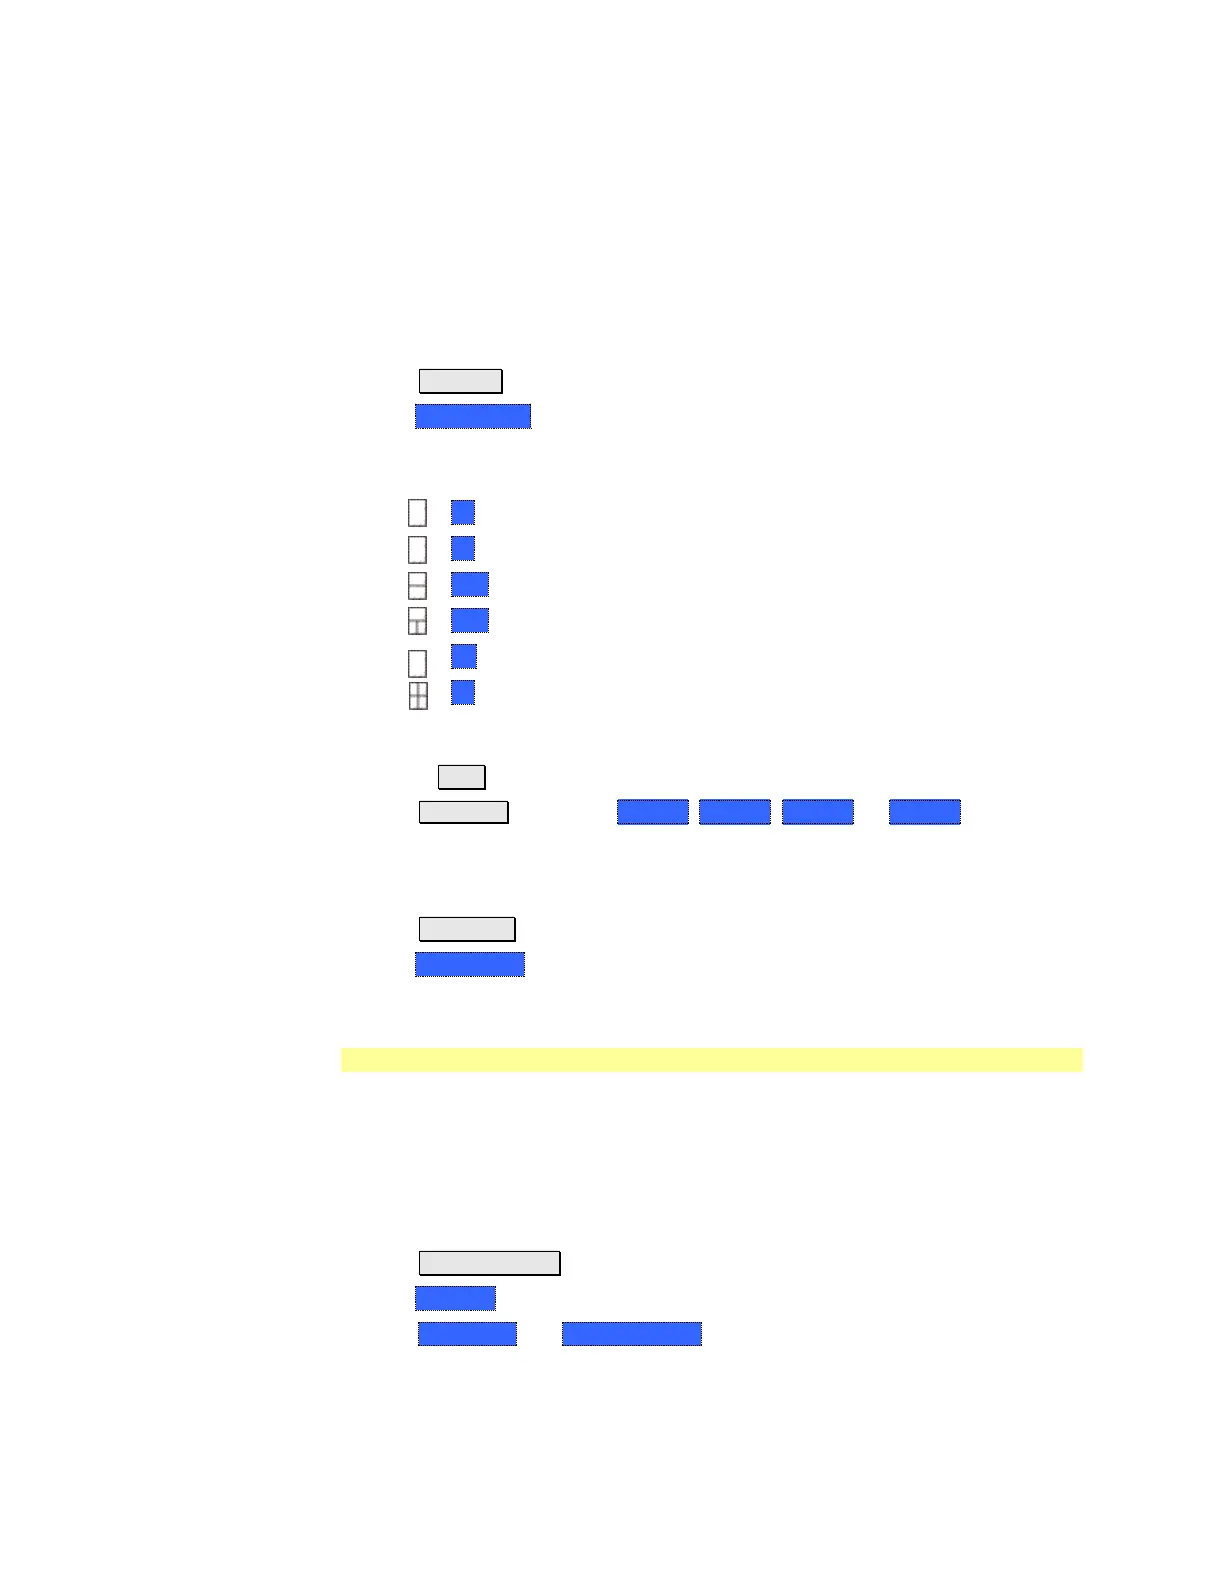
How to select a multi-trace configuration
Press Trace 6
Then Num Traces
Then choose from the following:
The default measurements depend on the options that are installed.
x1 1 trace standard configuration
x2 2 traces overlayed on a single graticule
x2H 2 traces on separate horizontal graticules
x3H 3 traces on separate horizontal graticules
X3 3 traces overlayed on a single graticule
x4 4 traces on separate graticules
How to activate a trace in order to change a setting
Use the ▲|▼ arrows OR
Press Trace 6 then select Trace 1, Trace 2, Trace 3, or Trace 4, Only traces
that are shown can be activated.
How to maximize the viewing of the active trace
Press System 7
Then Full Screen.
Press any key to return to the standard display.
Quick Settings
Both CAT and NA Modes allow you to view and change most relevant settings
from a single location. All of these settings are discussed in this chapter and,
unless otherwise noted, ALL of these settings can also be made using the
standard softkey menus.
How to view and change Quick Settings
Press Meas Setup 4.
Then Settings.
Press Next Page and Previous Page to view all settings. If these softkeys are
NOT available, then all available settings fit on one page.
To change a setting:
 Loading...


