138 N9912A FieldFox User’s Guide
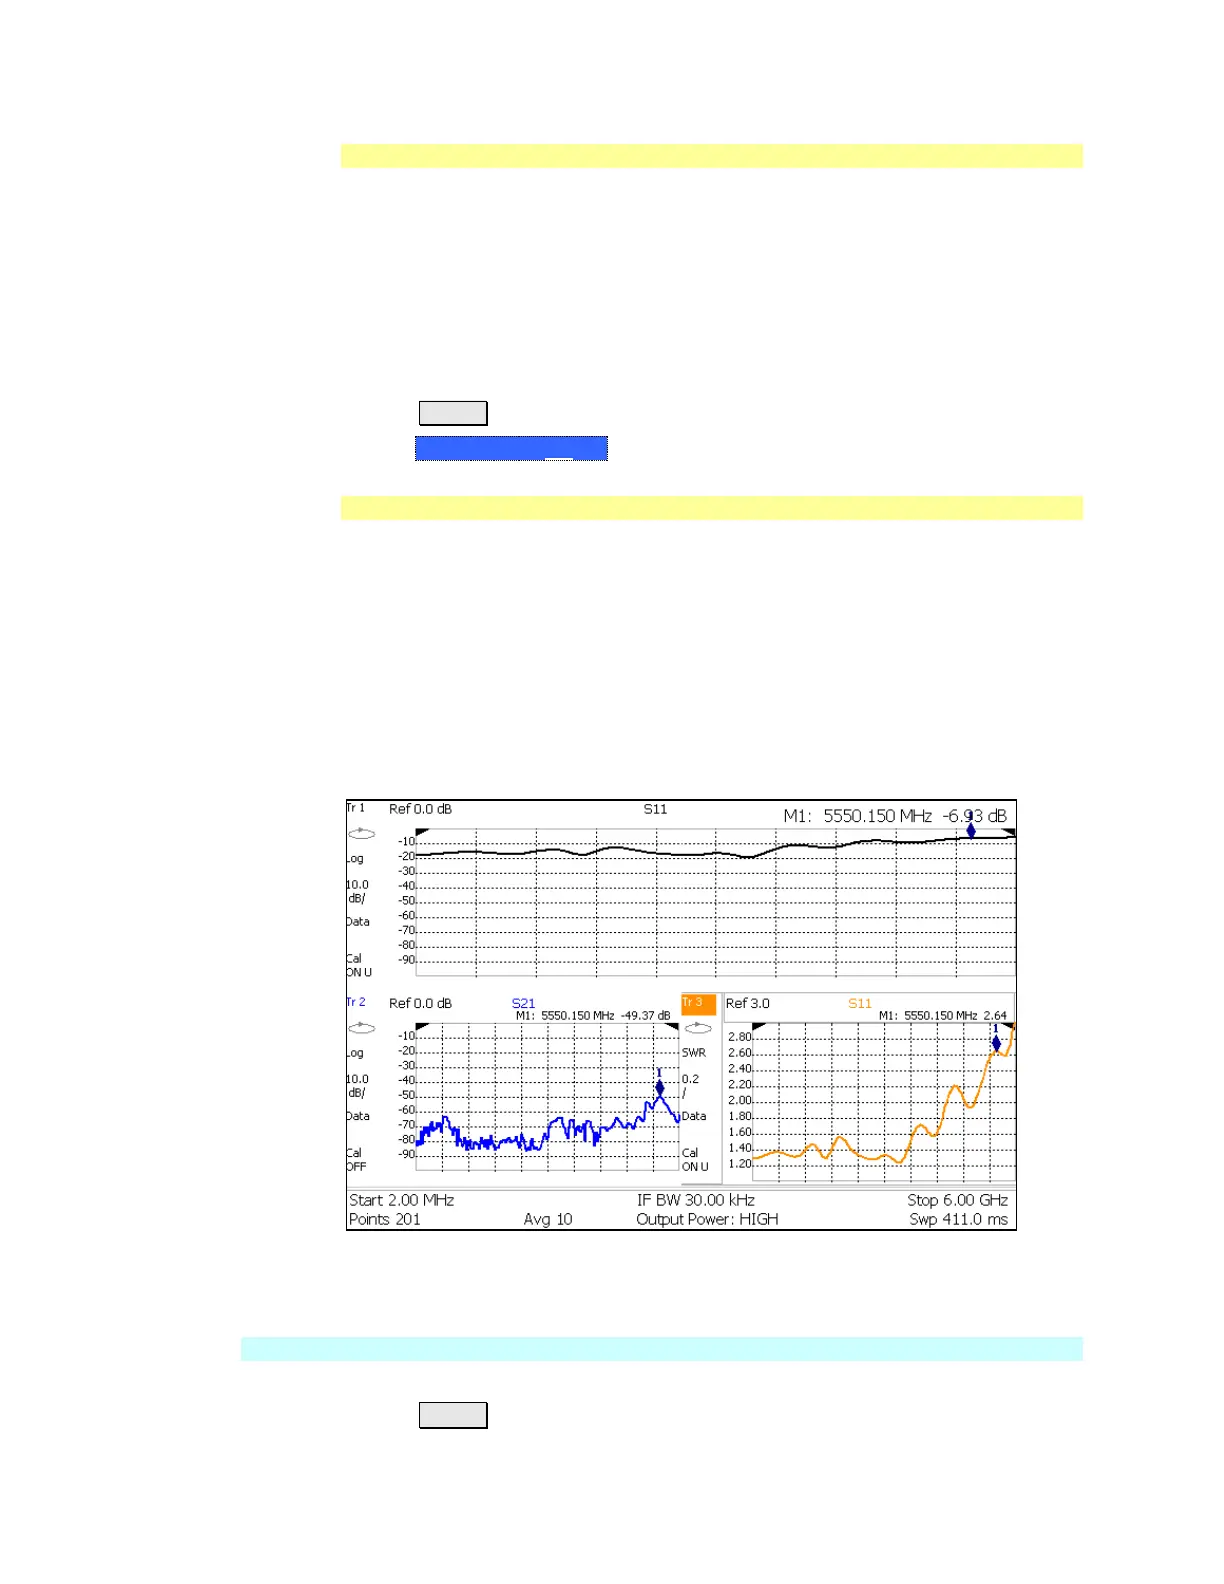
Marker Table
The Marker Table, displayed at the bottom of the FieldFox screen, is used to
simultaneously display information for ALL markers. The Marker table
“squeezes” the graticule area when activated.
With NA Mode multi-trace configurations, the marker table appears for ALL
traces, although some windows show only markers 1, 2, and 3. Learn more about
multi-trace configurations on page 41.
How to display the Marker table
Press Marker.
Then Marker Table On Off.
Coupled Markers
Coupled Markers, available in NA Mode only, allows you to simultaneously create
and move markers that have the same number for all traces. For example, when
marker 2 is created on a trace, a marker 2 is created for ALL traces. When any
marker 2 is moved, they all move together to the same X-axis position.
Coupled markers are relevant only in multi-trace configurations.
All markers are either coupled or uncoupled. There can NOT be one marker
coupled and another uncoupled.
Peak functions move the marker to the peak on the active trace, while all other
markers move to the same X-axis position.
Coupled Markers ON allows Marker 1 to be moved on ALL traces at the same time.
How to create Uncoupled Markers
NOTE Markers are coupled by default.
To create markers that are NOT coupled (move independently on each trace):
Press Marker
 Loading...


