1. Setting Welding Schedules
53
ML-2050A/2051A/2150A
Chapter 2 Various Settings
Introduction Part
Installation and
Preparation Part
Operating Part Maintenance Part Appendixes
Chapter 2
●
Various Settings
1. Setting Welding Schedules
This section explains the method of setting various laser welding schedules
by using the control panel. The set schedules can be protected so that they
cannot be changed.
Welding Schedule Setting Screen
How to see the SCHEDULE, STATUS, POWER MONITOR, and INITIAL screens
to set welding schedules is explained below.
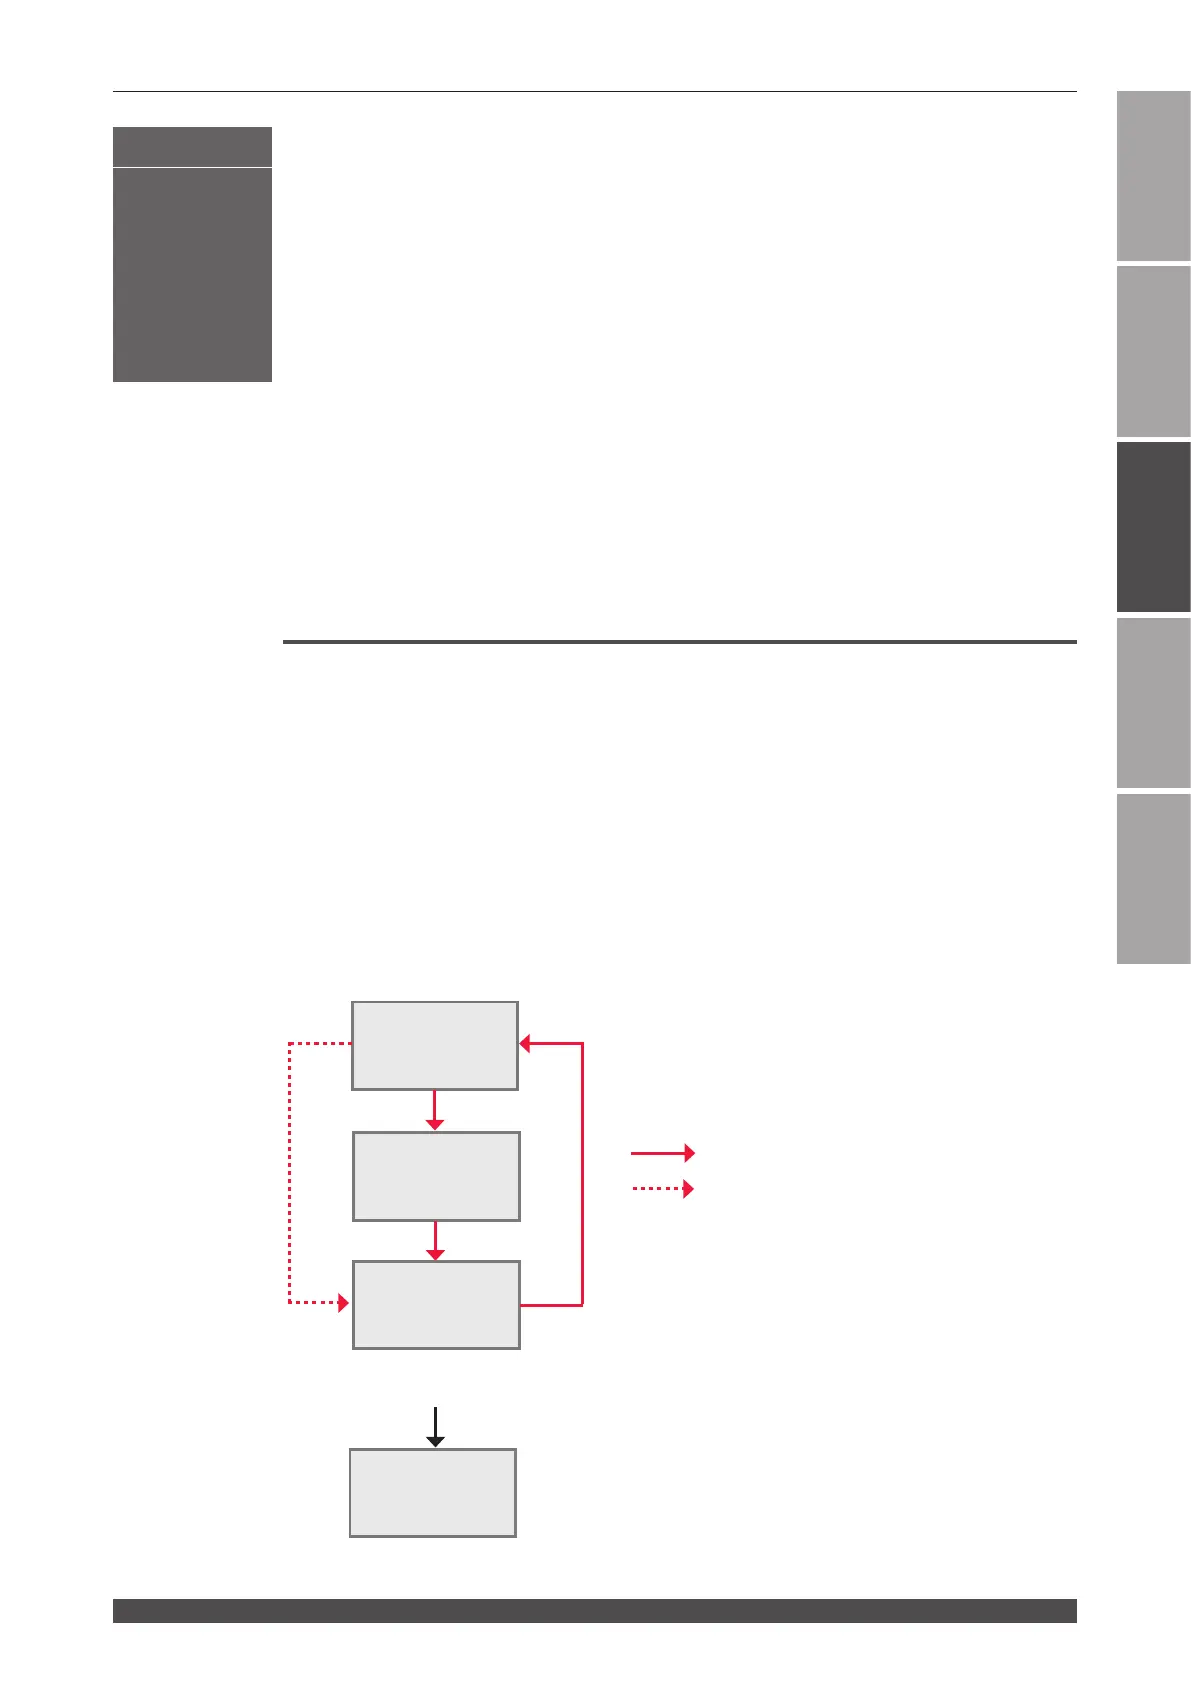
The following 4 screens that are displayed on the control panel are available. While
watching these screens, perform various settings by operating keys provided on the
control panel.
Pressing the MENU key switches the screen on the control panel over to the
SCHEDULE screen, STATUS screen, and POWER MONITOR screen in this order.
When laser light is output, the POWER MONITOR screen is automatically displayed
so as to check the output energy.
Display the INITIAL screen to set the external communication function or select each
function from the personal computer.
STATUS Screen
POWER MONITOR
Screen
SCHEDULE Screen
When the MENU key is pressed
When laser light is output
When the power supply is turned ON with the CONTROL keyswitch OFF and the MENU key pressed.
Operating Part
INITIAL Screen