Manual, Air Module, AH2
Document #9620-20-D-AH2-09
Pinnacle Park • 1031 Goodworth Drive • Apex, NC 27539 • Tel: 919.772.0115 • Fax: 919.772.8259 • www.ati-ia.com • Email: info@ati-ia.com
D-6
5. Troubleshooting and Service Procedures
The following section provides troubleshooting information to help diagnose conditions with the Tool Changer and
service procedures to help resolve these conditions.
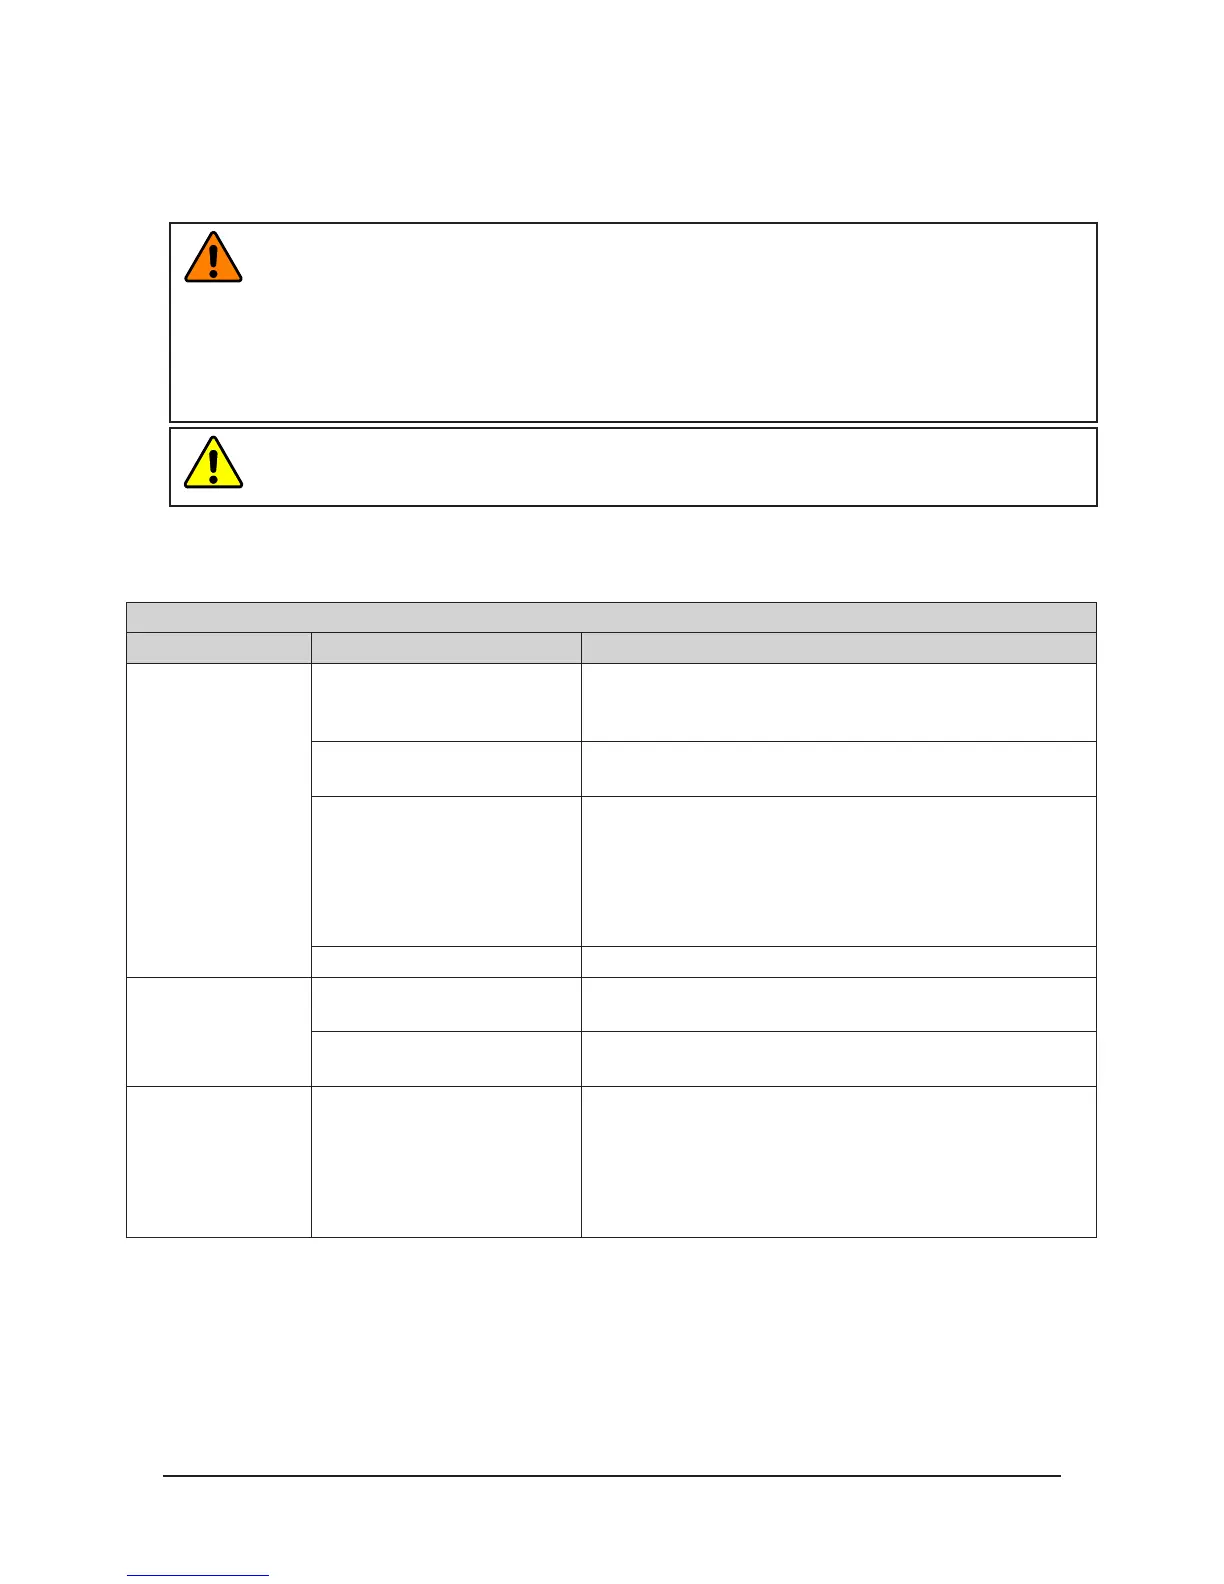
WARNING: Do not perform maintenance or repair(s) on the Tool Changer or modules unless
the Tool is safely supported or placed in the tool stand, all energized circuits (e.g. electrical,
air, water, etc.) are turned off, pressurized connections are purged and power is discharged
from circuits in accordance with the customer’s safety practices and policies. Injury or
equipment damage can occur with the Tool not placed and energized circuits on. Place the
Tool in the tool stand, turn off and discharge all energized circuits, purge all pressurized
connections, and verify all circuits are de-energized before performing maintenance or
repair(s) on the Tool Changer or modules.
CAUTION: Thread locker applied to fasteners must not be used more than once. Fasteners
might become loose and cause equipment damage. Always apply new thread locker when
reusing fasteners.
5.1 Troubleshooting
Refer to the following table for trouble shooting information.
Table 5.1—Troubleshooting Procedures
Symptom Possible Cause Correction
Air Leakage
Damaged/Worn seals
Replace O-rings as needed. Refer to
Section 5.2.1—
Master Side Self Sealing Valve and Section 5.2.2—Tool
Side Self Sealing Valve.
Debris blocking valve seal
(for self-sealing valves)
Clean in and around valve components. Ensure uid
stream is free of large particulates; lter as necessary.
Bent valve piston (for self-
sealing valves)
Replace stem. Refer to
Section 5.2.1—Master Side Self
Sealing Valve and Section 5.2.2—Tool Side Self Sealing
Valve. Check module attachment to Tool Changer.
Refer to Section 2.1—Module Installation. Check robot
program and ensure parallel approach trajectory during
Tool Changer coupling.
Corrosion Consult ATI Applications Engineering for assistance.
Reduced Air Flow
Flow path blockage
Inspect valve components and supply/return lines for
blockage. Clean/repair as necessary.
Debris blocking valve seal
(for self-sealing valves)
Clean in and around valve components. Ensure air
stream is free of large particulates; lter as necessary.
Modules unable to
Couple
Bent valve piston and/or
dowel pin (for self-sealing
valves)
Replace stem. Refer to
Section 5.2.1—Master Side Self
Sealing Valve and Section 5.2.2—Tool Side Self Sealing
Valve. Check module attachment to Tool Changer.
Refer to Section 2.1—Module Installation. Check robot
program and ensure parallel approach trajectory during
Tool Changer coupling.