Page 42 of 479
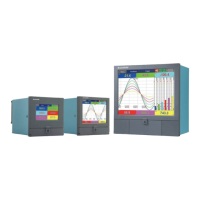
2.2.2.5 Bottom Stand Clips
2-14 Portable Type Bottom Stand Clips
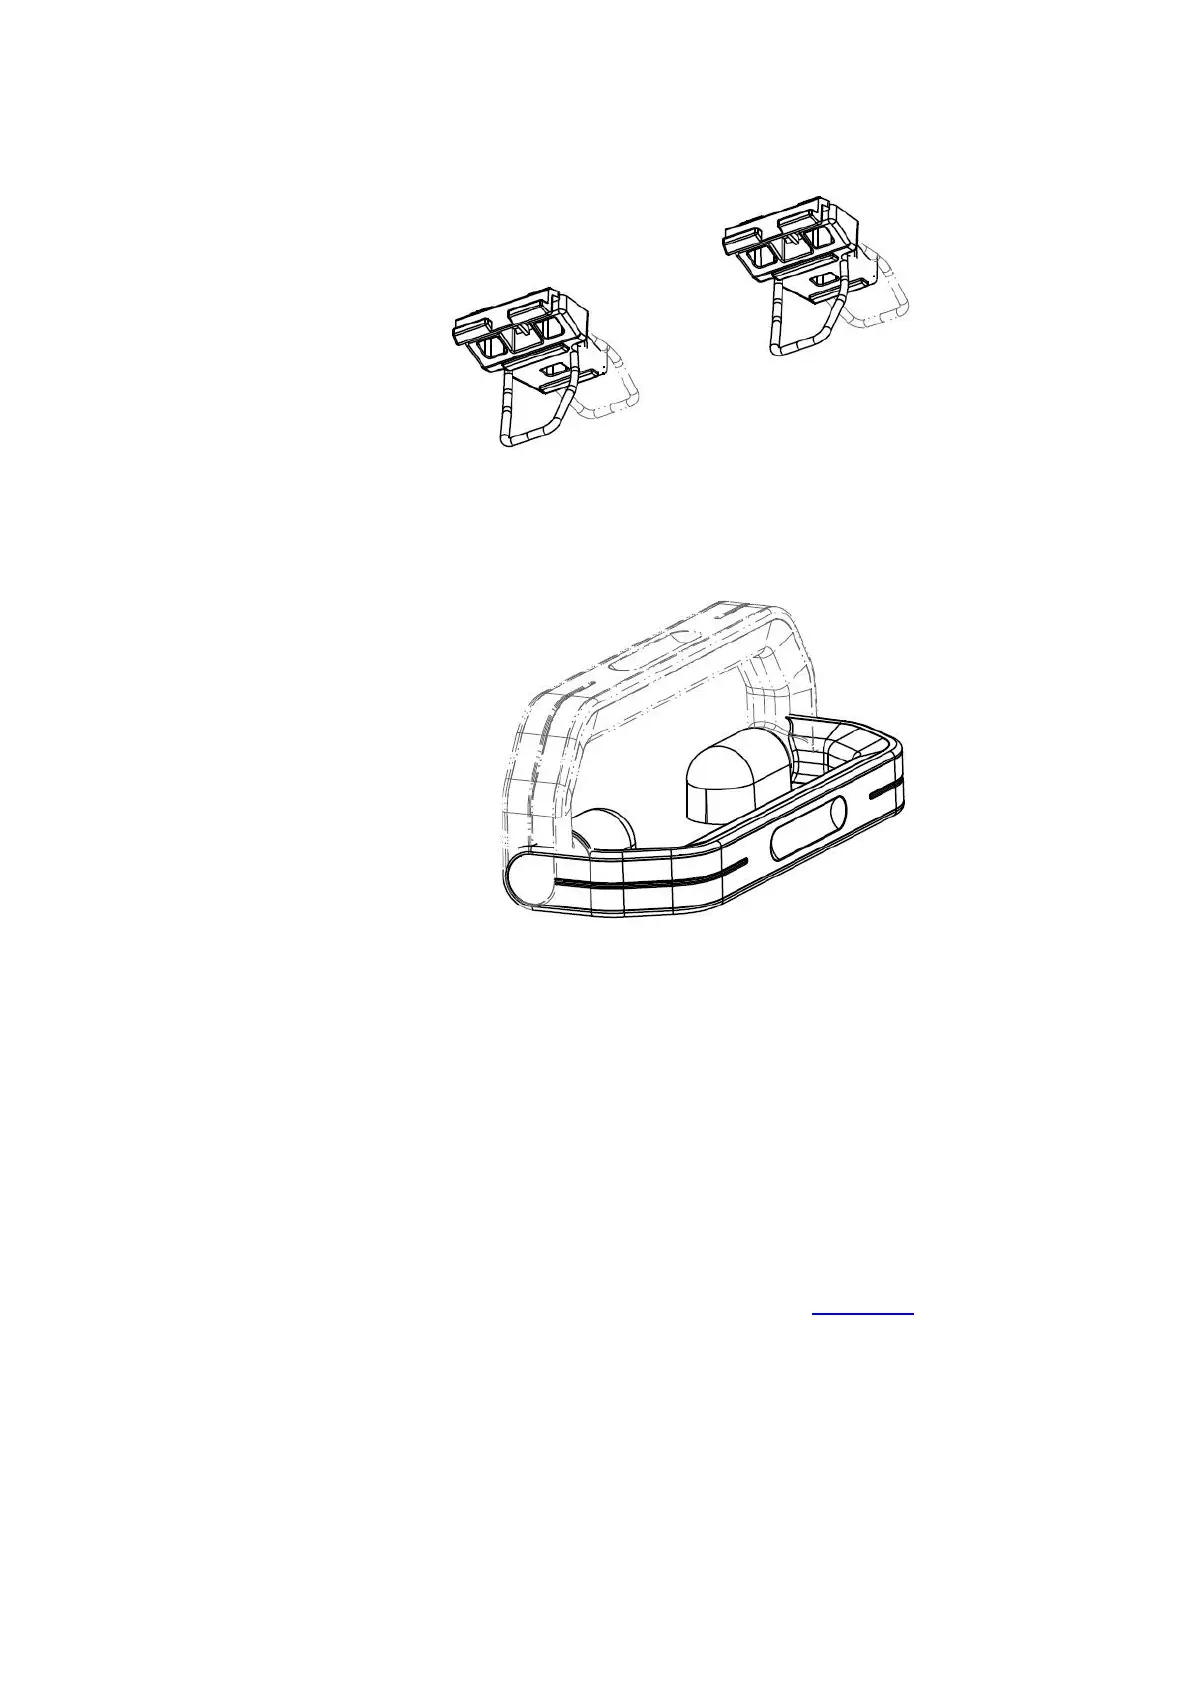
2.2.2.6 Top Holding Handle
2-15 Portable Type Top Holding Handle
2.3 Input and Output Configuration
The Input and Output cards needs to be inserted to the rear slots or removed from the rear slots
at the Power OFF condition. Failure to do so may cause damage to the module or device or both. The
Device will automatically detect the cards at Power ON, once it is inserted in to the rear slots.
2.3.1 Analog Input Card (AI206 & AI203)
AI206 and AI203 are analog input cards with 3 and 6 channels respectively. Each card includes
universal inputs of TC (J, K, T, E, B, R, S, N, L, U, P, W5, W3, LR, A1, A2, A3, and M), RTD, mV, mA, V.
The accepted input types and sensor range for analog input are listed in Chapter 1.9. Plug the AI card into
the rear slot then power on. The recorder will automatically detect the card and display the specific input
type and its location in a specific slot in System Information mode while doing the configuration.
The configuration Menu can be reached by pressing Menu and then pressing more and then
pressing Config key. It will display a tree type configuration layout for easy user configuration. By using
Up/Down Key and Enter Key, AI configuration window can be reached. In this window the user can
configure the AI parameters. The user can select the desired input type and other parameters for analog
input in this window.