EasyManuals Logo

Brainchild PR10 User Manual

Brainchild PR10
479 pages
To Next Page IconTo Next Page
To Previous Page IconTo Previous Page
Page #386 background imageLoading...
Page #386 background image
Page 386 of 479
Discrete
Value for
Band1
Discrete
Value for
Band2
Discrete
Value for
Band3
Discrete
Value for
Band4
Discrete
Value for
Band5
Appearance of
Component
False
True
False
False
False
Shaded Yellow (Band2)
False
False
True
False
False
Original (Band 3)
False
False
False
True
False
Shaded Orange (Band 4)
False
False
False
False
True
Blink Shaded Black (Band
5)
True
True
True
True
True
Blink Shaded Red (Band 1)
False
True
True
True
True
Shaded Yellow (Band 2)
True
False
False
False
True
Blink Shaded Red (Band 1)
False
False
False
False
False
Original (No bands active)
6.3.9.5 Project Tools
6.3.9.5.1 Build
Once the project is compiled successfully, it creates a build. This build then needs to be
transferred to the Recorder. If there are any errors during the preparation of the build, it will be shown in the
output window just below the screen working area. If the Output screen is not visible below the screen
working area, select it via Menu, “View”, and then click “Output” or apply “Reset window layout” from the
Menu-“View”
After creating a build, if any errors are shown at Output window, do not attempt to download the
application from PC to Recorder, or PC to USB flash disk first clear the errors and make sure that
compilation errors are not present before transferring the application to the Recorder.
6.3.9.5.2 Build & Offline Simulation
First, it creates a build, then runs an Offline simulation.
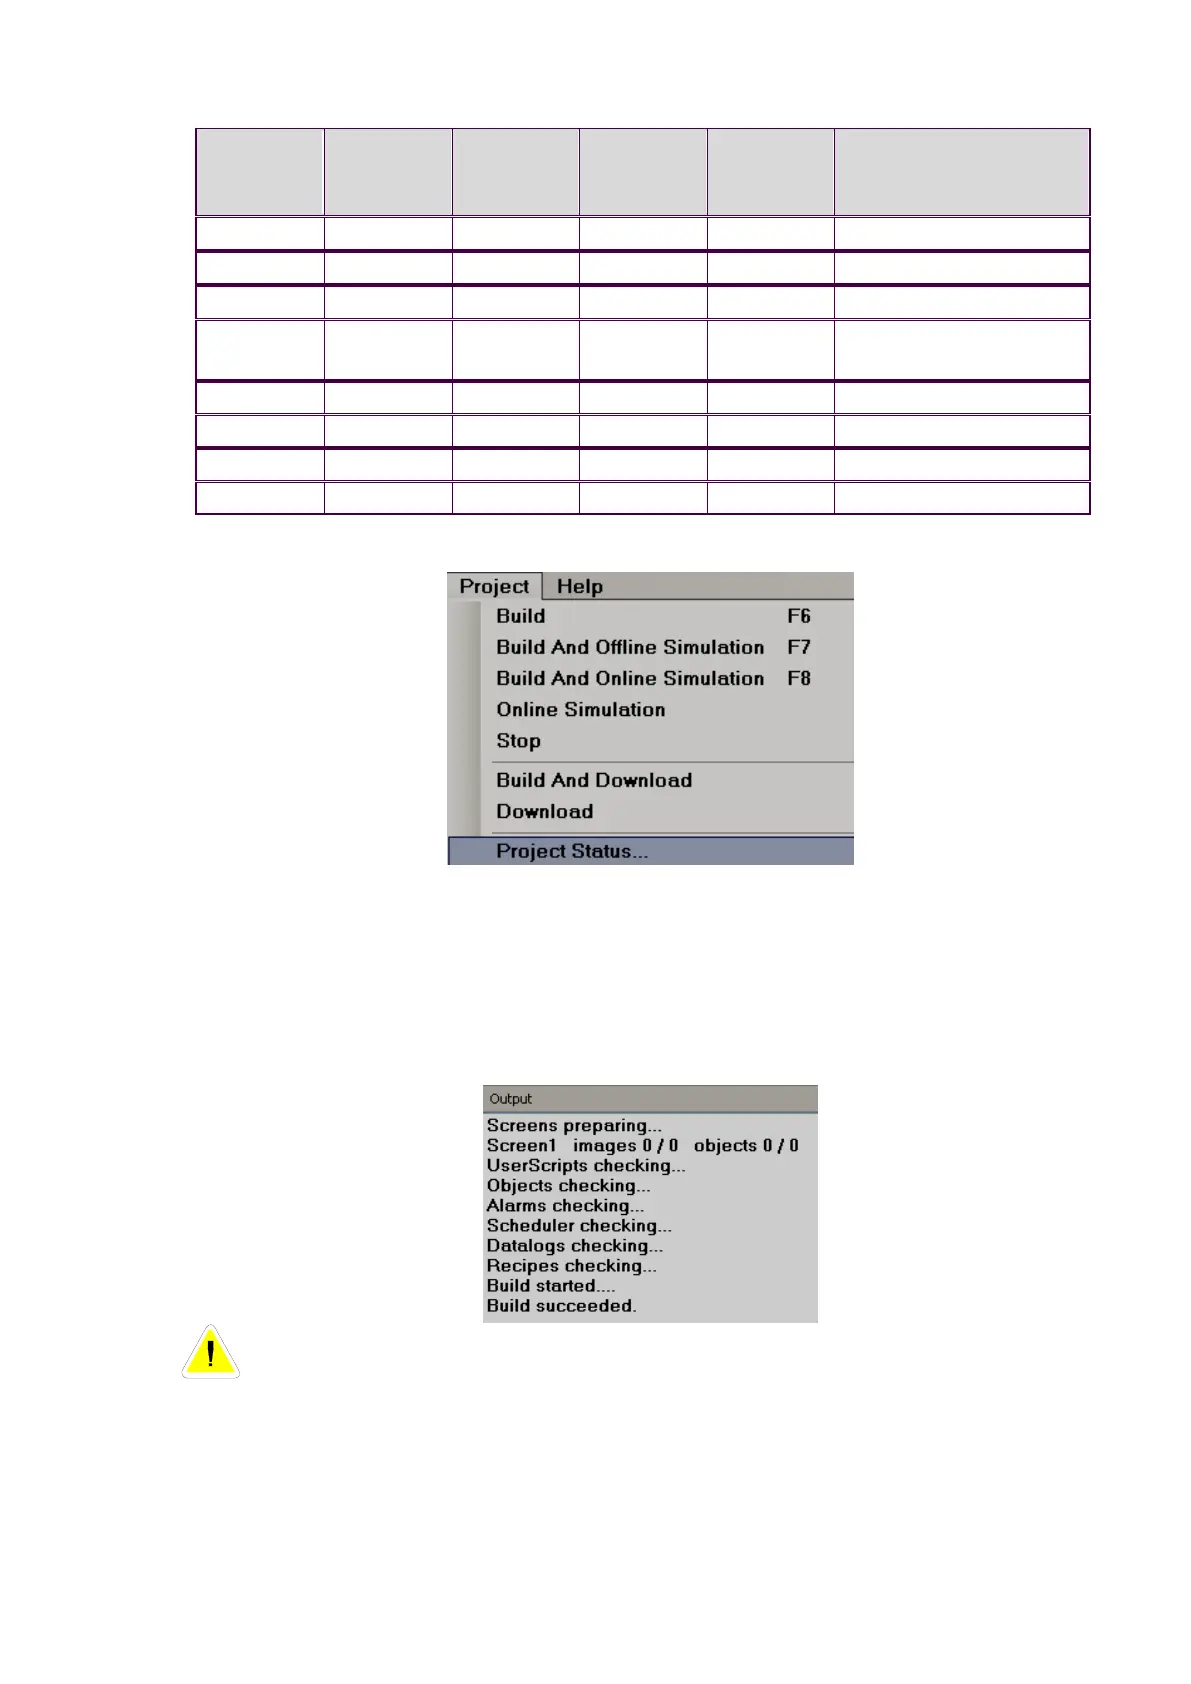
Table of Contents

Questions and Answers:

Question and Answer IconNeed help?

Do you have a question about the Brainchild PR10 and is the answer not in the manual?

Brainchild PR10 Specifications

General IconGeneral
BrandBrainchild
ModelPR10
CategoryMeasuring Instruments
LanguageEnglish

Related product manuals