CS 7600_User Guide (8J4071)_Ed04 17
When using Image Acquisition, clicking the arrow (under the Toothpicker icon) allows
selecting individual teeth in either child or adult dentitions.
(To clear the selection, click the tooth again.)
8 Imaging
Software
Details
Clicking the CS 7600 Icon provides the imaging software details.
9Scan
Resolution
The scan resolution to apply when tagging information on an imaging plate with the Scan
& Go device. To change the scan resolution for the current exam acquisition, click the
required icon before you tag the imaging plate:
High Speed (HS)
High Resolution (HR)
Super High Resolution (SHR)
10 Images
Display area
This area displays the images according to one of the dental standard layouts determined
by the Default template selection in the “General Settings Tab” tab.
11 Images
Gallery
Useful for storing images when rearranging the layout, or for discarding an image when
necessary.
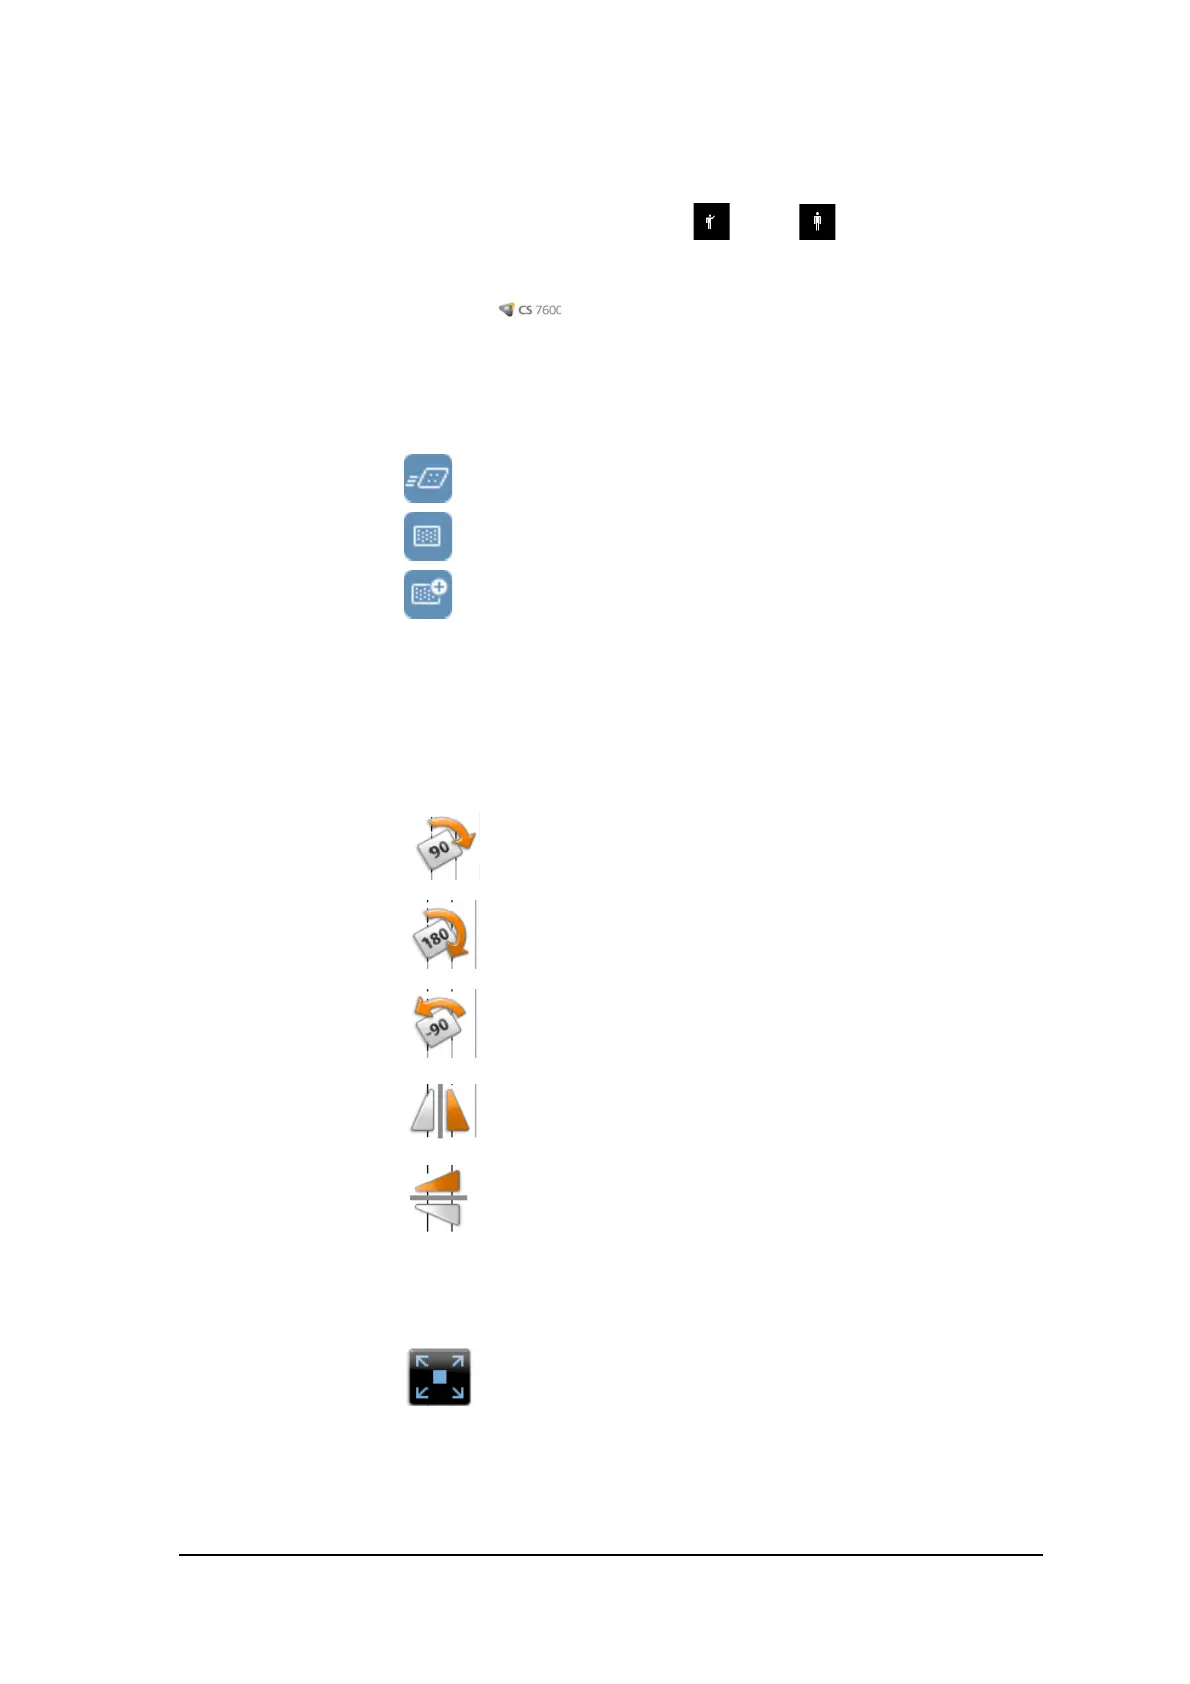
12 Orientation
Buttons
Click to rotate the selected image 90 degrees clockwise.
Click to rotate the selected image 180 degrees.
Click to rotate the selected image 90 degrees counter clockwise.
Click to flip the selected image vertically (Mirror inversed images).
Click to flip the selected image horizontally (Mirror inversed images).
13 Preview Panel Displays the active frame’s image (if frame is populated). You may apply the processing
and comments to the preview image.
14 Full Screen Click to display the image in a separate, full screen window (dark room
mode)
Tab le 1 Image Ac quisition Interface Key