18 Chapter 3 Software Overview
15 Comments &
Exposure
Val ues
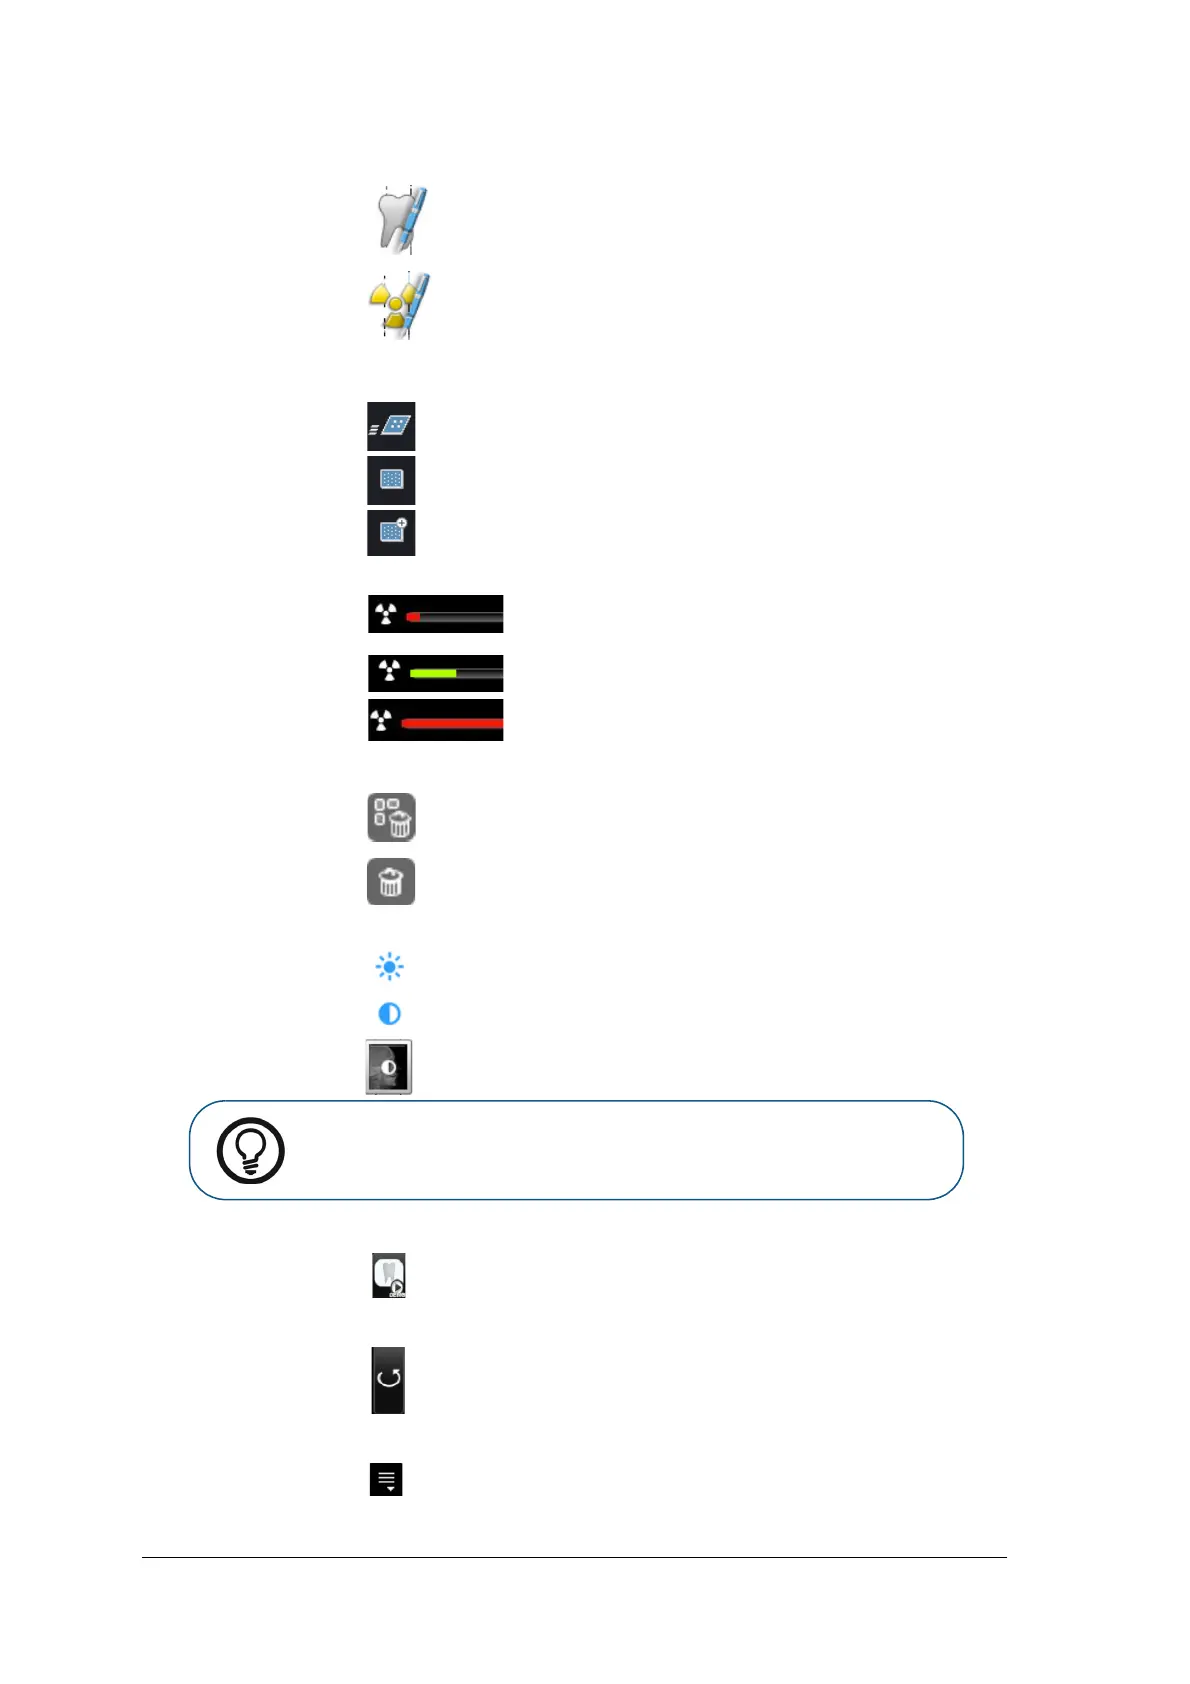
Click to add a comment to the image (The comments will be added to the
DICOM tags of the image and can be viewed later using the Imaging Software
or DICOM viewer.)
Click to enter custom X-ray exposure values. This information is inserted in
the image’s DICOM header. Otherwise the default exposure values as defined
in the “General Settings Tab” are inserted in the DICOM header.
16 Selected Image
Resolution
Indicates the selected image’s resolution level (in the preview image panel):
High Speed (HS)
High Resolution (HR)
Super High Resolution (SHR)
17 X-ray
Exposure
Indication
Partly red, indicates an underexposed image. Review the X-ray
technique and consider increasing the exposure values for better
image quality and diagnosis.
Green, indicates good exposure values.
All red, indicates that the image is over exposed. Review the X-ray
technique and consider lower exposure values for better image
quality and diagnostics.
18 Delete
Click to delete ALL images from the Images Gallery.
Click to delete the selected image from the Images Gallery.
19 Image
Brightness and
Contrast
Use the brightness slider to manually adjust the image’s brightness.
Use the contrast slider to manually adjust the image’s contrast.
Click to apply an automatic optimization of brightness and contrast.
20 Demo Mode
Populates one frame in the images display area with a demo image each time the
icon is selected.
21 Refresh
Click to refresh the Scanner List.
22 Close Scanner
List
Click to close Scanner List.
Table 1 Image Acquisition Interface Key
Tip: Image Brightness and Contrast may also be adjusted by holding the
mouse button over the image and dragging vertically, for contrast, and
horizontally, for brightness.