III. Removal/Installation and Overhaul of Rear Brake
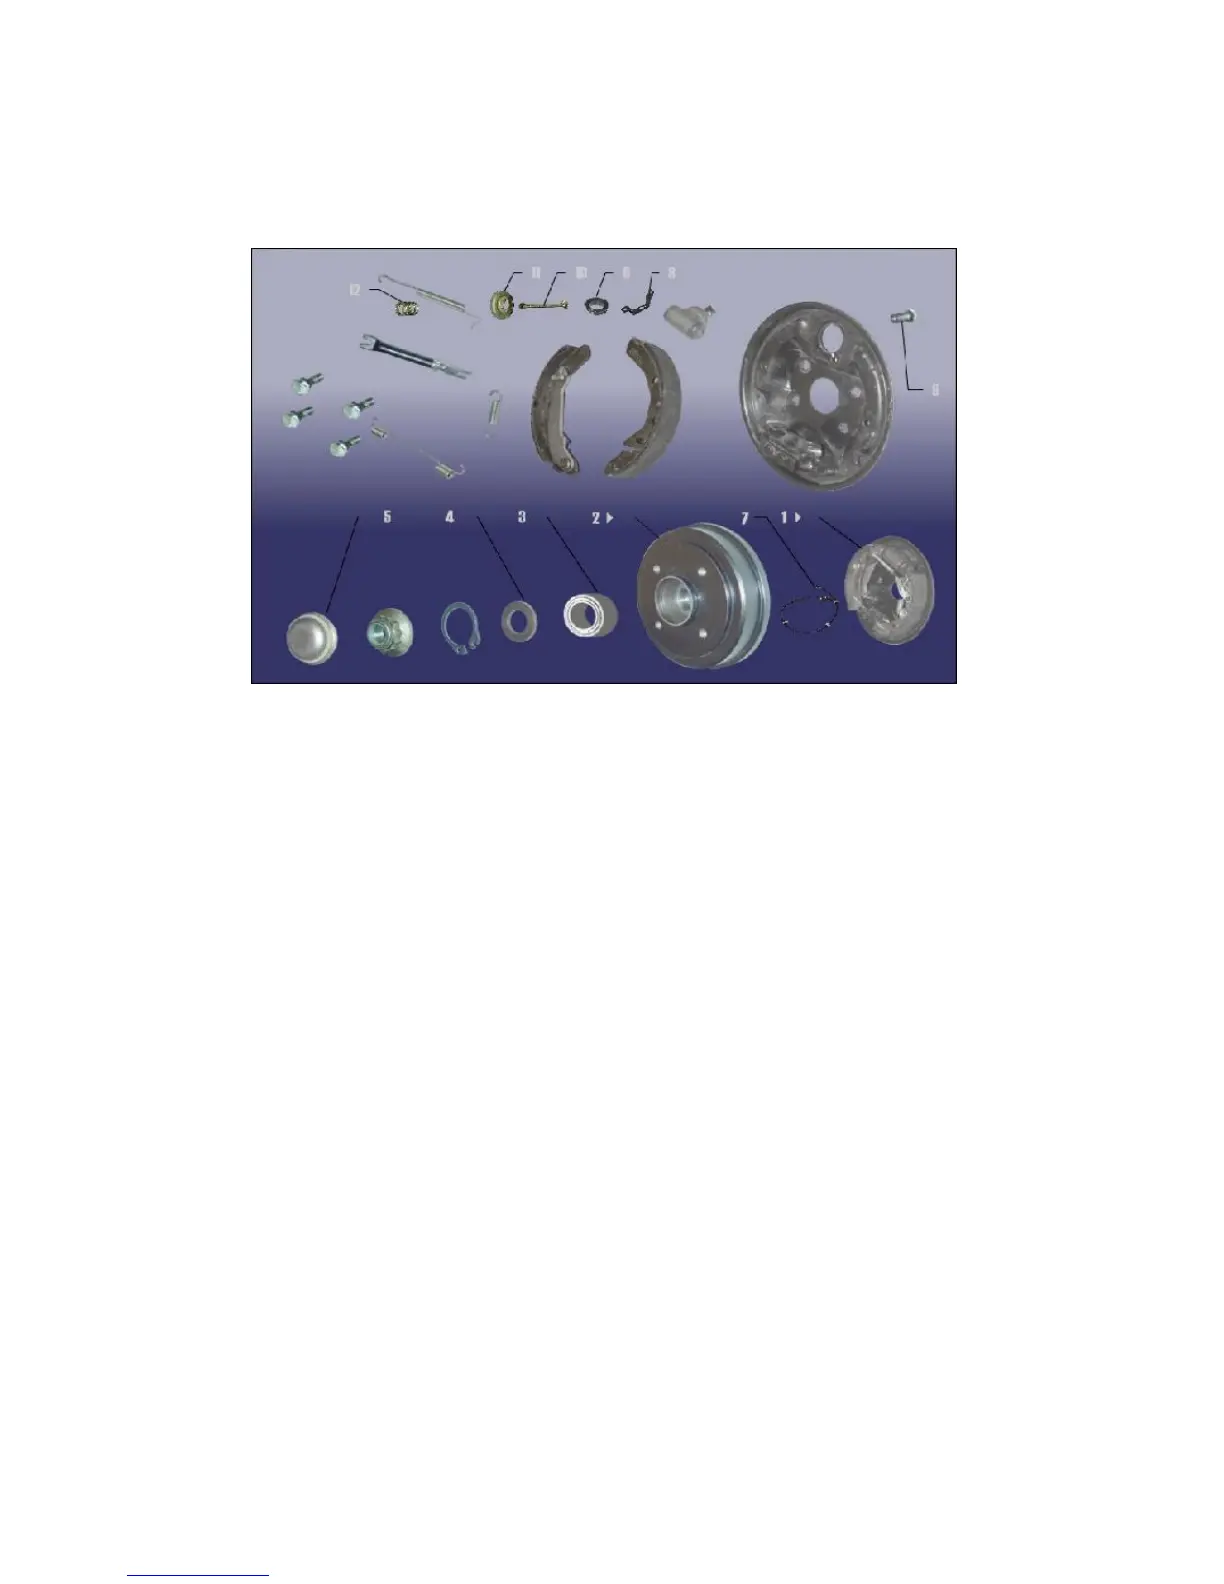
1. System Structural Diagram
1. Rear brake assembly 2. Brake drum
3. Rear wheel hub bearing assembly 4. Oil seal
5. End cap 6. Bolt
7. Rear wheel sensor 8. Rear brake hose retaining clip
9. Dual-port pipe clip 10. Tie rod
11. Rear shoe pressure spring plate 12. Rear shoe pressure spring
2. Preparations
Tools:
Ratchet wheel, ratchet lever, 10#, 19#, 32# socket, 10# ring wrench,
vice, torque wrench, slotted screwdriver.
Accessories: brake fluid
3. Notices
3.1 Please wear necessary labor protection supplies to avoid
accidents.
3.2 The brake liquid is one toxic liquid. In event of contact with the
skin or eyes due to carelessness, flush with a great amount of water
and if necessary call for medical treatment timely.
3.3 The scrapped brake liquid should be accommodated in the
container. It’s prohibited to drain it into the sewage system or stack
with other household garbage.
3.4 Do not depress the brake pedal nor move the vehicle during the
removal/installation operation.
3.5 Do not make the friction lining or brake disc come contact with
the oil substances, which will impair the braking effects.