Chapter V Removal and Installation of Headlights, Fog Lights & Tail Lights
1. Preparations
Tools: 10# open-ended wrench, cross head screwdriver.
2. Notes
2.1. Please wear necessary labour protection supplies to avoid any
accidents.
2.2. Try to avoid scratching the painted surface of the bumper when
removing it.
2.3. When removing the bumper in colder environment, operate
gently to avoid cracking it.
2.4. When disassembling the headlights, violent operation may
damage their clips on the bumper, so operate properly.
2.5 Pay attention not to scratch the headlight surface when
disassembling and placing it.
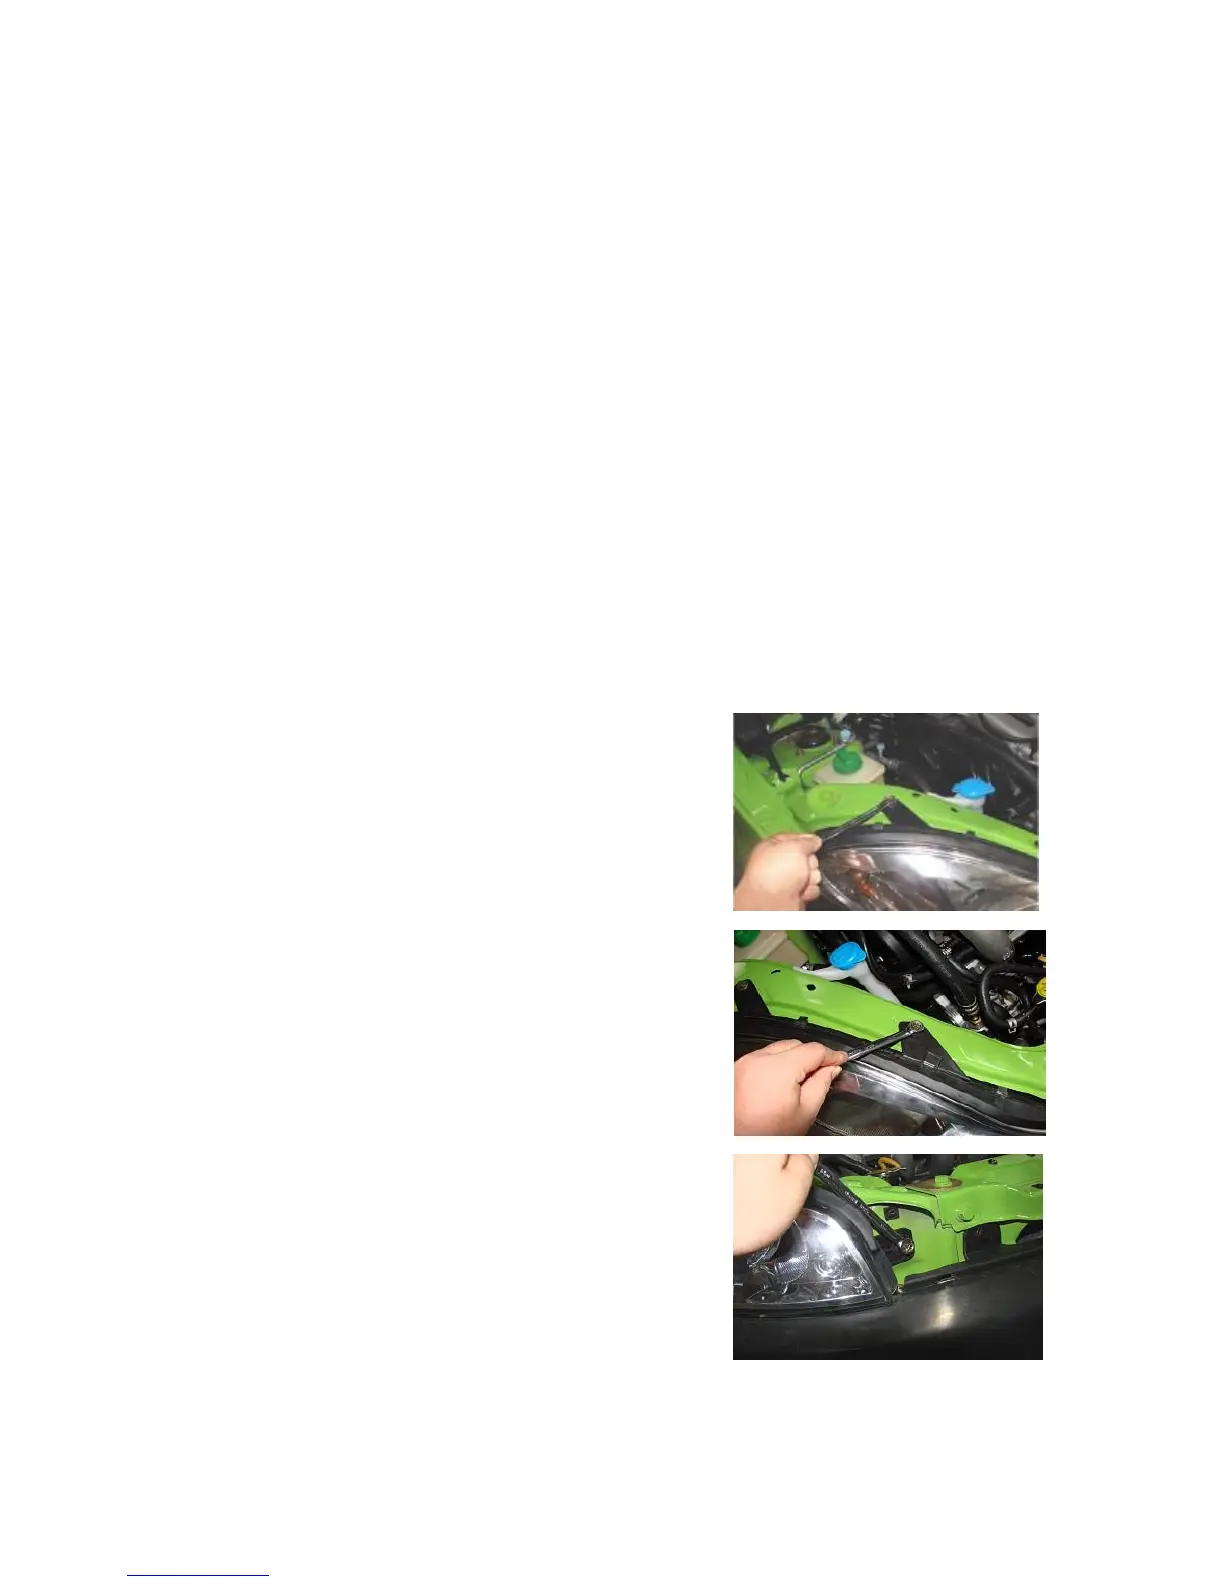
3. Removal Steps of Headlights
3.1. First open the front hood.
3.2. Use a 10# open-ended wrench to loosen off the three fixing
screws of the right headlights on the front compartment member.