II. Instructions on Main Connectors
III. Removal and Installation of Tail Door In-door harness
Part number: S12-3724160
(I). Preparations
Tools: sleeve wrench, cross head screwdriver, flat head screwdriver
(II). Notes
1. Do not use too much force when getting the harness through the hole in the vehicle body plate work, or the
harness may get damaged and result in short circuit.
2. When disassembling the electrical components and harness, please disconnect the power supply.
3. The ignition switch must be OFF.
(III). Removal and Installation Steps
1. Removal
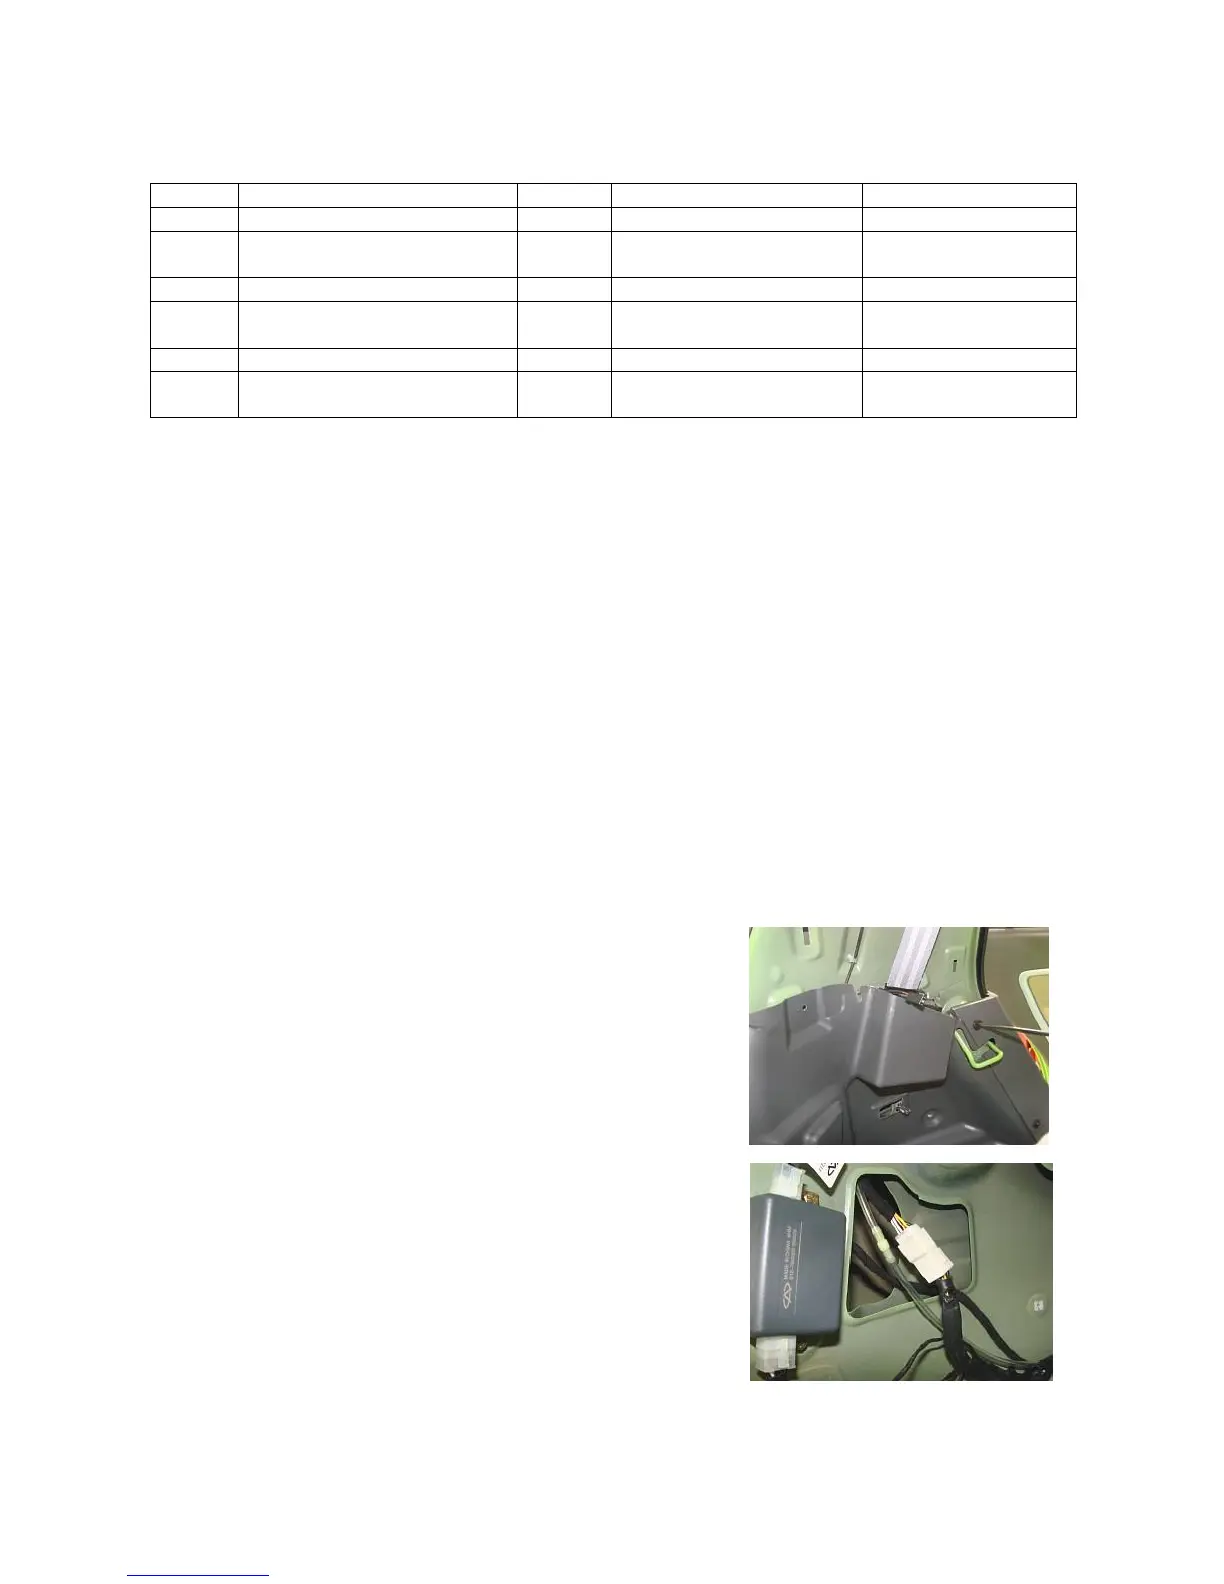
1.1.1. Use a cross head screwdriver to remove the left C-pillar inner
shield.
(See Removal of Vehicle Body Accessories)
1.1.2. Unplug the harness plug forming abutt-joint with the in-door
harness.
No Connector Name Pins Connection Remark
1 To in-door harness connector 6 In-door harness
2 High mount brake light
connector
2 High mount brake light
3 Trunk switch connector 2 Trunk switch
4 To defroster positive harness
connector
2 Defroster positive harness
5 Rear wiper motor connector 3 Rear wiper motor
6 Ground 1 Vehicle body plate work On the tail door plate
work