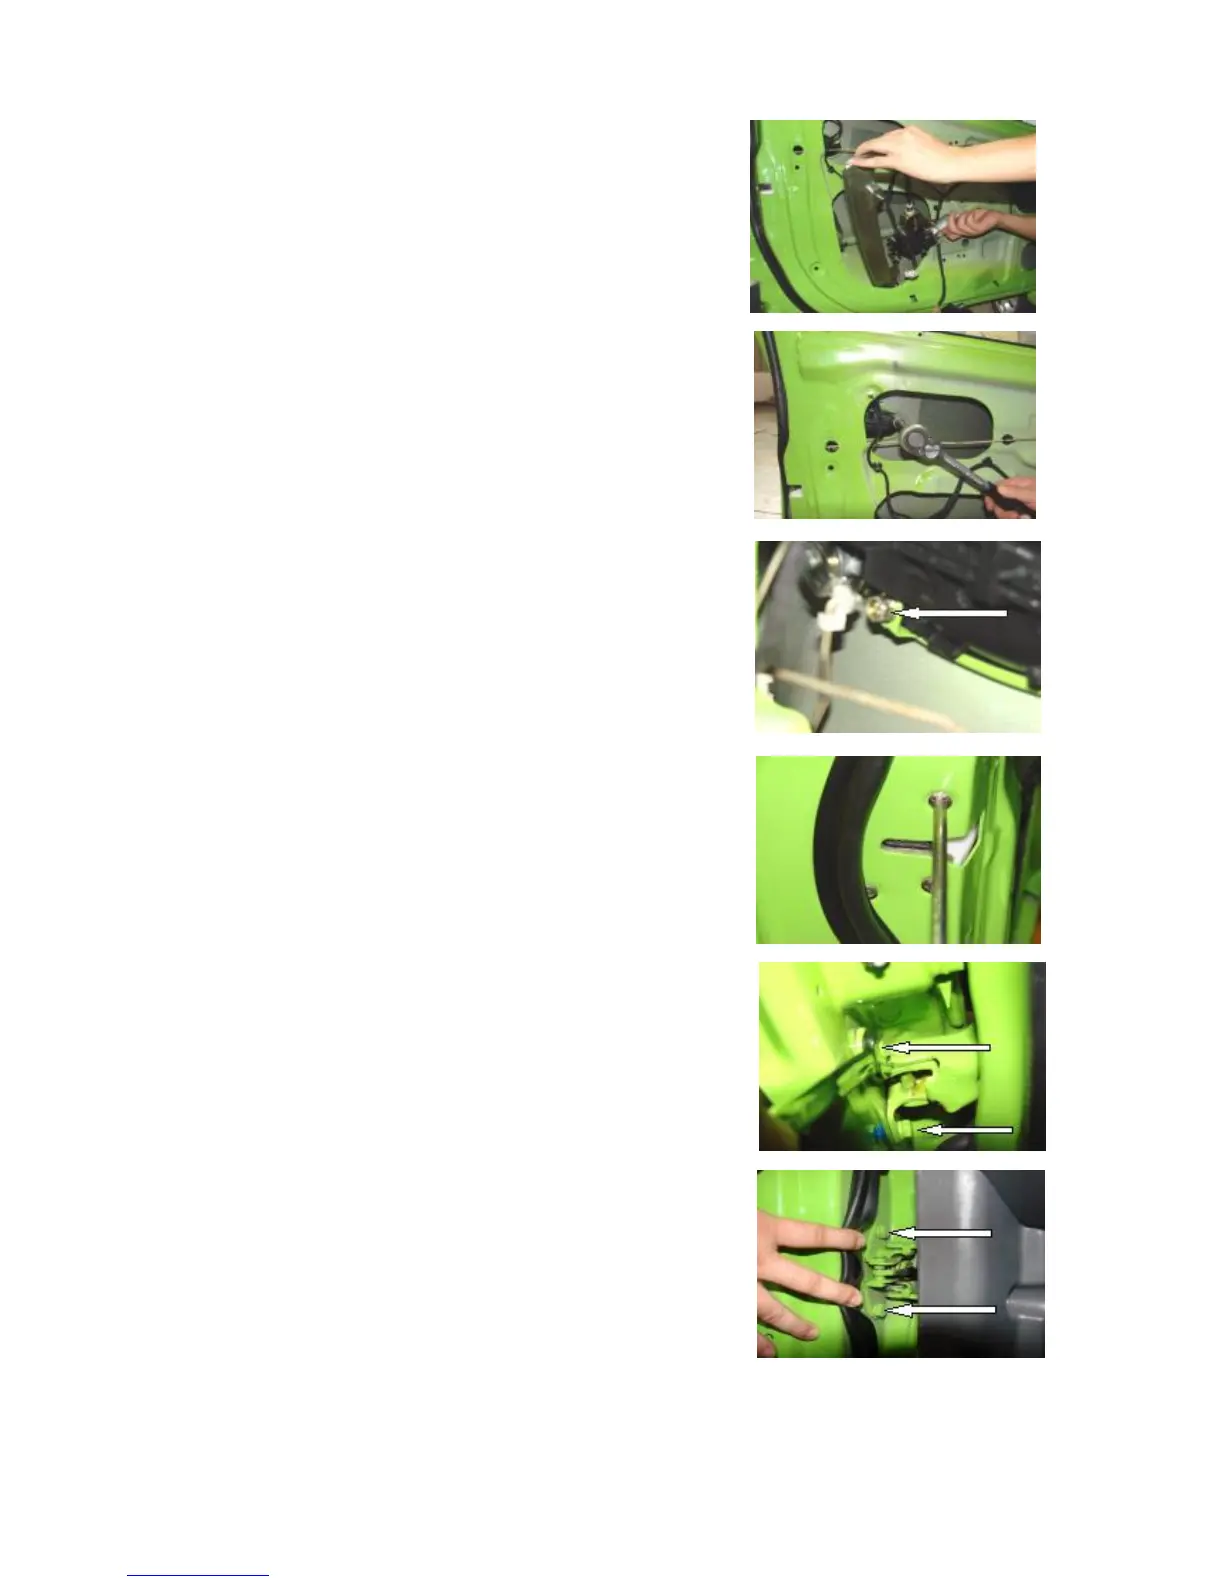
4.16. Use a 10# sleeve wrench to loosen off the two fixing screws
and remove the lock outside the door.
4.17. Use a cross head screwdriver to loosen off the three screws
fixing the lock core and remove it.
4.18. Use a 13# sleeve wrench to loosen off the four fixing screws at
the hinge that fixes the vehicle door, and then the vehicle door can
be disassembled.
5. Installation Steps
The installation steps are reverse to those for removal.
Note: The removal steps for the right-front door are the same as
those for the left-front door.