7.1.3. Follow the the removal steps of the right A-pillar shield for
that of the left one.
7.2. Installation Steps
The installation steps are reverse to those for removal.
8. Removal and Installation of B-pillar Shield
8.1. Removal Steps
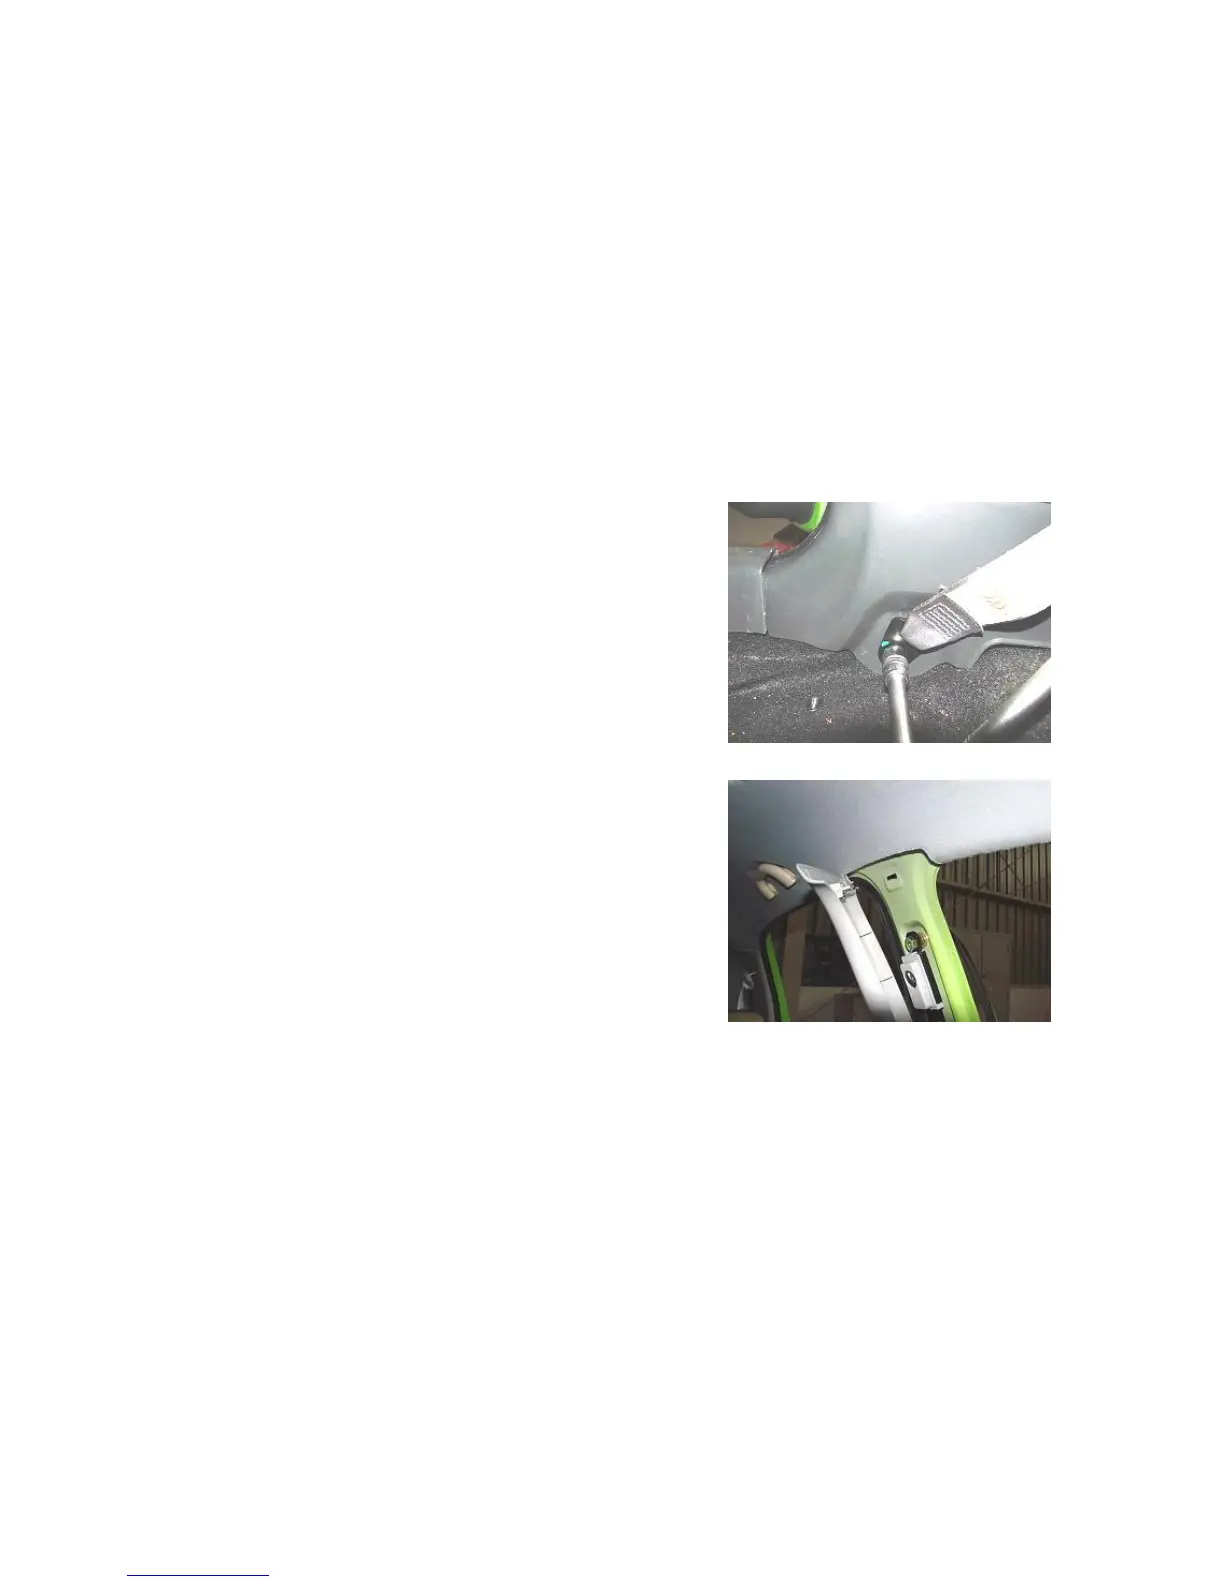
8.1.1. Disassemble the shield below the left B-pillar (See Removal
and Installation of Seat belt).
8.1.2. Use a flat head screwdriver to pry open the B-pillar shield.
Note: protect the trim part surface from scratching.
8.1.3. Follow the removal steps of the left B-pillar shield for
removal of the right B-pillar shield.
8.2. Installation Steps
The installation steps are reverse to those for removal.