II. Instructions on Main Connectors
III. Removal and Installation of Left-front door in-door harness
Part number: S21-3724070
(I). Preparations
Tools: sleeve wrench, cross head screwdriver, flat head screwdriver
(II). Notes
When disassembling the electrical components and harness, please disconnect the power supply.
The ignition switch must be OFF.
(III). Removal Steps
1. Removal
1.1. Disassemble inside door shield. (See Removal of Inside Door
Shield)
1.2. Remove the inside door protecting film.
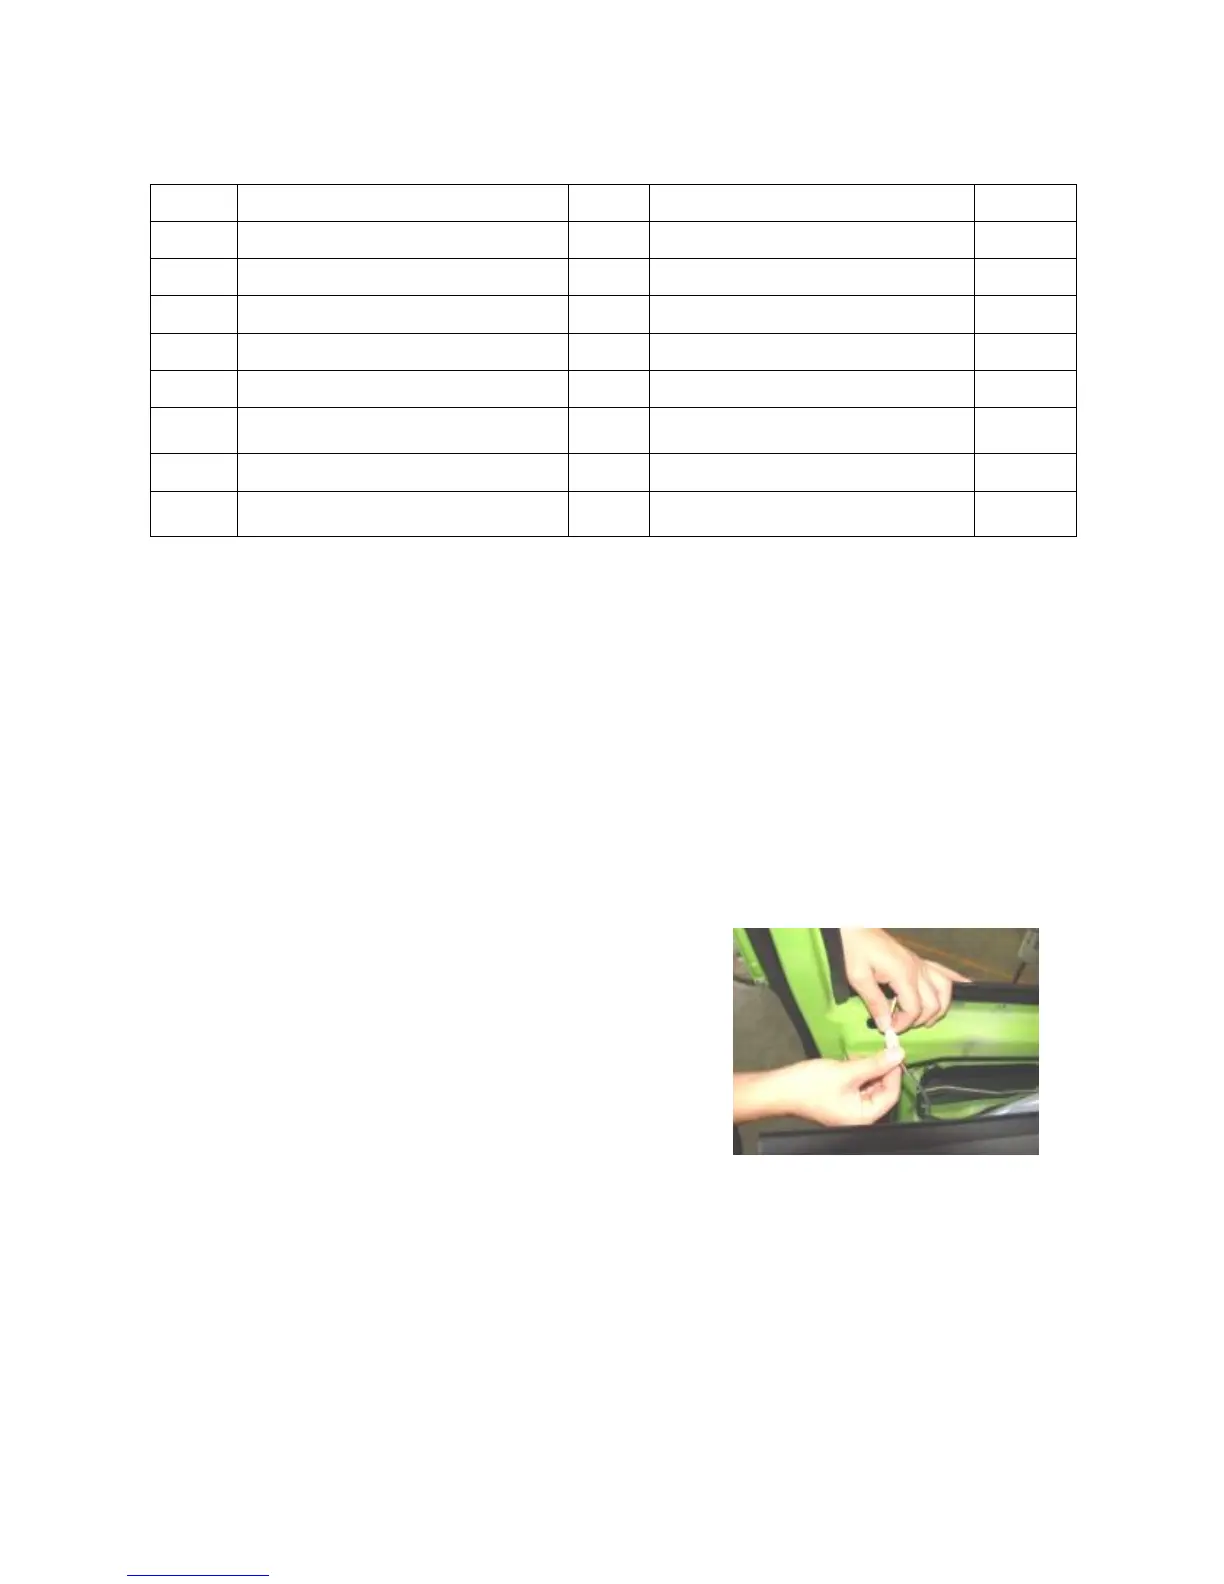
1.3 Unplug the left-front door remote control connector.
No Connector Name Pins Connection Remark
1 To in-door harness B connector 10 In-door harness B
2 Left-front window motor connector 2 Left-front window motor
3 Left-front window switch connector 16 Left-front window switch
4 To in-door harness A connector 14 In-door harnessA
5 Left-front speaker connector 2 Left/front speaker
6 Power rearview mirror /left turning
light connector
3 Power rearview mirror /left turning
light
7 Left-front door lock connector 4 Left-front door lock
8 Left-front door remote control
connector
2 Left-front door lock