2. Preparations
Tools: 11#, 13#, 15#, 16#, 16#, 19#, 30# socket, Slotted screwdriver,
priers.
3. Notices
3.1 Please wear necessary labor protection supplies to avoid
accidents.
3.2 Notice to lock the safety lock of the elevator during the repair of
the chassis.
3.3 When carry out removal/installation to shock absorber spring,
prevent spring ejection from being injured.
4. Removal/Installation Procedure
4.1 Removal of Shock Absorber Assembly and Shock Absorber
Spring.
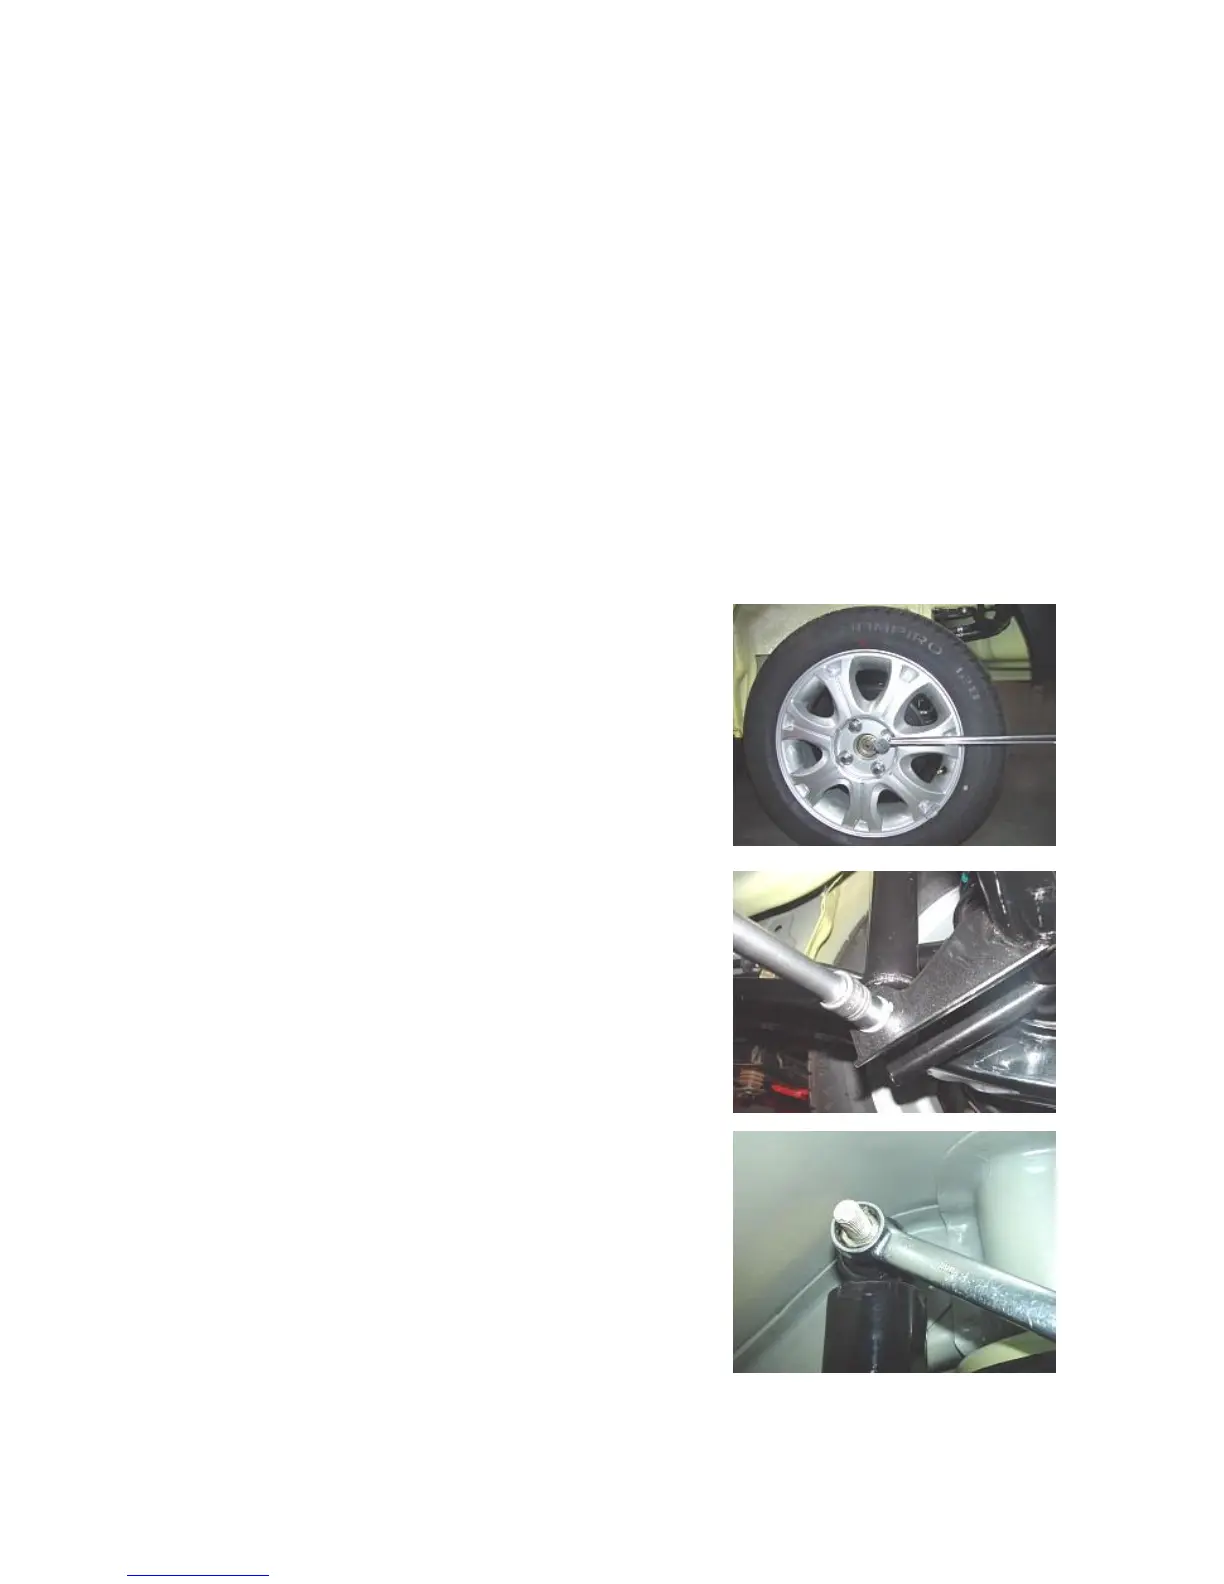
4.1.1 Remove the tire fixing nuts with 19# torque wrench or vehicle
attached wrench to remove the tire (take left side for instance).
Torque: 110±10 Nm
4.1.2 Remove the connecting bolts of shock absorber assembly and
rear axle with 18# socket.
Torque: 100±10 Nm
4.1.3 Remove the connecting bolts of shock absorber assembly and
vehicle body with 18# socket to remove the shock absorber
assembly.
Torque: 100±10 Nm