Chapter I Front Hood & Trunk
I. Removal and Installation of Front Hood
1. Preparations
Tools: Flat head/cross head screwdriver, socket wrench, snipe nose
pliers
2. Notes
2.1. During removal and installation, be particularly careful to apply
proper strength and no abrupt or violent operation is allowed.
2.2. During removal and installation of the trims, be particularly
careful to avoid surface scratch of them.
3. Removal and Installation of Front Hood Accessories
3.1. Removal Steps
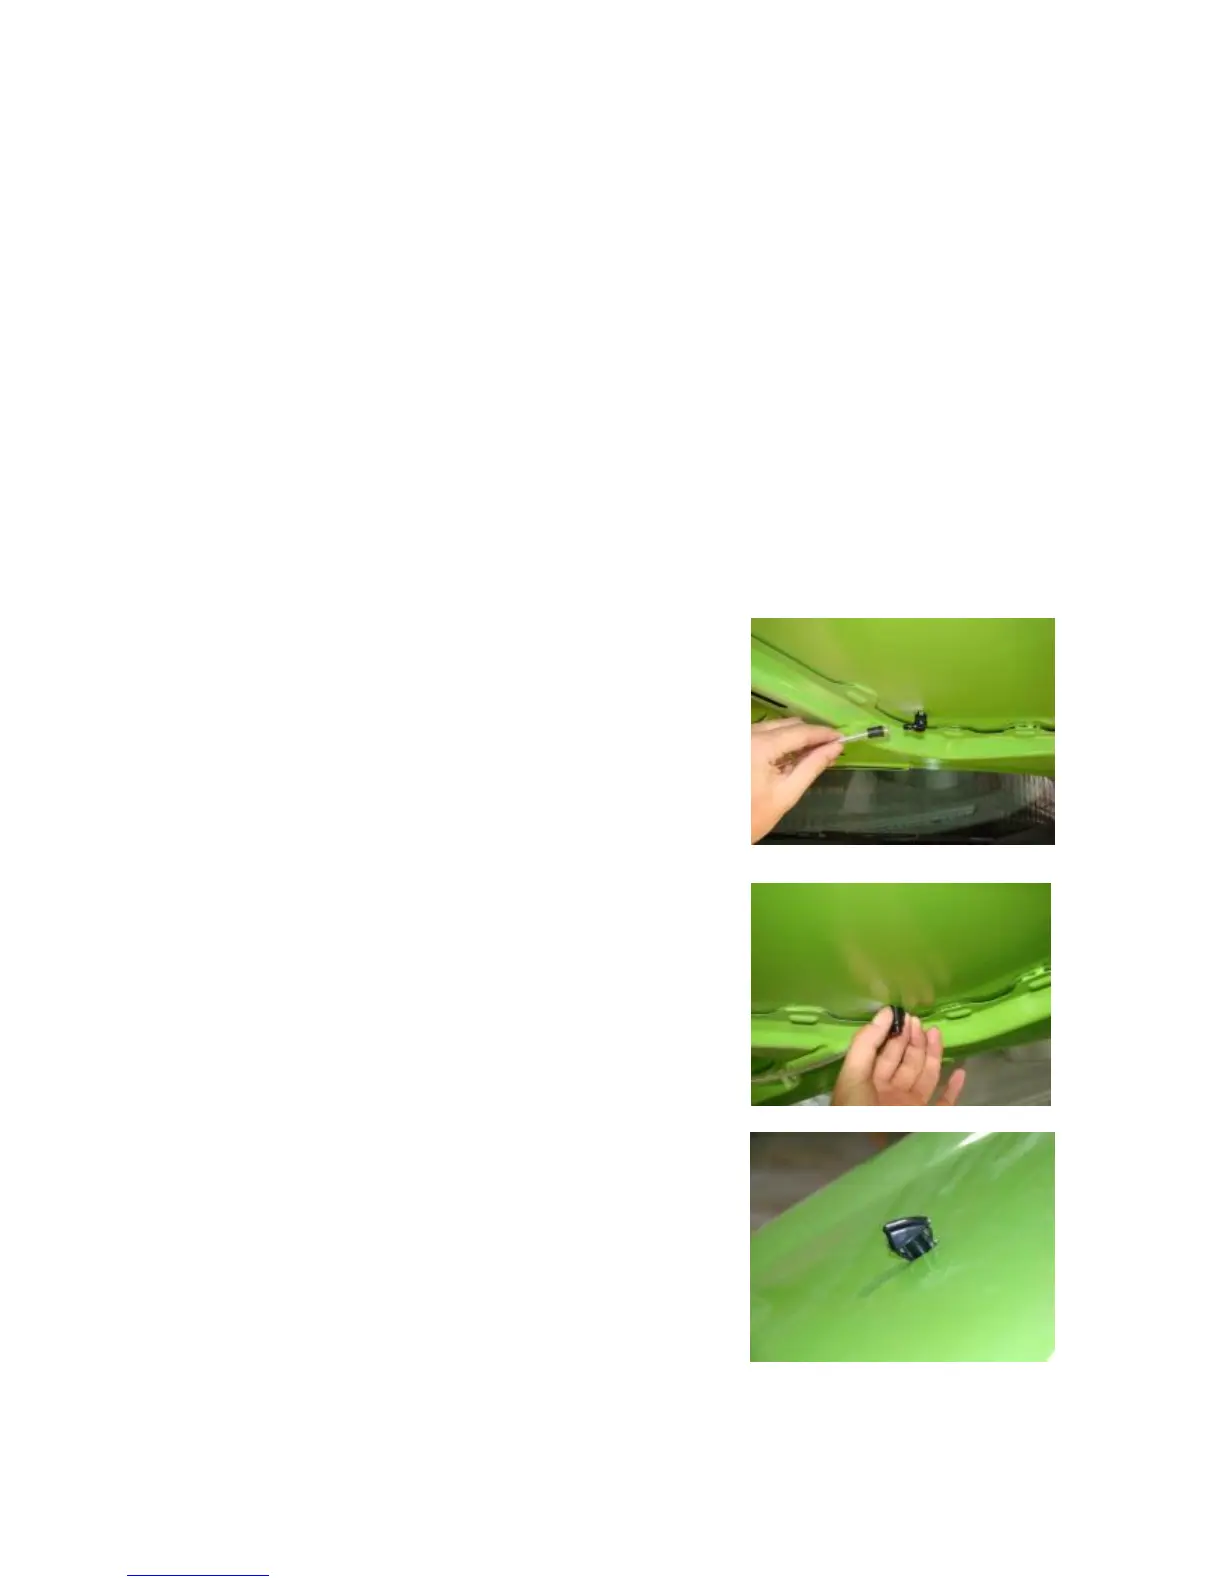
3.1.1. Pull off the detergent
hose.
3.1.2. Press down the water nozzle clip from under the front hood,
and then push it up while removing the noozle outward.
3.2. Installation Steps
The installation steps are reverse to those for removal.