2. Preparations
Tools: 8#, 15#, 18#, 19# socket; 10#, 13#, 15# wrench.
3. Notices
2.1 Please wear necessary labor protection supplies to avoid accidents.
2.2 When carry out maintenance and repair to chassis, please note that whether the safety lock of lifting
machine is locked.
2.3 When carry out removal/installation to shock absorber spring, prevent spring ejection from being injured.
2.4 It’s prohibited to conduct the welding and correction on the bearing components of the wheel suspension
and the guiding components of the wheels.
2.5 During the removal of the chassis component, renew the self-lock nuts and rusted nuts so as to guarantee the
safety.
4. Removal/Installation Procedure
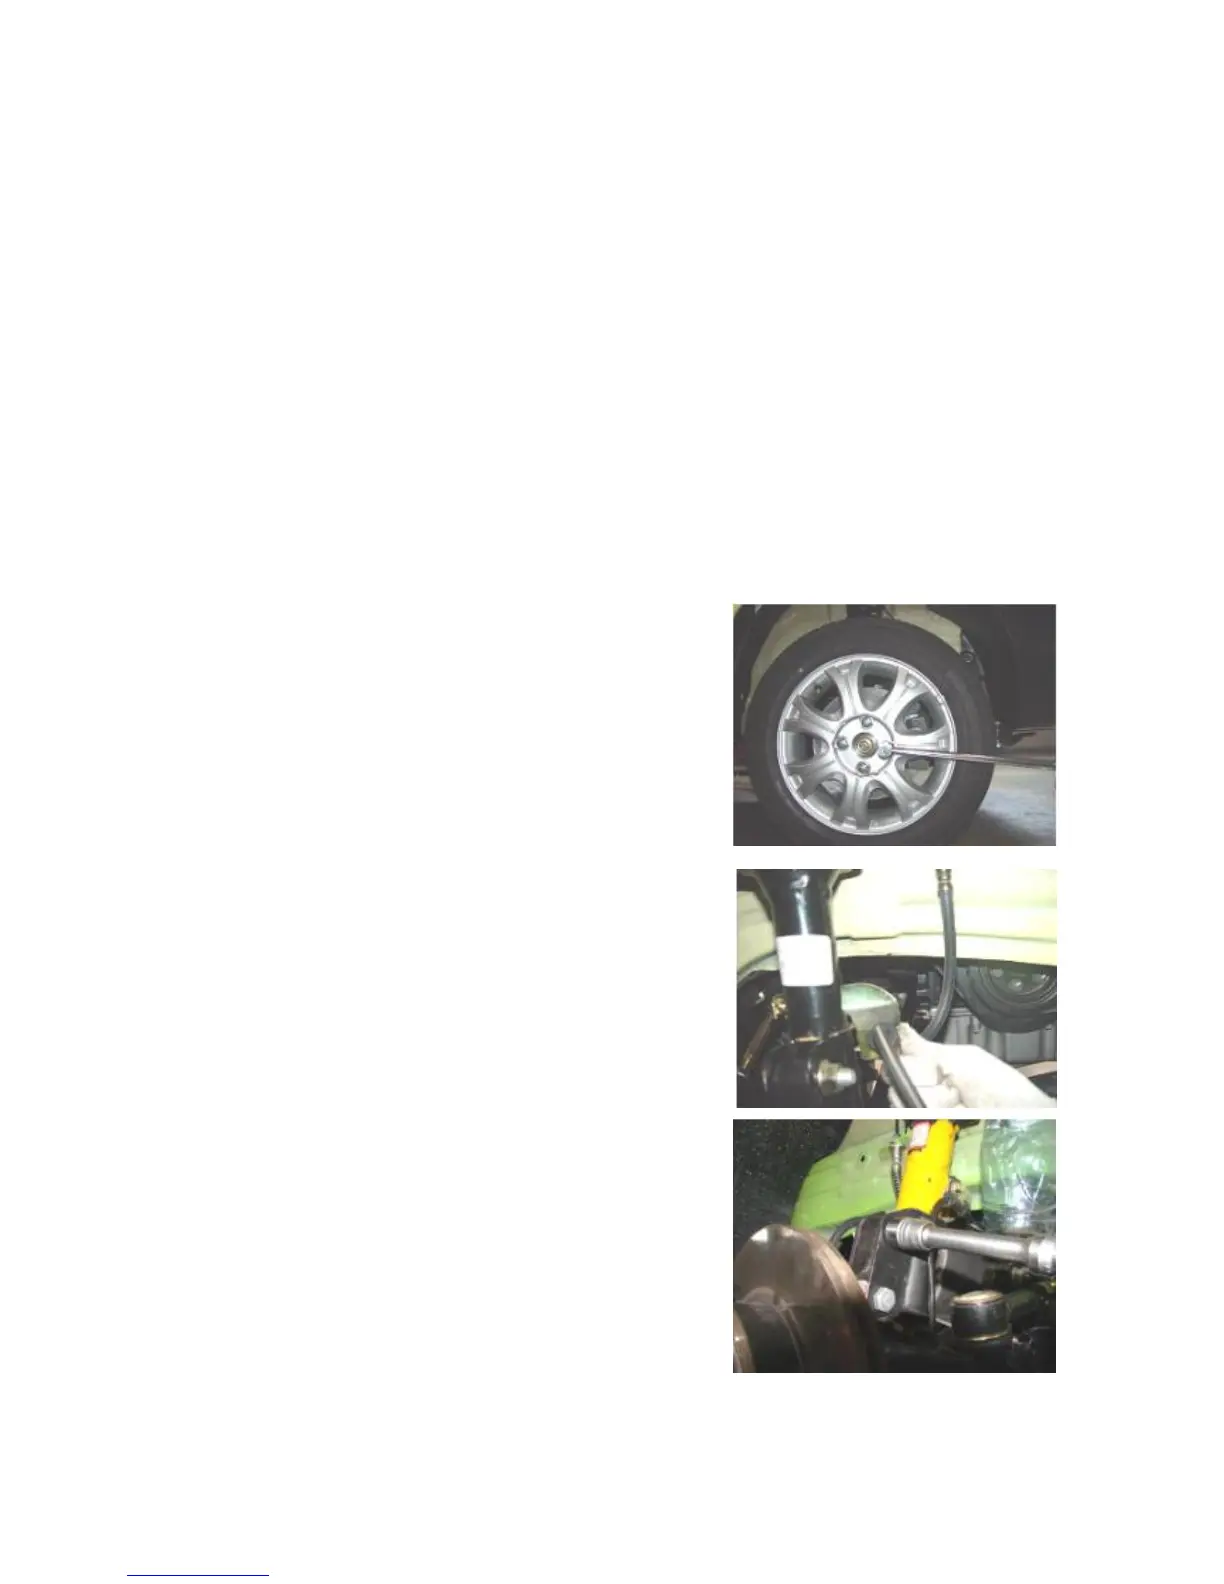
4.1 Removal of shock absorber assembly
4.1.1 Remove the tire fixing nuts with 19# socket or vehicle attached
wrench to remove the tire (take left side for instance).
Torque: 110±10 Nm
4.1.2 Remove the ABS pipeline from the fixing seat with hand.
4.1.3 Remove the fixing bolts of steering joint and shock absorber
with 18# socket.
Torque: 110±10 Nm