▀ Installing Half-Height Line Cards
▄ ASR 5000 Installation Guide
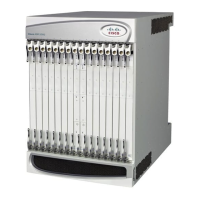
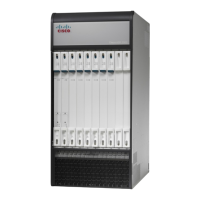
Installing Half-Height Line Cards
This section provides instructions for adding half-height line cards to the chassis.
Caution: During installation, maintenance, and/or removal, wear a grounding wrist strap to avoid ESD damage
to the components. Failure to do so could result in damage to sensitive electronic components and potentially void your
warranty.
Important: The XGLC is a full-height line card that takes up the upper and lower slots in the back of the chassis.
Step 1 Determine the type of line card you are installing. Each line card is identified by the text near the bottom of its front
panel.
Step 2 Determine which chassis slot to install the card in based on the information in Chassis Slot Numbering and
Assignments.
Step 3 Remove the blanking panel covering the slot, if one is installed.
Step a Use a Phillips #2 screwdriver to loosen the screws at the top and bottom of the blanking panel.
Step b Hold the screws on the blanking panel, and pull the blanking panel away from the chassis to expose
the chassis slot.
Step 4 Slide the interlock fully downward on the card. Flip the ejector levers outward and away from the face plate.
 Loading...