Installing the 10 Gigabit Ethernet Line Card (XGLC) ▀
ASR 5000 Installation Guide ▄
Installing the 10 Gigabit Ethernet Line Card (XGLC)
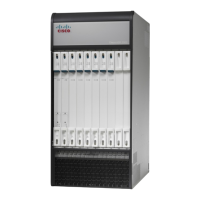
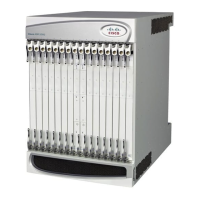
The XGLC is a full-height line card that gets installed in the rear slots of the ASR 5000 chassis. It provides a single
Small Form-factor Pluggable+ (SFP+) 10 Gigabit Ethernet interface for network connectivity.
There are two versions of the XGLC:
XGLC SR accepts a 10GBase-SR module that drives optical fiber with a center wavelength of 850nm
terminated by an LC optical connector. The module can drive optical signals up to 300 meters using 50/125um
fiber (MMF), and up to 33 meters using 62.5/125um fiber (MMF).
XGLC LR accepts a 10GBase-LR module that drives optical fiber with a center wavelength of 1310nm
terminated by an LC optical connector. This module can drive optical signals up to 10 kilometers using
50/125um fiber (SMF).
XGLCs are installed behind packet processing cards. You can install a maximum of twelve XGLCs in the chassis.
Preparing a Full-height Line Card Slot
The full-height XGLC requires two line card slots: an upper chassis slot and the lower chassis slot directly beneath it.
For example, if a PSC2 is installed in slot 1, its corresponding XGLC would be installed in slots 17 and 33.
Important: When entering the slot location of an XGLC in a CLI command use the upper slot number only.
The procedure for modifying two half-height card slots to accept the full-height XGLC is described in the Preparing
A Full-Height Card Slot appendix. Complete the procedures described in that appendix before attempting to install the
XGLC in the ASR 5000 chassis.
Installing the XGLC
Caution: During installation, maintenance, and/or removal, wear a grounding wrist strap to avoid ESD damage
to the components. Failure to do so could result in damage to sensitive electronic components and potentially void your
warranty.
Step 1 identify the full-height chassis slot in which the line card will be installed.
Step 2 Slide the interlock switch fully downward on the card. Flip the ejector levers outward and away from the card’s front
panel.
 Loading...