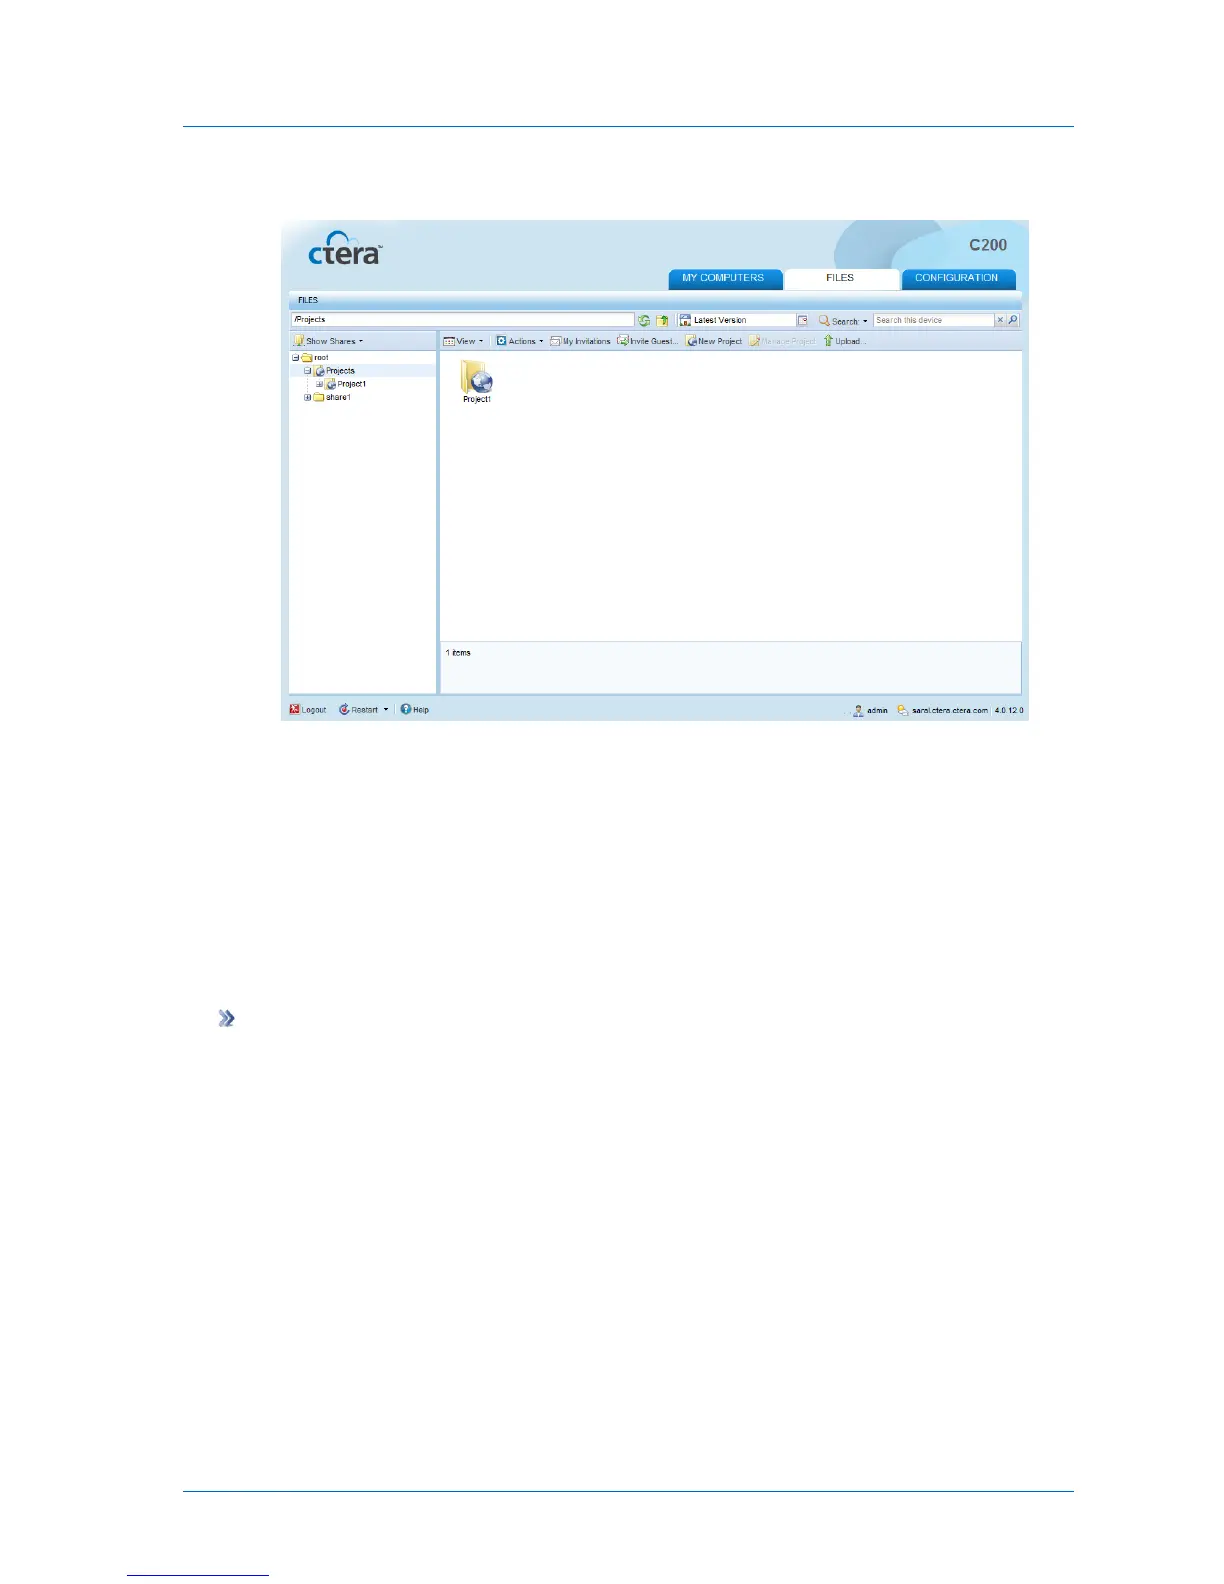
The project is added to the project share.
If the mail server is set up, and email addresses are defined for the users you added as
project members, the appliance will send email notifications to the new project members,
inviting them to collaborate on the project.
For information on configuring mail server settings, see Configuring Mail Server Settings
(on page 314). For information on editing users, see Adding and Editing Users (on page
252).
Editing Projects
To edit a collaboration project
1 In the Files tab's Show Shares tree pane view, navigate to the desired project.
For information on changing the tree pane view, see Changing the Tree Pane View (on
page 278).
For information on navigating between folders, see Navigating Between Folders (on page
278).
2 Select the project.
3 Click Manage Project.
The Collaboration Project Details dialog box opens.
4 In the Project Name field, type a name for the project.
5 (Optional) In the Description field, type a description of the project.