Interfaces Local Area Networks (LANs)
Digi Connect IT® 4 User Guide
161
f. Click Add Device again and select the Device: LAN.
Note If you are adding a port or access point that is already part of the default LAN1
bridge, you should either disable the default bridge, or remove the port or access point:
i. Click Network > Bridges > LAN1.
n To disable the bridge, click to toggle off Enable.
n To remove a port or access point from the bridge:
i. Click to expand Devices.
ii. Click next to a device.
iii. Select Delete.
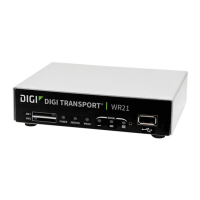
4. Create a LANinterface for the bridge:
a. Click Network > Interfaces.
b. For Add Interface, type a name for the interface and click .
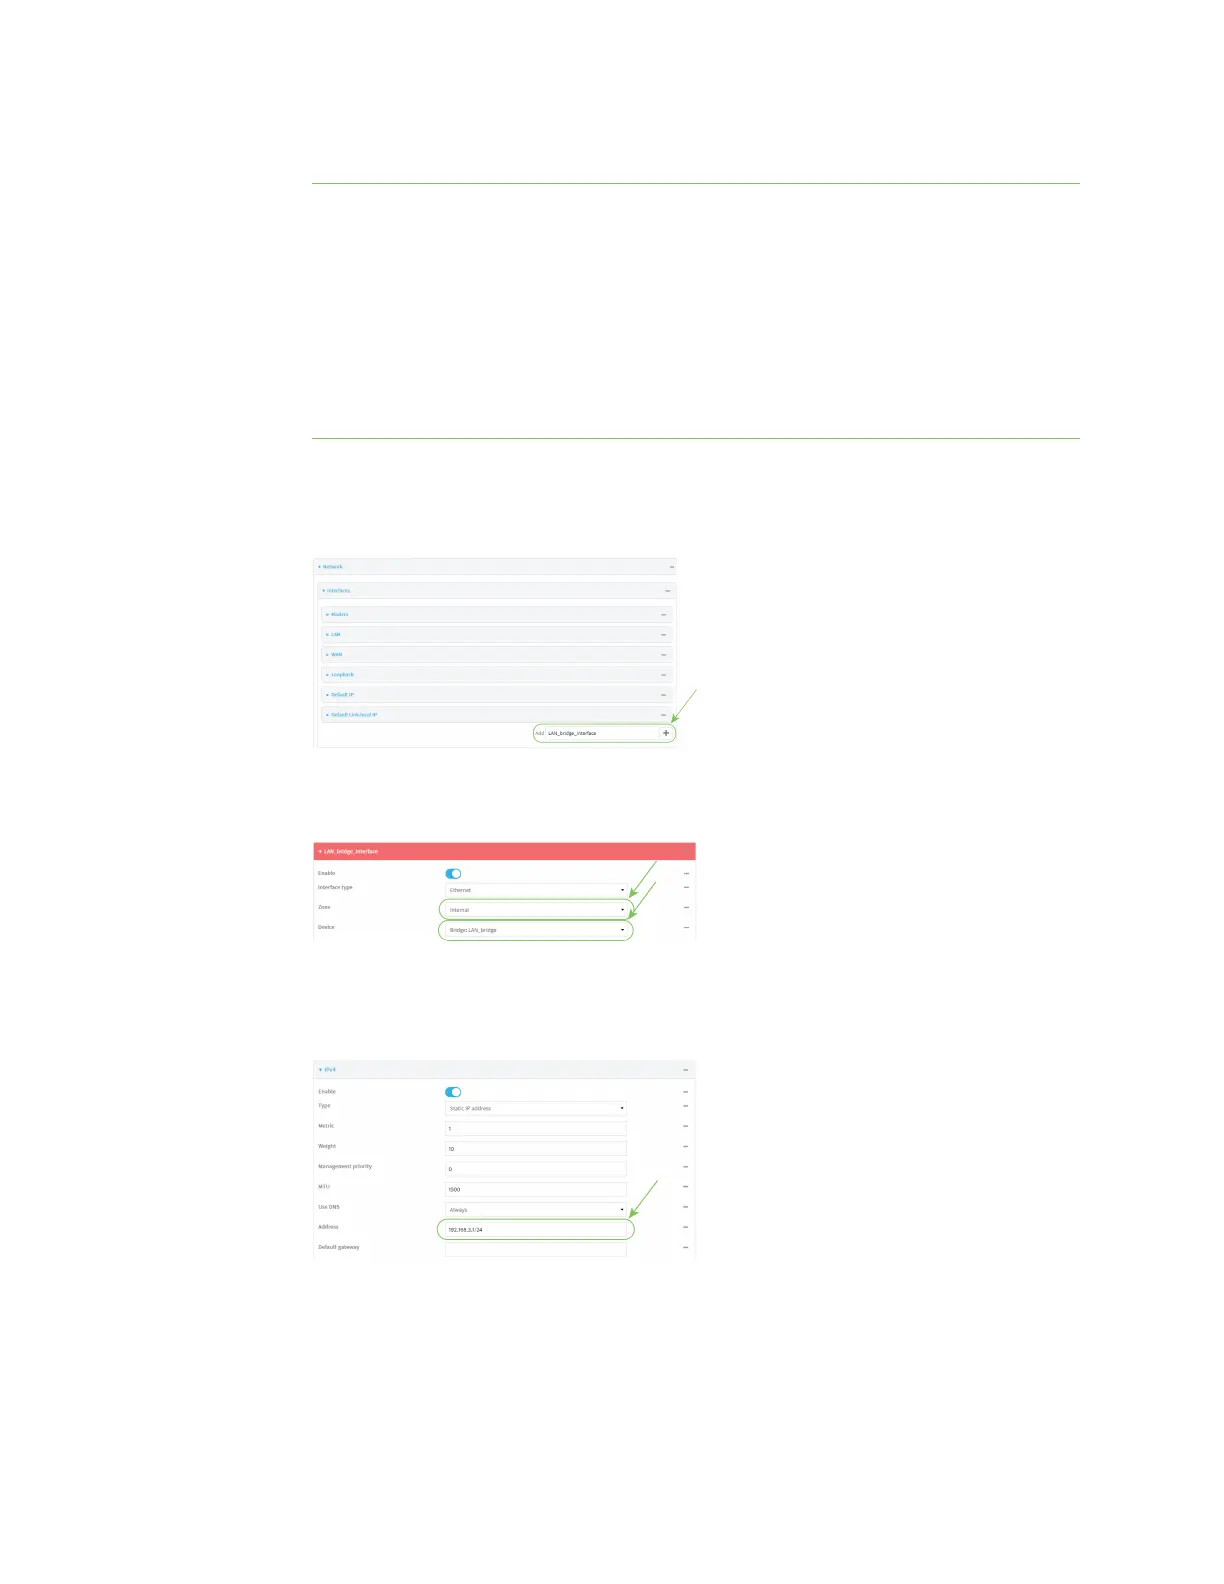
c. For Zone, select Internal.
d. For Device, select the new bridge.
e. Click to expand IPv4.
f. For Address, type the IPv4 address and netmask, using the format IPv4_address/netmask,
for example, 192.168.3.1/24.
g. Enable the DHCP server:
i. Click to expand DHCP server.
ii. Click to toggle on Enable.