Configuring the ECLYPSE Wi-Fi Adapter Wireless Networks
98 ECLYPSE User Guide
Setting up a Wi-Fi Access Point Wireless Network
This turns the controller into a Wi-Fi access point that other wireless clients can use to have
network access. This access point operates off of the same subnetwork and has the same
IP connectivity that the controller has with its wired network connection. For example, if the
controller’s wired connection is to a network that has an active DHCP server, access point
clients can also use this DHCP server to automatically configure their IP connection
parameters. See Wi-Fi Access Point on page 45 for more information.
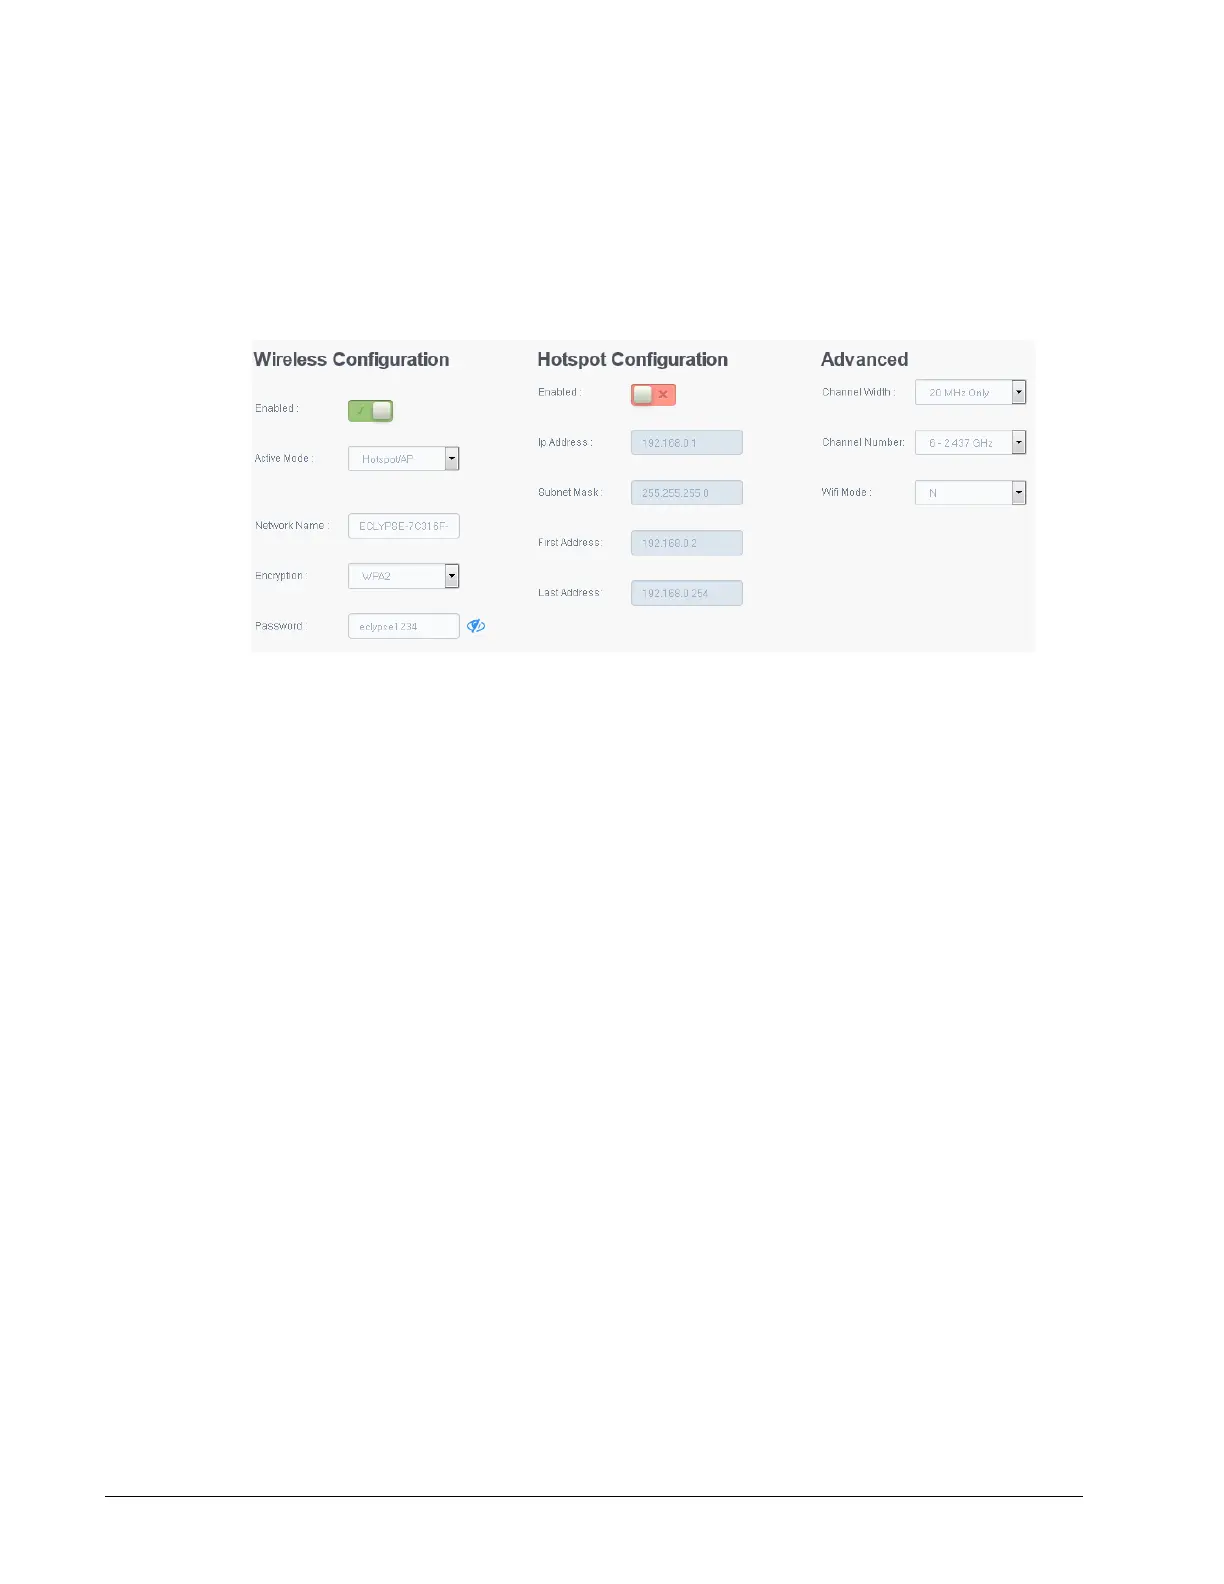
Figure 9-3: Access Point Wireless Network Settings
Configure the controller’s ECLYPSE Wi-Fi adapter mode as a Wi-Fi access point as follows.
1. Under Wireless Configuration, set Enabled.
2. Set the Active mode to Hotspot/AP.
3. Set the name for this access point by which wireless clients will identify it in Network
Name.
4. Set the encryption mode to be used by this access point in Encryption:
None: this option should be avoided as it does not provide any wireless security
which allows any wireless client to access the LAN.
WPA2: select the Wi-Fi Protected Access II option to secure the Wi-Fi network with
a password.
WPA2 Enterprise: Use this option if you are connecting to an enterprise network
that has a working RADIUS authentication server. This RADIUS server provides
user authentication.
5. Set the access point’s authentication password in Password. This is the password
wireless clients will need to know in order to connect to this access point.
6. Under Hotspot Configuration, disable Enabled.
7. Under Advanced, set the Channel Width, Channel Number, and Wi-Fi Mode. See
Advanced on page 75 for an explanation of these parameters.
8. Click Apply.