ES910.3-A - User’s Guide 46
ETAS Getting Started
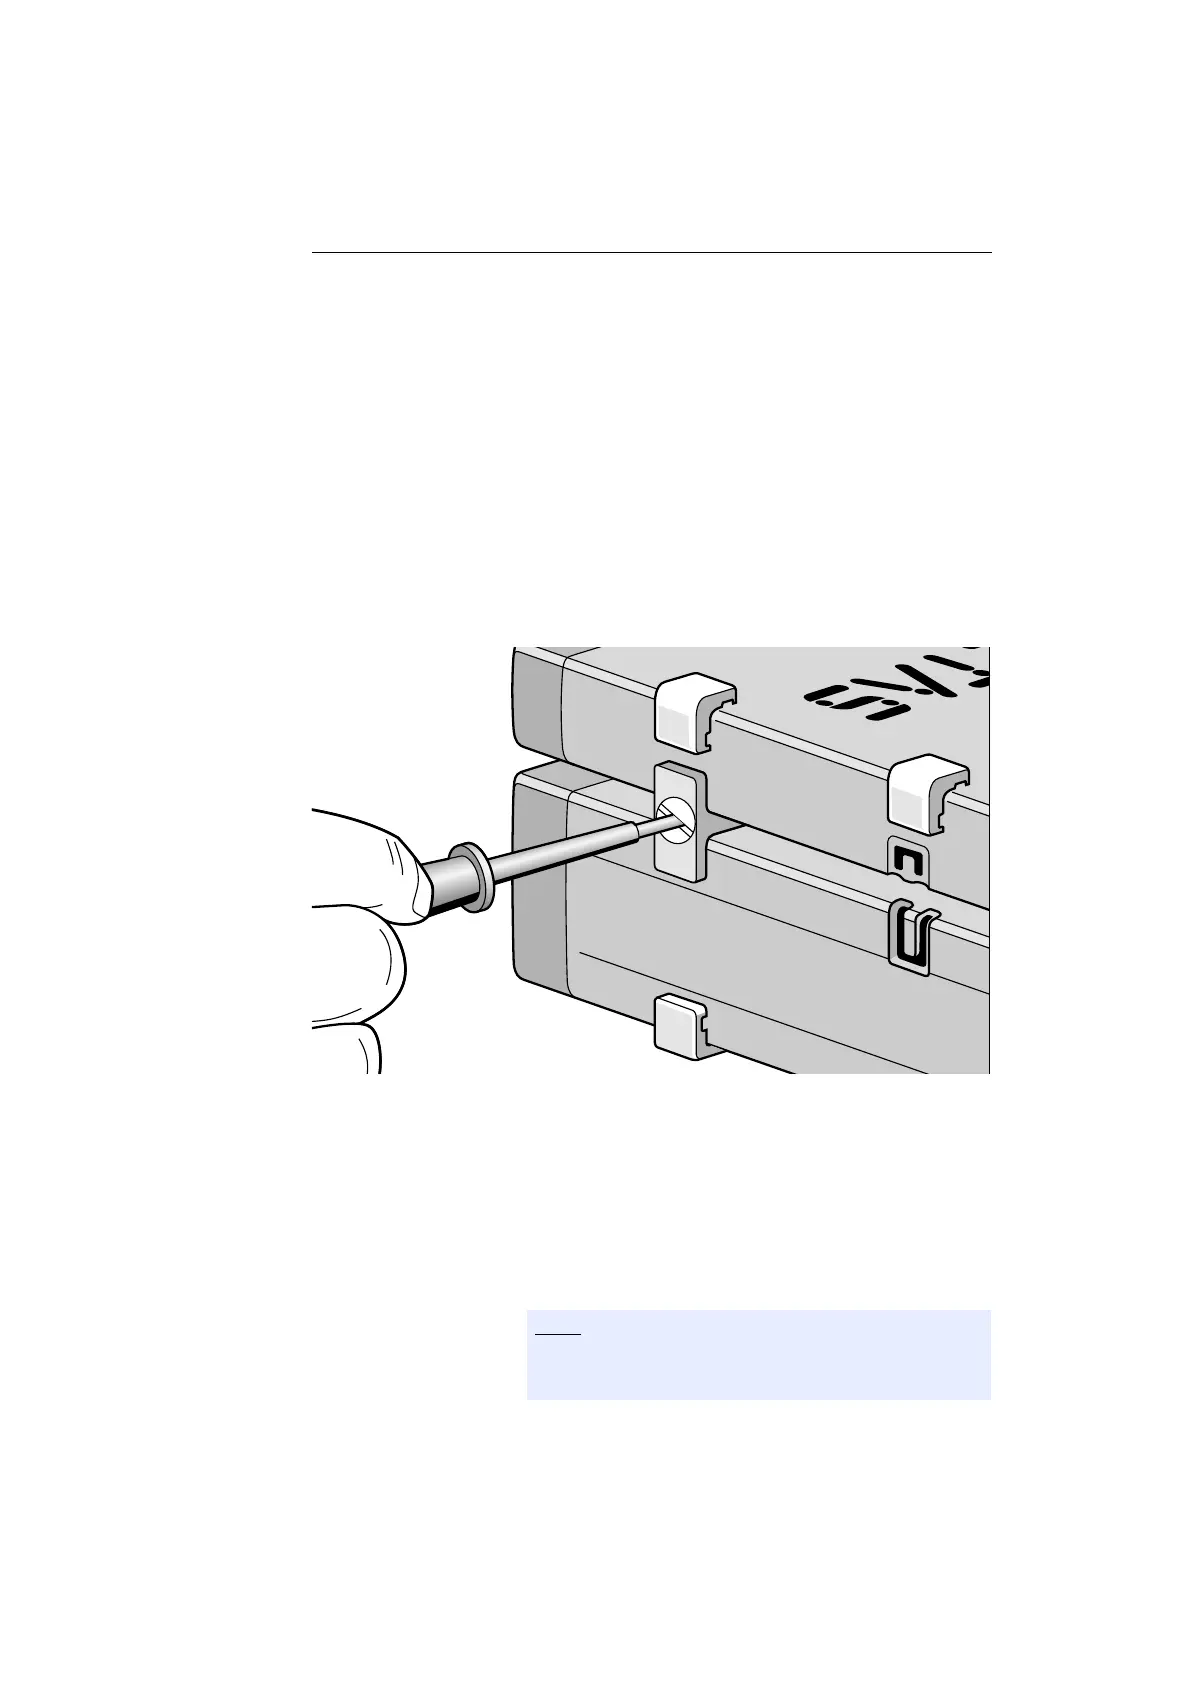
To connect modules mechanically:
• Remove the four plastic feet from the bottom of the
ES910.3-A so a further module can be attached.
This makes the assembly slits for the T Brackets
accessible.
You can attach a further module under the
ES910.3-A.
• Remove the four plastic feet on the relevant side of
the second module.
• Turn the seals of the T-Brackets so they are at a
right angle to the longitudinal axis of the brackets
and click two brackets into the assembly slits on one
long side of the first module.
• Click the second module into the two T-Brackets.
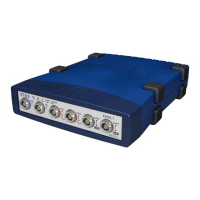
Fig. 5-4 Connecting the ES910.3-A to Another Module
• Quarter-turn the seals of the T-Brackets. This locks
the connection of the two modules.
• Click the other two T-Brackets into the assembly
slits on the opposite long side of the device and lock
these brackets too.
• If you would like to stack further modules, repeat
this procedure with the next module.
Please adhere to the requirements listed in chapters
5.2.1 on page 42 and 5.2.2 on page 43.