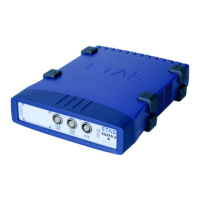
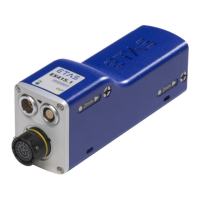
ES910.3-A - User’s Guide 57
ETAS Getting Started
5.5 Cabling
The interfaces of the ES910.3-A may be cabled in any order. Special connecting
cables are available and can be ordered separately. An overview is contained in
the chapter "Cables and Accessories" on page 106.
5.5.1 Power Supply Interface (7-29V DC)
To connect the ES910.3-A with the power supply:
• Connect the power supply cable supplied to the
7-29V DC interface of the ES910.3-A.
• Connect the supply voltage pins of the cable with
the required power supply.
Note the color coding of the connectors.
Note the current consumption of the ES910.3-A
and its supply voltage range. The admissible values
are listed in chapter 7.7.1 on page 81.
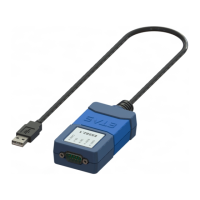
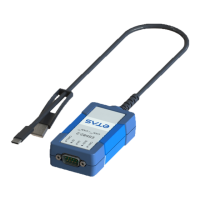
5.5.2 PC Interface (PC)
The CBE200-3 PC connecting cable supplied with the ES910.3-A module is only
suitable for the direct connection to a user PC. For information on other connect-
ing cables which can be supplied separately, refer to the chapter "Cables and
Accessories" on page 106.
Operating the ES910.3-A Separately on a PC
To use the ES910.3-A separately on a PC:
• Connect the CBE200 PC connection cable supplied
to the PC interface of the ES910.3-A.
• Connect the RJ-45 connector with the available
Ethernet interface port of your PC.
• Launch your application.
Operating the ES910.3-A at an ES720.1 Drive Recorder
If you want to operate the ES910.3-A with an ES720.1 drive recorder, you find
detailed relevant information in the user documentation of ES720.1.
The cables CBE230 and CBAE330 are required for connecting the modules. For
information about additional available connecting cables, see chapter "Cables
and Accessories" on page 106.
Commissioning the ES910.3-A with an ES720.1 drive recorder:
• Connect the CBE230 cable with the CBAE330
adapter cable.
Make sure you carefully check the names of the cables used. Using the wrong
cables can keep your ES910.3-A from functioning properly or damage the
ES910.3-A and any devices connected to it.