Section 3: Model 9500B Controls: Modes of Operation 3-17Descriptions assume 9500B/1100
3.4.3.23 Page length, header and
footer sizes
'Page length', 'Header size' and 'Footer size' are
changed by similar operations as for the 'Start
page number' change. No further explanation
is necessary.
After all the page setup characteristics are
satisfactory, press EXIT on the 'PAGE SETUP'
screen to return to the 'CERT DETAILS' screen.
3.4.3.24 'Pass indicator'
On the 'CERT DETAILS' screen, the 'PASS
INDIC' soft key acts as a toggle to turn the pass
indicator facility off and on. There is no
transfer to another screen, The state of the pass
indicator on the 'CERT DETAILS' screen
merely toggles between off and on as the
facility is altered.
3.4.3.25 'Appended message'
Message required for the Certificate
For the printed results certificates, users may
wish to add a descriptive message.
1. To access the message screen, press the
APPEND MESSAGE screen key on the
'CERT DETAILS' screen. This transfers
to the 'Current appended message' screen:
2. Use Direct edit to enter the new message.
TODAY'S DATE TIME
Configuration
The current appended message is:
(The current message
appears in this space)
Enter a new message
:
EXIT
3. Press the ↵ screen key to return to the
'CERT DETAILS' screen. The message
appears on the 'Present settings' list.
4. The EXIT screen key reverts to the CERT
DETAILS screen without changing the
appended message.
3.4.3.26 'LAB DETAILS'
Laboratory Details required for the
Certificate
For the printed results certificates, it is required
to enter details of the laboratory at which the
results were obtained.
Users should enter the name, temperature and
relative humidity of their laboratory for the
printed certificates.
1. To set up the Laboratory details, press the
LAB DETAILS screen key on the 'CERT
DETAILS' screen.
This transfers to what we shall refer to as
a 'LAB DETAILS' screen:
2. The lab name, temperature and humidity
can be entered via the three screen keys on
the right.
3. The EXIT key reverts to the CERT
DETAILS screen.
2. Use Direct edit to enter the new laboratory
name.
3. Press the ↵ screen key to return to the 'LAB
DETAILS' screen: The new lab name will
appear on the 'Present settings' list.
4. The EXIT screen key reverts to the LAB
DETAILS screen without changing the
lab name.
3.4.3.28 Laboratory Temperature
and Humidity
'Lab temp' and 'Lab humid' are changed by
similar operations as for the 'Lab name' change.
No further explanation is necessary.
After all the laboratory details are satisfactory,
press EXIT on the 'LAB DETAILS' screen to
return to the 'CERT DETAILS' screen.
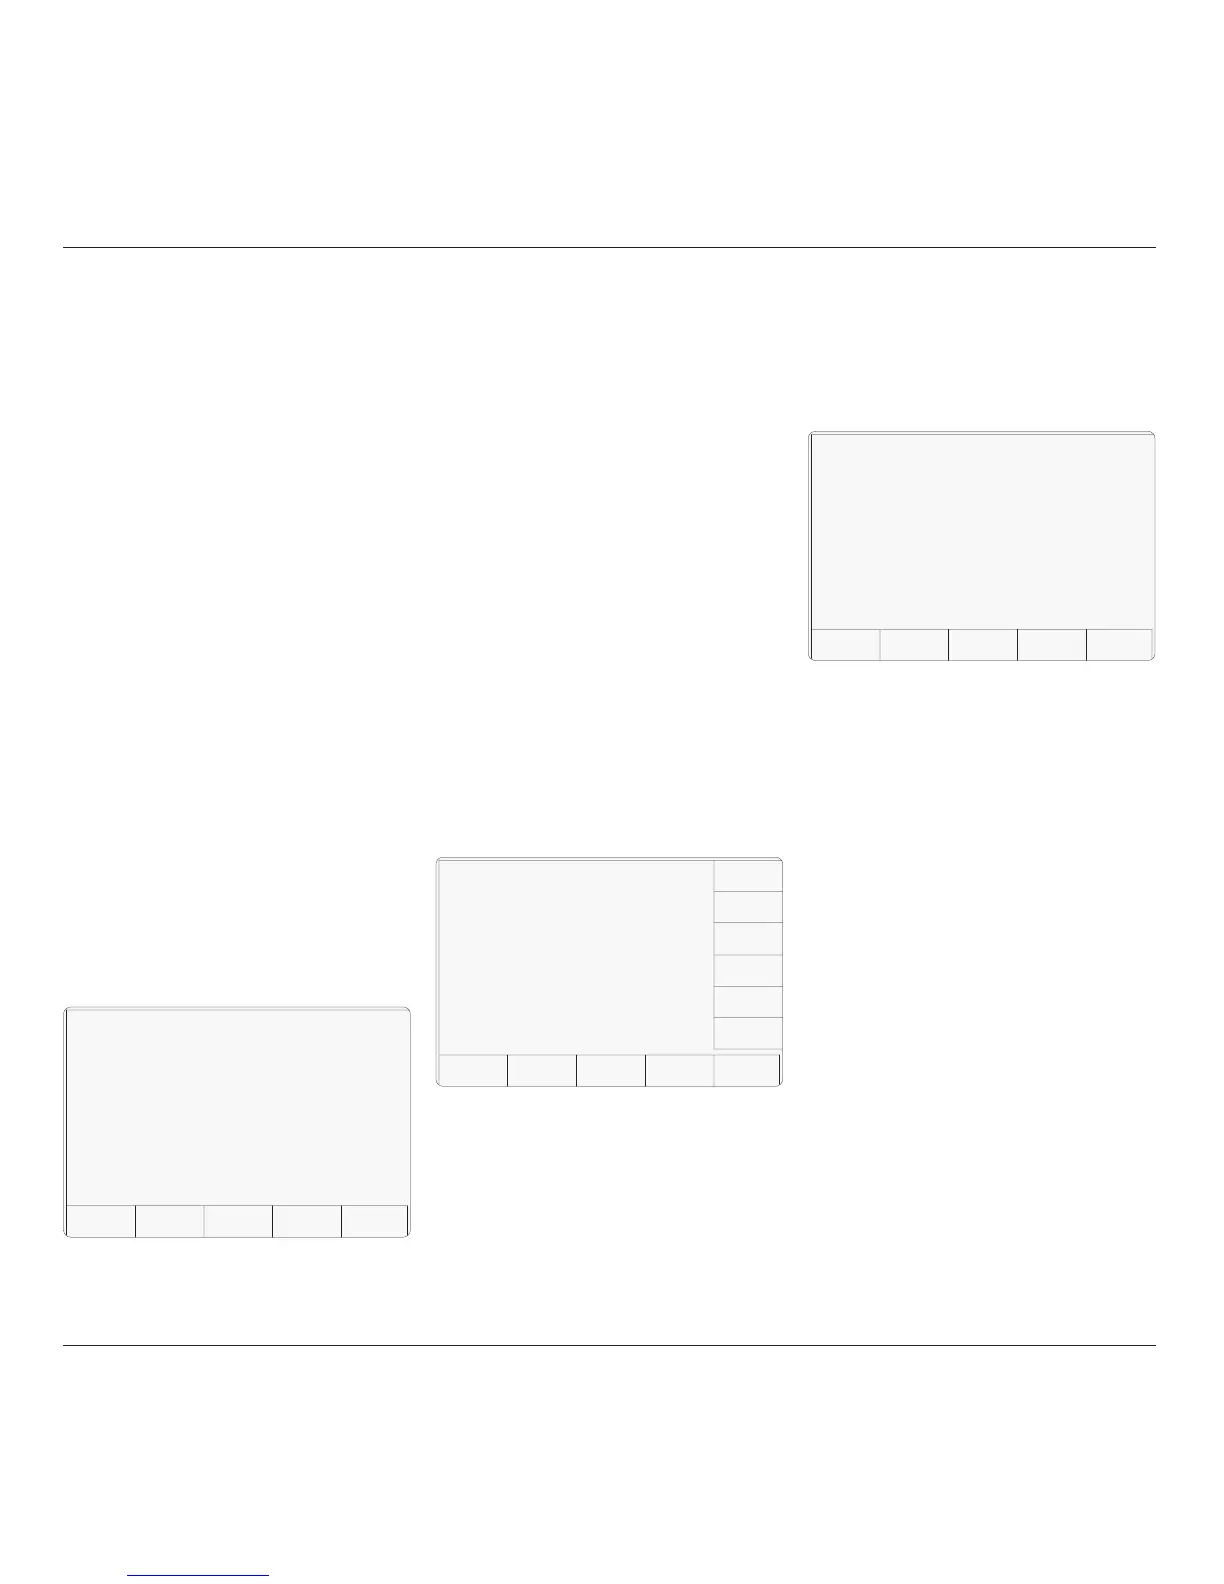
TODAY'S DATE TIME
Configuration
Present Settings:
Lab name Fluke L...
Lab temp. 23°C ±5°C
Lab humid. 40% ±10%
EXIT
LAB
NAME
LAB
HUMID
LAB
TEMP
LAB DETAILS Screen Layout
3.4.3.27 'LAB NAME'
1. To enter the Laboratory name, press the
LAB NAME screen key on the 'LAB
DETAILS' screen. This transfers to the
'Current lab name' screen:
TODAY'S DATE TIME
Configuration
The current lab name is:
(The current name
appears in this space)
Enter a new name
:
EXIT