Infratec™ 1241 Grain Analyzer
Service Manual 1001 5015 / Rev. 4 5:9
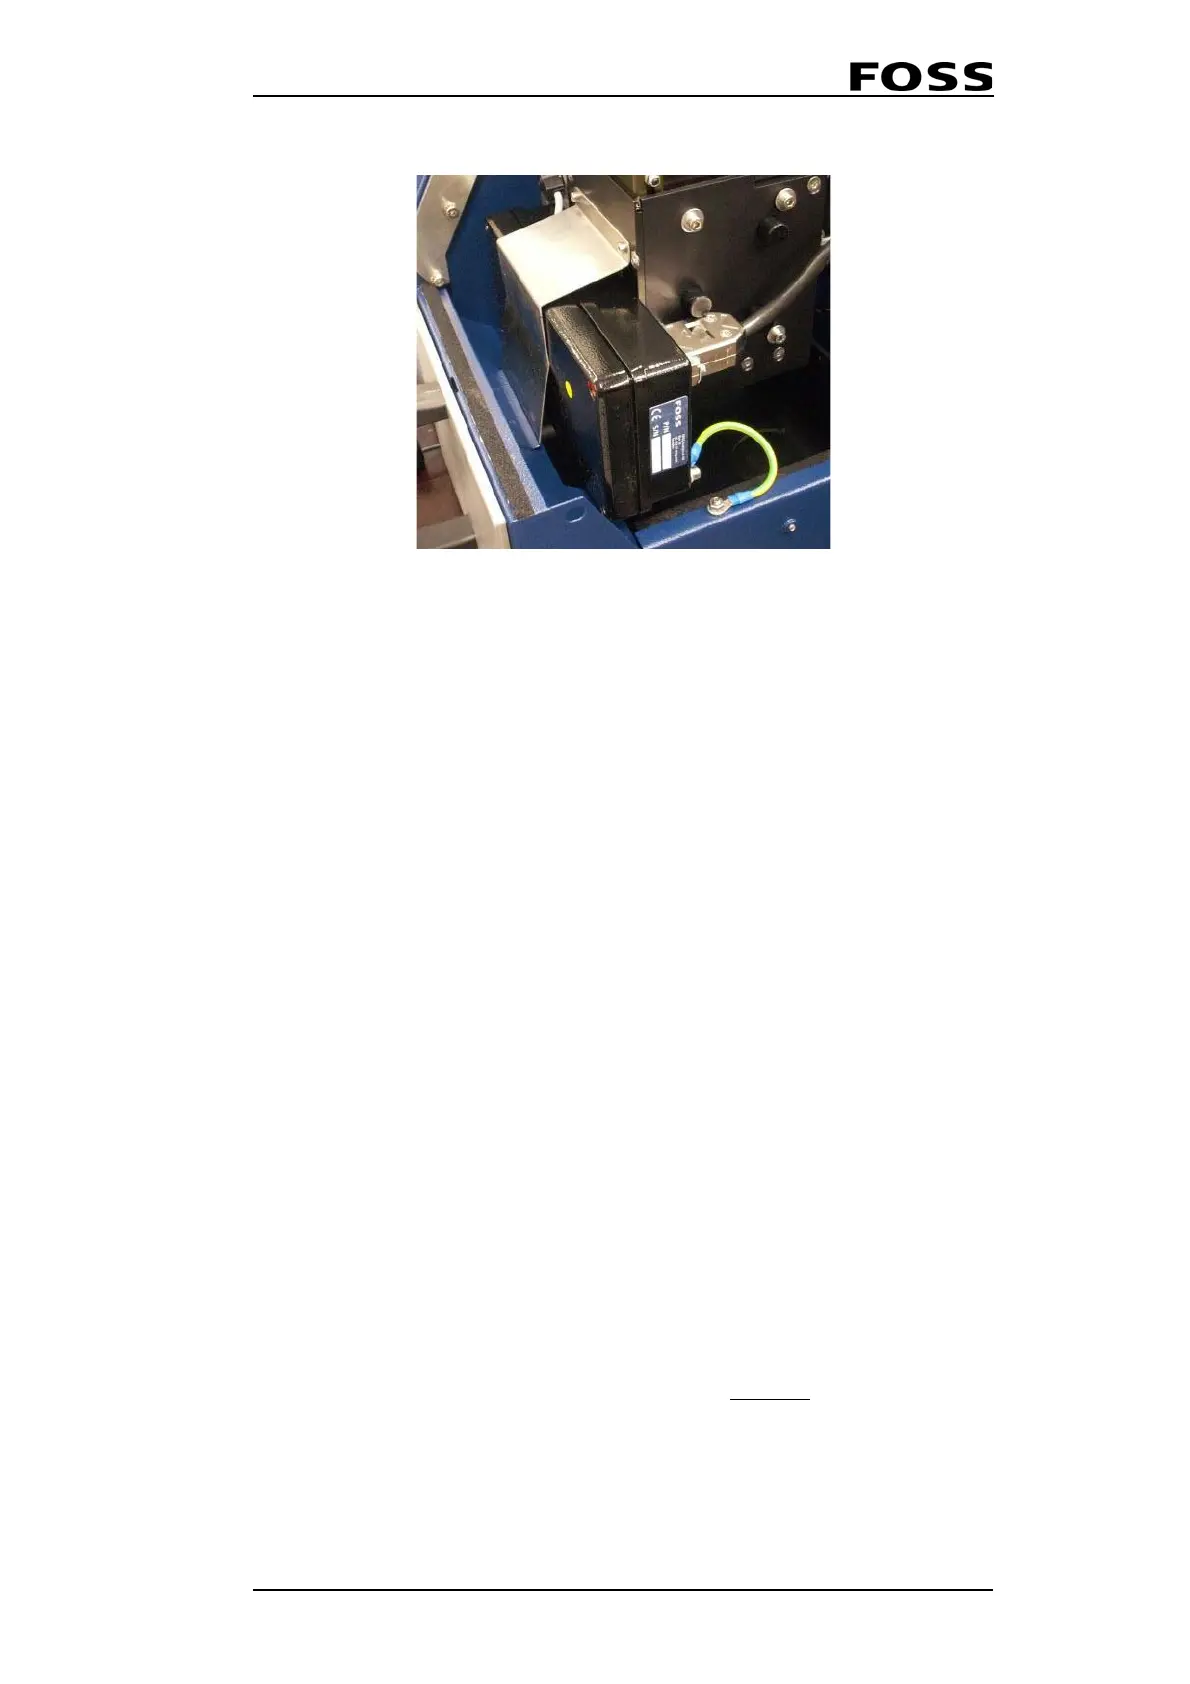
Fig. 5:10 Detector
5. Remove the two screws which hold the spring plate over the detector. While
holding the detector, remove the spring plate by pulling it straight upwards.
6. Gently pull the detector straight outward towards you.
7. Assemble the new detector in the reverse order. Be careful to get the grounding
correct. If using the grounding plate, make sure it does not distort the Measuring
Unit, which will create problems with movability of the lower shutter.
5.2.4 Replacement of Monochromator Complete
NOTE! Use ESD protection when handling circuit boards.
NOTE! After changing the Monochromator, perform an Intensity
Test according to
5.2.6 Use of the Aperture Kit (p/n 60023539) on
page 5:13.
1. Turn off the instrument and remove the mains cable.
2. Penetrate the covers for the five holes in the left-hand door with a screwdriver.
Do not try to pinch because the door is easily miscoloured. Unscrew the screws
in the left-hand door and open it.
When re-assembling, do not forget to replace the five covers.
3. Disconnect all cables from the PC-module.
4. Unscrew the two screws securing the PC-module's mounting plate. Remove the
PC-module and mounting plate.
5. Loosen the stop screw (5) to the fibre optic cable protector and slide it
backwards, see fig below.
 Loading...