EasyManuals Logo

Fronius IG Plus A 3.0-1 UNI User Manual

Fronius IG Plus A 3.0-1 UNI
180 pages
To Next Page IconTo Next Page
To Previous Page IconTo Previous Page
Page #25 background imageLoading...
Page #25 background image
23
EN-US
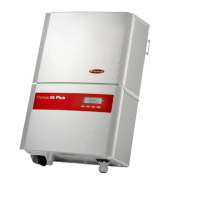
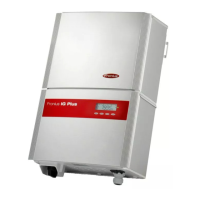
(6) FTX 25 fixing screw
(7) FTX 25 fixing screw
NOTE! When using back wire inputs:
- seal enclosure as per NEMA 3R before outside operationn
NOTE!
- The larger knockouts should only be removed from the outside in.
- The smaller knockouts should be removed from the inside out.
- Only remove the number of knockouts required for the available wire inputs.
CAUTION! Danger of damaging the plastic base when removing the knockouts
on the bottom.
- Before removing, remove the 3 fixing screws (6) and (7)
- Remove the metal insert from the plastic base
- Remove the required knockouts
- Replace the metal insert into the plastic base
- Secure the metal insert using the 3 fixing screws (6) and (7)
Item Description

Table of Contents

Questions and Answers:

Question and Answer IconNeed help?

Do you have a question about the Fronius IG Plus A 3.0-1 UNI and is the answer not in the manual?

Fronius IG Plus A 3.0-1 UNI Specifications

General IconGeneral
AC nominal output3000 W
Max. apparent AC power3000 VA
Max. output current13 A
AC grid frequency50 / 60 Hz
THD<3%
Max. DC voltage500 V
Number of MPP trackers1
AC voltage range183 V - 264 V
DC input voltage range150 - 450 V
CoolingConvection

Related product manuals