5 Scan/E-mail
100
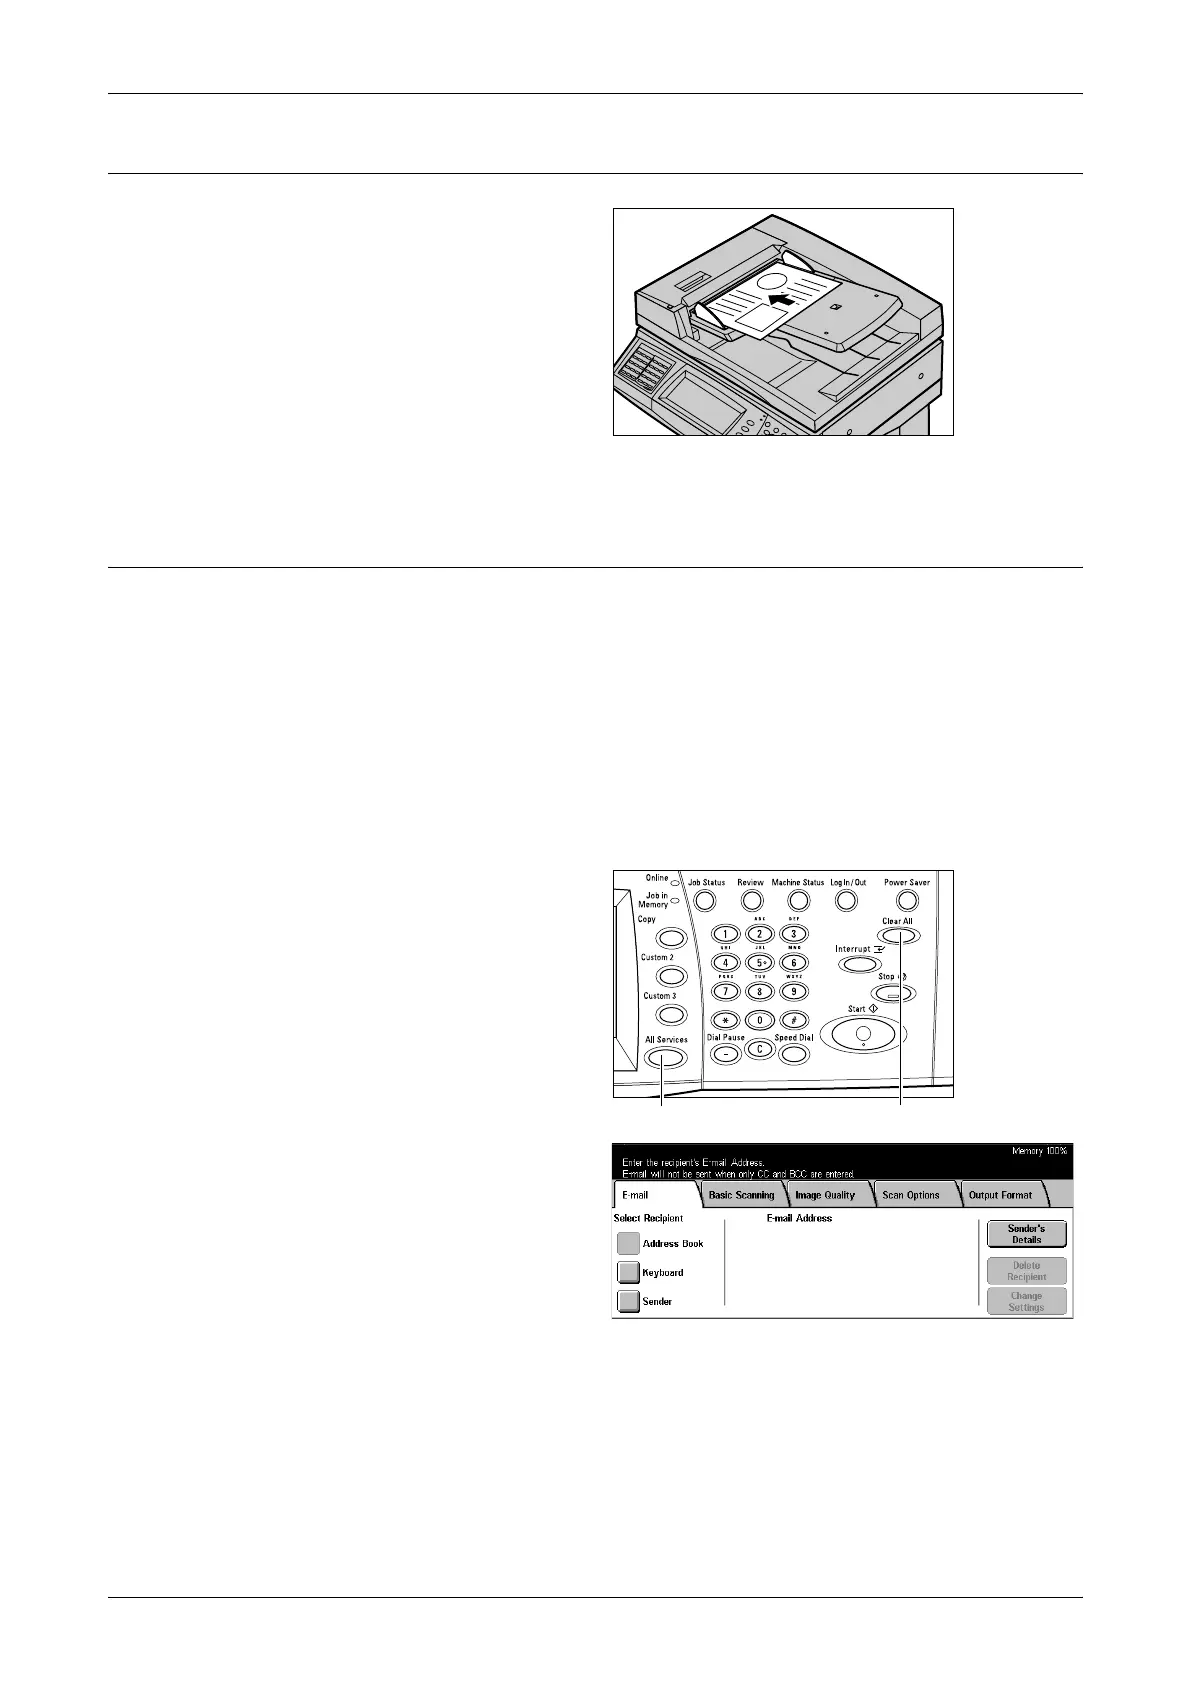
1. Load the Documents
1. Load documents face up with
the top edge entering the
document feeder first, or face
down on the document glass.
For more information on how to load the documents, refer to 1. Load the Documents
on page 39.
2. Select the Features
Each scan type has its own screen. Select [E-mail], [Network Scanning], [Scan to
Mailbox], or [Scan to FTP/SMB] on the touch screen to display the appropriate screen.
• Select [E-mail] to scan and e-mail documents.
• Select [Network Scanning] to scan and send documents according to a scan job
template.
• Select [Scan to Mailbox] to scan and save documents in the mailbox.
• Select [Scan to FTP/SMB] to scan and send documents using the FTP or SMB
protocol.
1. Press the <All Services> button
on the control panel.
2. Select a scan type on the touch
screen.
NOTE: If the Authentication feature
is enabled, you may be required to
enter the user ID and password (if
one is set up). If you need
assistance, contact the System
Administrator.
3. Press the <Clear All> button once on the control panel to cancel any previous
selections.
4. Perform the necessary operations.
If necessary, press one of the tabs and configure the scan settings. For information on
the individual tabs, refer to the following.
<All Services> button <Clear All> button
 Loading...