Operation Zoom20/30/35 Pro | 21
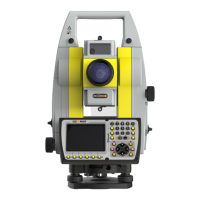
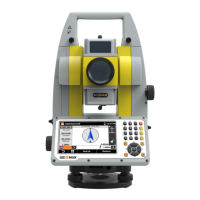
4Operation
4.1 Instrument Setup
Description This topic describes an instrument setup over a marked ground point using the laser plummet. It is always
possible to set up the instrument without the need for a marked ground point.
Important features
• It is always recommended to shield the instrument from direct sunlight and avoid uneven tempera-
tures around the instrument.
• The laser plummet described in this topic is built into the vertical axis of the instrument. It projects a
red spot onto the ground, making it appreciably easier to centre the instrument.
• The laser plummet cannot be used with a tribrach equipped with an optical plummet.
Tripod
Setup step-by-step
1 Extend the tripod legs to allow for a comfortable working posture. Position the tripod over the marked
ground point, centring it as best as possible.
2 Fasten the tribrach and instrument onto the tripod.
3 Turn on the instrument, and, if tilt correction is set to 1- or 2-axis, the laser plummet will be activated
automatically, and the Level Up screen appears. Otherwise, press FNC from within any application
and select Level.
4 Move the tripod legs (1) and use the tribrach footscrews (6) to center the plummet (4) over the ground
point.
5 Adjust the tripod legs (5) to level the circular level (7).
6 By using the electronic level, turn the tribrach footscrews (6) to precisely level the instrument. Refer
to "Level up with the electronic level step-by-step".
7 Center the instrument precisely over the ground point by shifting the tribrach on the tripod plate (2).
8 Repeat steps 6 and 7 until the required accuracy is achieved.
When setting up the tripod pay attention to ensuring
a horizontal position of the tripod plate. Slight correc-
tions of inclination can be made with the foot screws
of the tribrach. Larger corrections must be done with
the tripod legs.
Loosen the clamping screws on the tripod legs, pull out
to the required length and tighten the clamps.
a) In order to guarantee a firm foothold sufficiently
press the tripod legs into the ground.
b) When pressing the legs into the ground note that
the force must be applied along the legs.
Careful handling of tripod.
• Check all screws and bolts for correct fit.
• During transport always use the cover supplied.
• Use the tripod only for surveying tasks.
a
b
2
6
7
5
4
5
5
1
3
1
1
Zoom_004

 Loading...