Function
22
1.10 GB (2019/02/28)
Assemblies
Assemblies – General Information
Most assemblies are available in different variants. For example, the unwinder is available in a standard design
(mechanically controlled) or a motorised variant, the backing paper take-up unit can be mechanical or motorised,
the sensor can be an FS03 or a forked light barrier, etc.
Please see the pictures and illustrations in the various sections for the particular variants used in your applicator.
Due to the clear distinctions between the variants, you will not be able to confuse one variant with another.
Unwinder: Mechanical
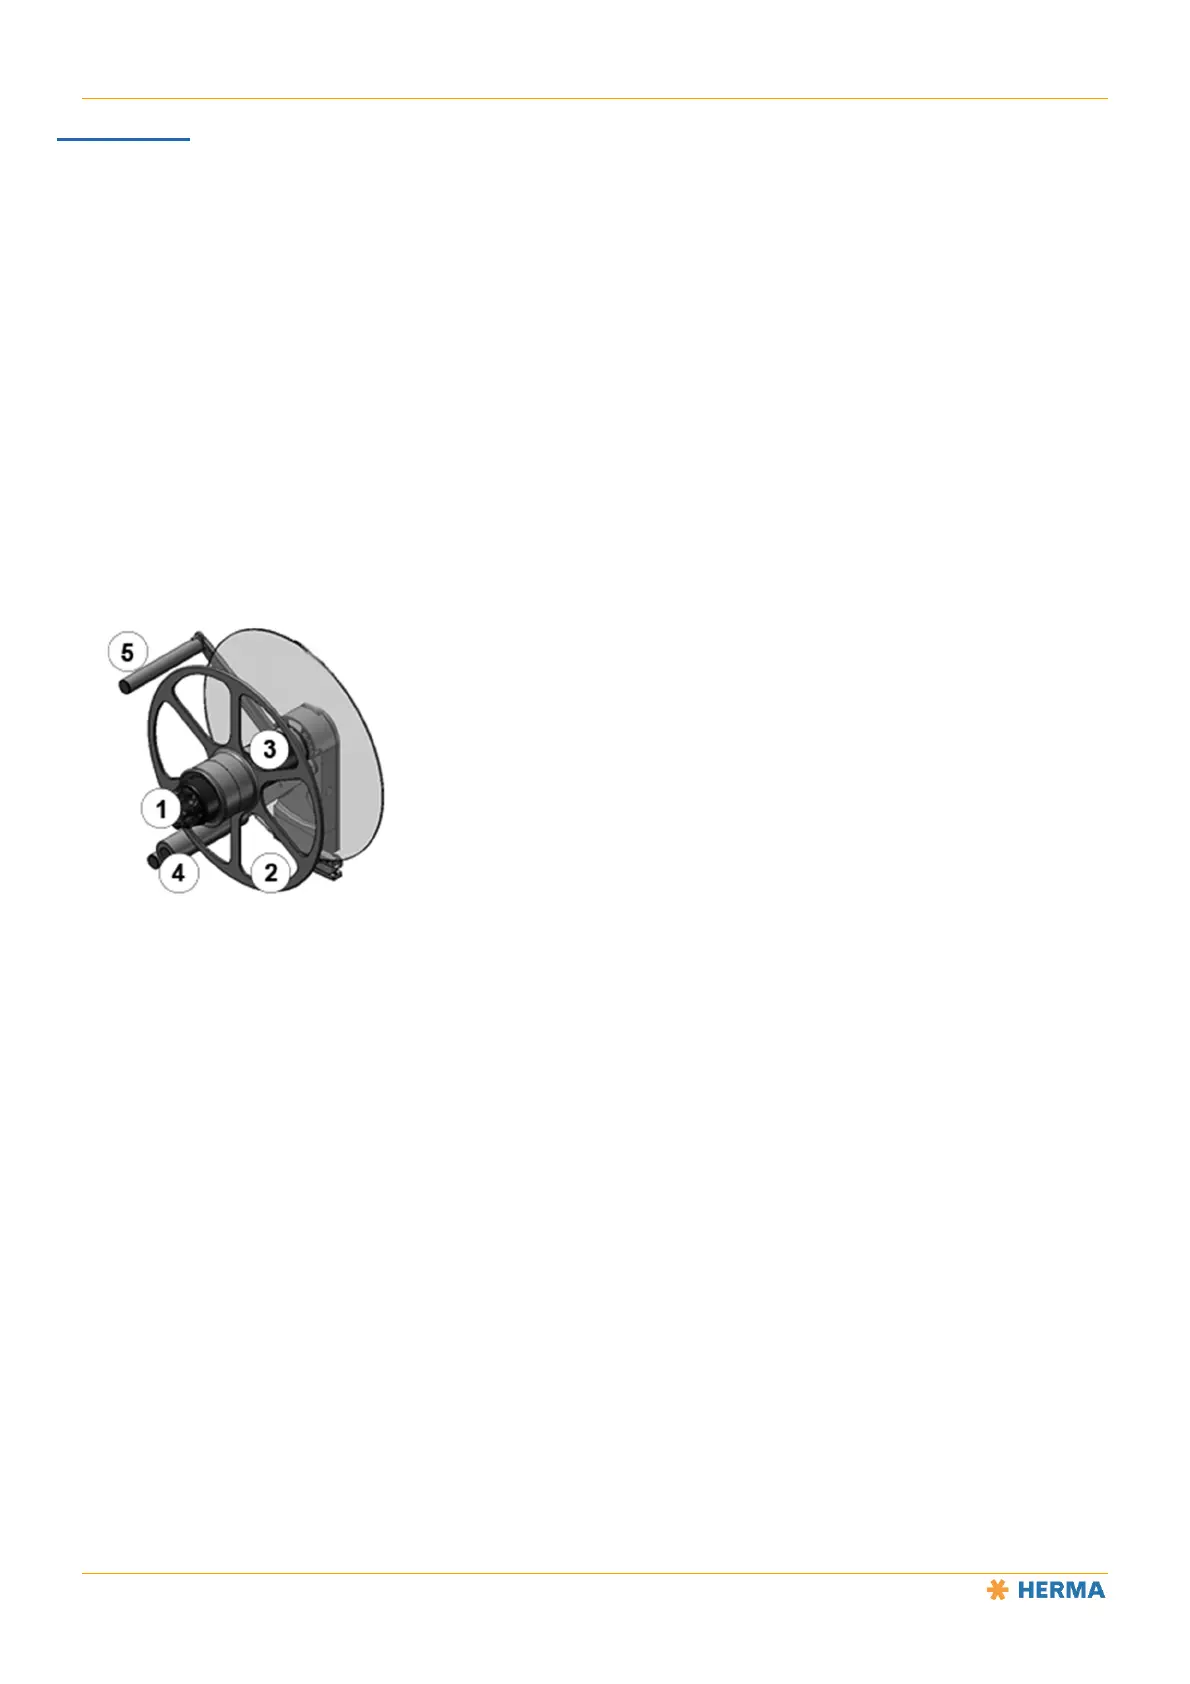
Inserting the Label Web
Turn the handle 1 all the way to the left (maximum of five steps) to open the clamp.
Remove the counterholder 2 if necessary (only for vertically installed applicators).
Place the label reel on the core sleeve 3 and guide the label web around the reversing roller 4
and over the pendulum 5 so that the labels are facing downwards (i.e. are facing toward the
pendulum). That way, label reels with both outside winding and inside winding can be used. See
the figure below.
Remount the counterholder 2 if necessary (only for vertically installed applicators).
Turn the lever 1 to the right (maximum of five steps) until the label reel (possibly with
counterholder) is securely clamped.