

R
Ricky PeckJul 27, 2025
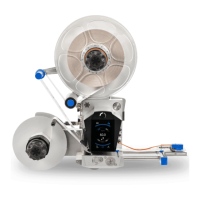
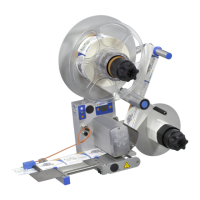
What to do if Herma 400 Label Maker shows malfunction?
- AAngelica McleanJul 27, 2025
To acknowledge malfunctions, press the key or apply a signal (rising edge only 0 ). Also, always dispense at least two labels after occurrence of a malfunction.