11
Troubleshooting Operating instructions HERMA 400
148/154 3.28 US (130519)
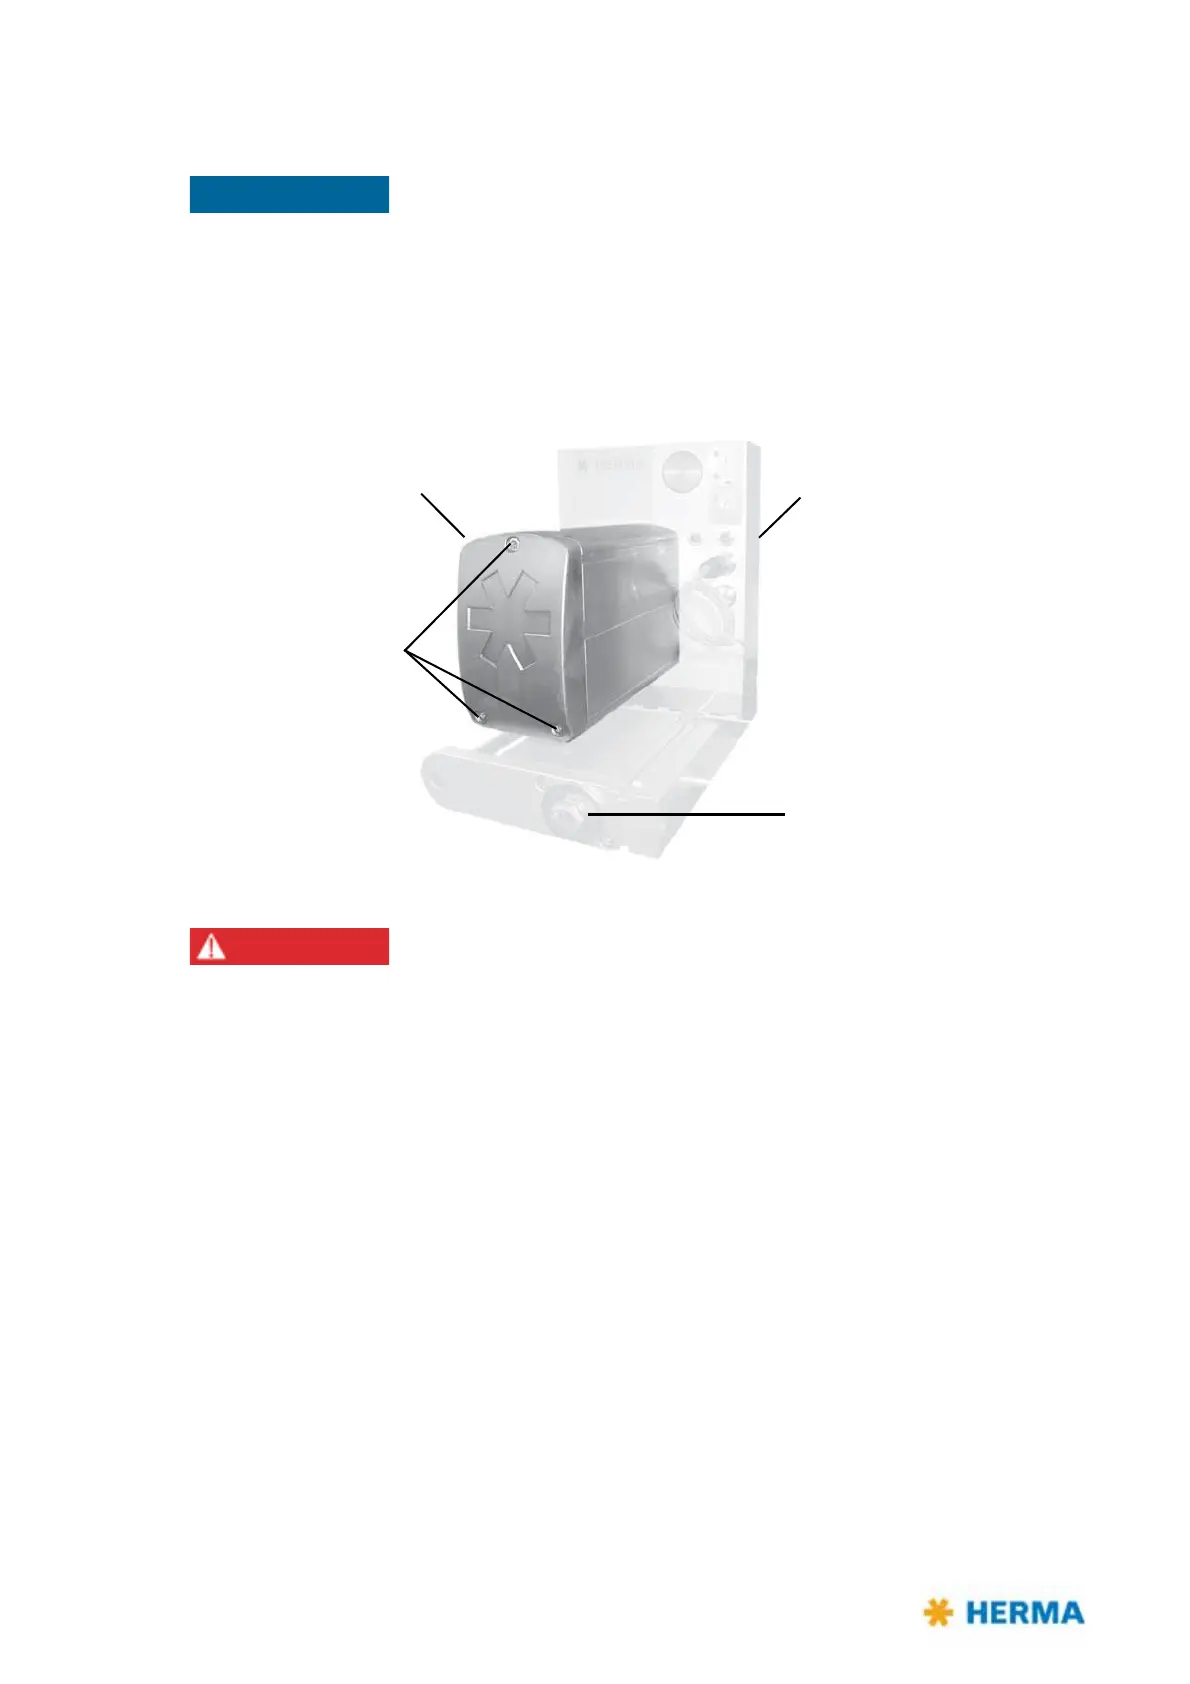
11.6 Replace the drive unit
Drive unit Applicator housing
Hexagon bolt
for pedestal mounting
ATTENTION!
Do not open these
screws! See the
note on page 131.
Principally the firmware of the drive unit and the firmware of the CAN I/O
board must be of the same version. If they do not you may receive error
message SM169.
Therefore make sure after replacing the drive unit you carry out a firmware
update via the Config software. If required please turn to your sales agency.
Alternatively replace the CAN I/O board (position 4 on page 105) in
conjunction with replacing the drive unit.
Risk of electric shock! Disconnect all sources
of supply and wait for five
minutes before opening the rear cover or touching the connector pins!
Electrocution may occur.
11.6.1 Remove the drive unit
For removing the drive unit proceed as follows:
> Make sure the applicator is voltage-free and the mains plug is disconnected.
> Loosen the large hexagon bolt of the pedestal mounting.
> Retract the applicator housing on the rail to the fro
nt until the back of the applicator housing can
be opened.
> Open the back of the applicator housing (three screws).