Settings – Retooling the Product
88
1.10 GB (2019/02/28)
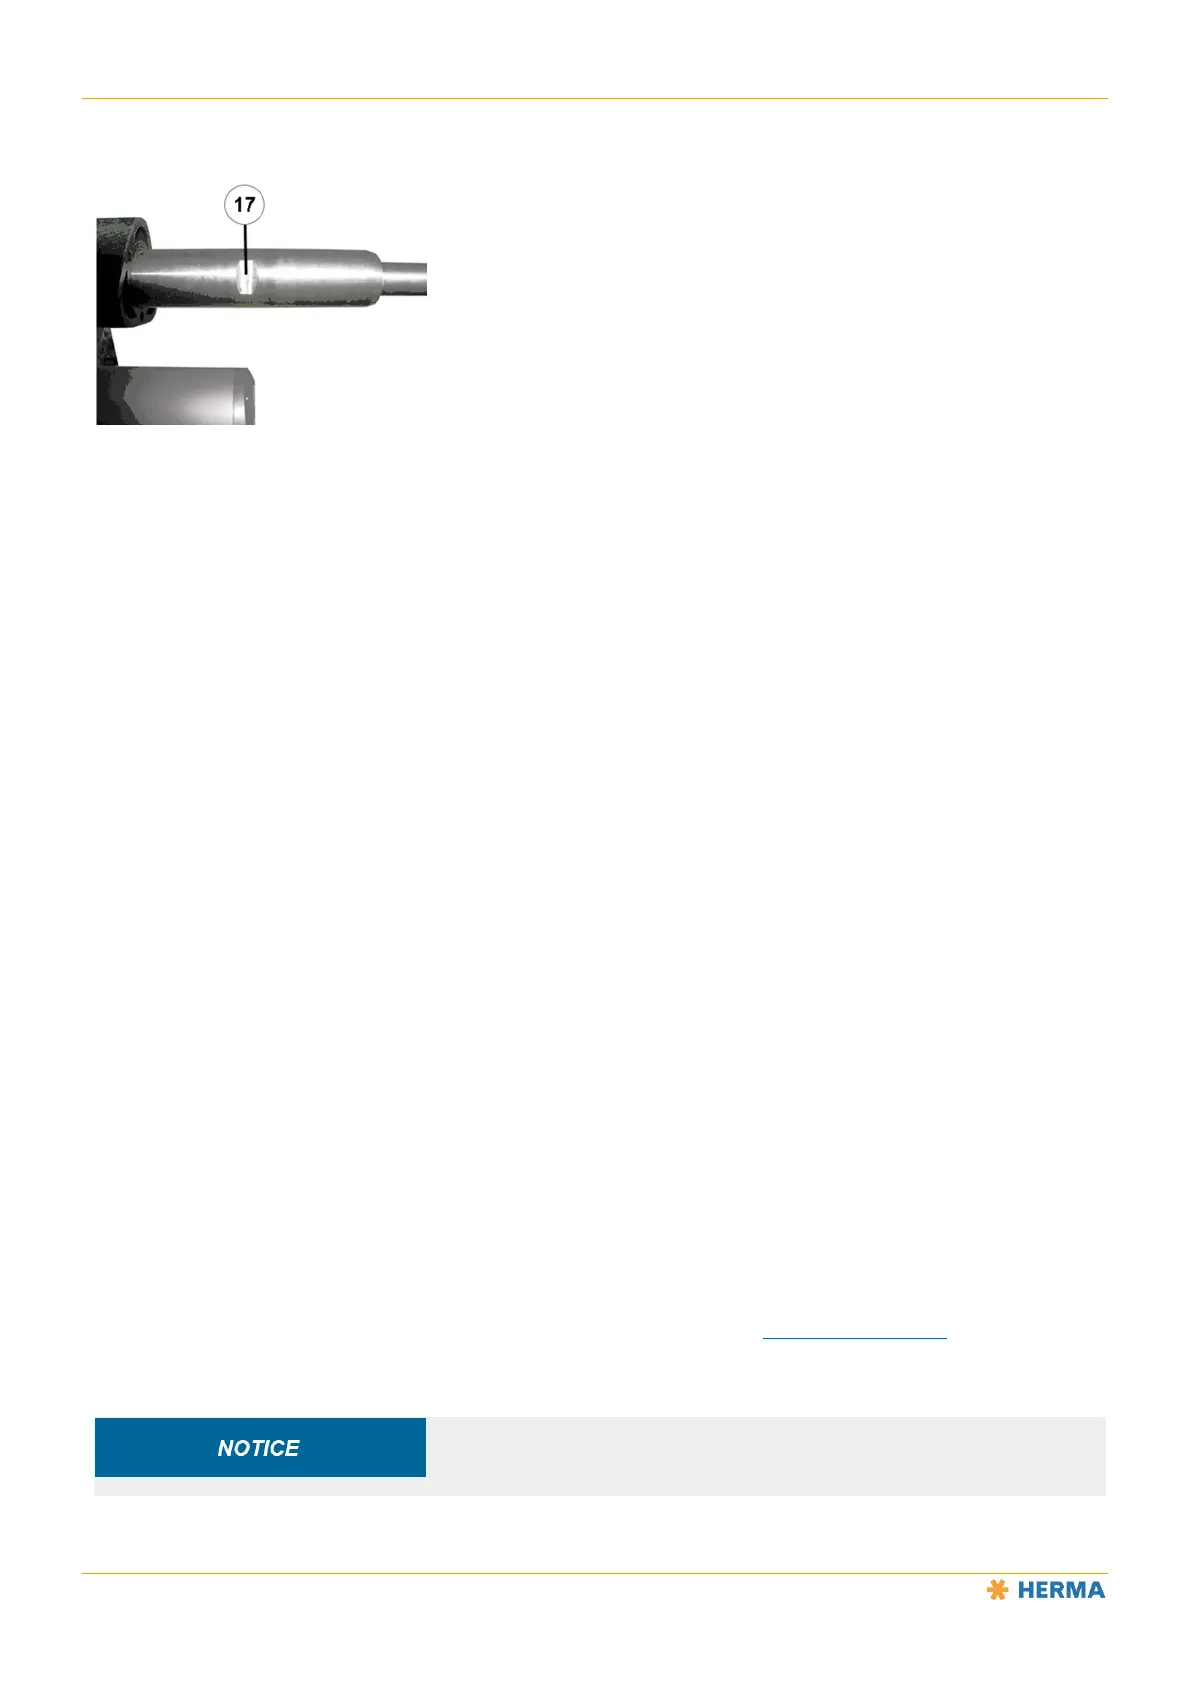
When reassembling the unit in reverse order with new tension rings, make sure that the screws are
positioned exactly on the intended surfaces 17.
Once the unit is completely assembled, the screws must be arranged in a line.
Important: The pins (three per plug-in piece) are essential for proper functioning of the unit.
After assembly, check that the unit is working properly and reliably clamping.
Teaching In the Angle Sensor (Motorised Unwinder/Rewinder)
In certain cases, e.g. with a new unit, you may need to teach in the rest and maximally deflected pendulum
positions to ensure that the unit functions properly and to prevent error messages. Proceed as follows to teach in
the positions:
Disconnect the unit from the voltage supply.
Empty the unit.
Press and hold the illuminated button while connecting the voltage supply. Continue holding the illuminated
button. It will flash at a low frequency.
Push the pendulum slightly farther into the rest position.
Release the illuminated button. It will flash with high frequency, e.g. in rapid succession.
Now move the pendulum all the way to the tensioned position, i.e. to its maximum deflection. Press the
illuminated button briefly. It will flash slowly. This means that the teaching-in process was successful.
Finally, disconnect the unit from the mains and then reconnect the voltage supply.
If the teaching-in process was not successful, an error code is issued (see “Unwinder: Motorised”) and the
process must be repeated.
The customer may reduce the factory-set maximum pendulum deflection
by no more than 20°, as otherwise proper functioning of the unit is no
longer guaranteed.