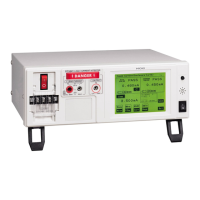
3.2 Connecting the Power Cord
32
3.2 Connecting the Power Cord
Connecting the instrument power cord
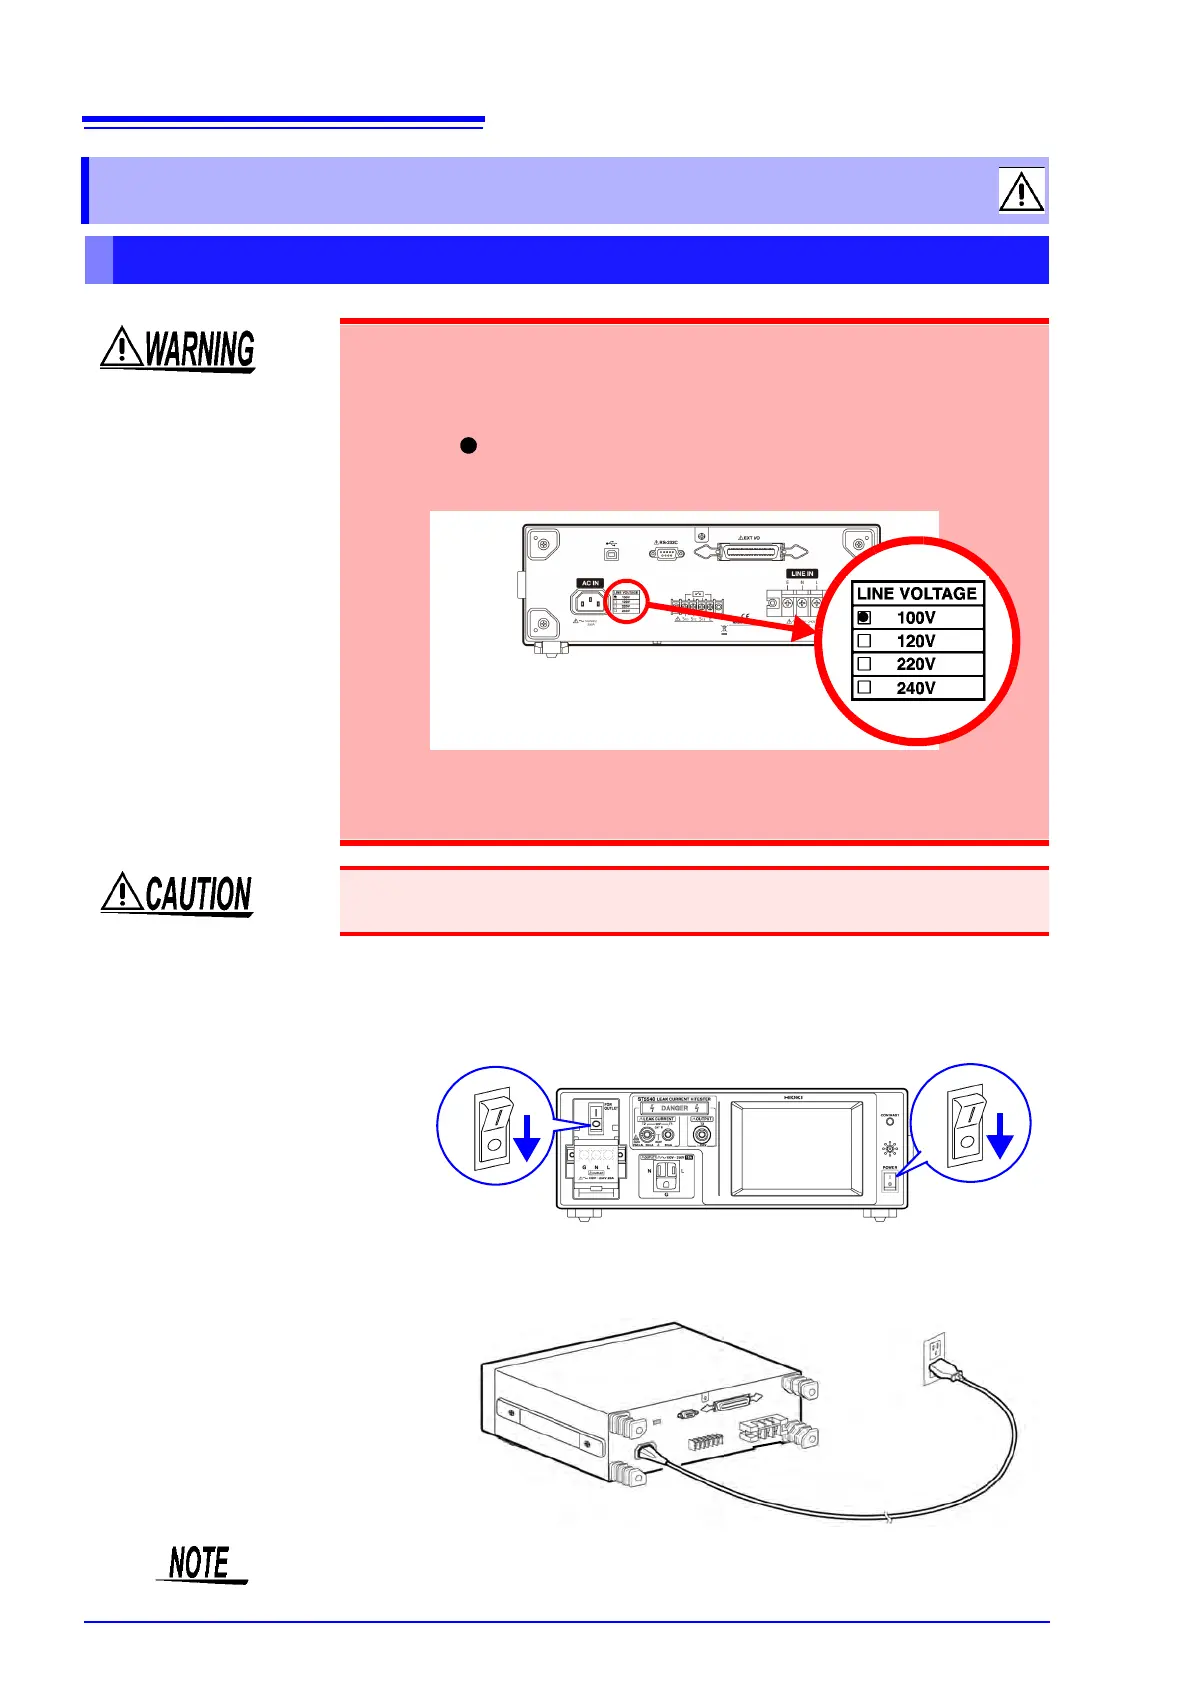
• Before turning on the instrument, confirm that the voltage of the
power source matches the voltage specification indicated on the
instrument's power connector ([AC IN]). (The voltage specification
(100, 120, 220 or 240 V) ordered by the customer is marked with a
black dot in the line voltage column on the rear panel.)
Note that using the power supply with improper voltage may dam-
age the instrument and result in electrical hazards
.
• To avoid electrical accidents and to maintain the safety specifica-
tions of this instrument, connect the power cord provided only to
a 3-contact (two-conductor + ground) outlet.
To avoid damaging the power cord, grasp the plug, not the cord, when unplug-
ging it from the power outlet.
1. Confirm that the main power switch on the front panel of the main instrument and the circuit
breaker are turned off.
2. Connect the power cord to the [AC IN] power inlet on the rear panel of the main instrument, and
insert the power cord plug into a power outlet that supplies the voltage specified for the instru-
ment.
[AC IN]
Preparation items : Power cord for main instrument
The ground (G) for the power inlet [AC IN] is a protective earth conductor and is
connected to the enclosure of the instrument.