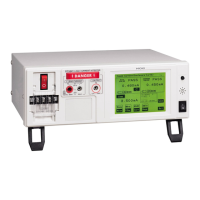
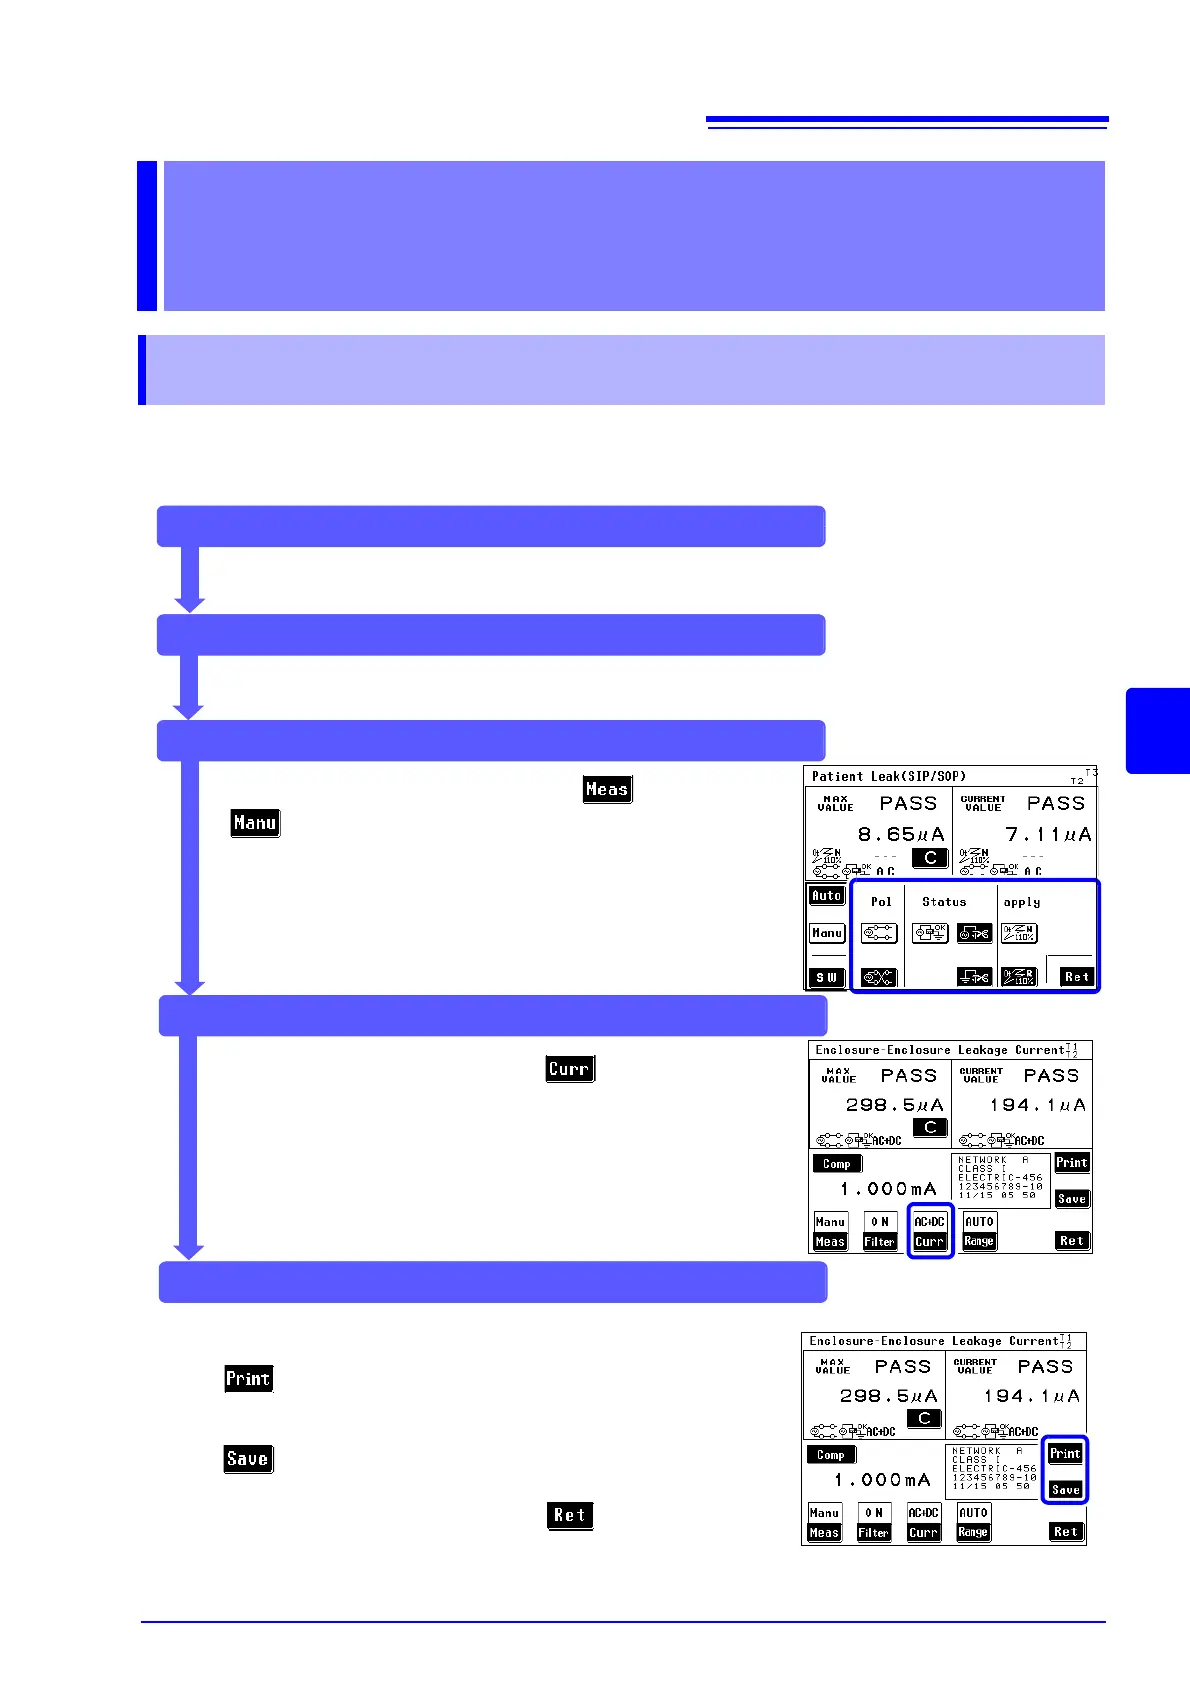
During measurements (switching manual measurement item)
On the measurement screen, press and then
to display the manual measurement setting screen.
This allows the user to change power supply polarity and
equipment condition.
The measurement items that appear depend on the
selected network, class and measurement mode.
See "Changing manual measurement items" (p. 80)
During measurements (switching auxiliary current)
When measurements end
When measurements end, print or save the measurements as required.
On the measurement screen,
press
to print the measurement data.
See "6.6 Printing Measurement Data (as required)" (p. 108)
On the measurement screen,
press
to store the measurement data in internal memory.
See "6.4 Saving Measurement Data (As required)" (p. 102)
To repeat automatic measurements, press .
On the measurement screen, press to display the target
current setting screen.
This setting allows the user to change the target current.
See "Changing manual measurement items" (p. 80)
The CAL key appears when 0.1 Hz frequency range is set.
See (p. 43)
Setup
Set up the instrument.
See "Chapter 4 Settings" (p. 47)
Pre-test inspection
Perform a pre-test inspection.
See "3.5 Pre-Test Inspection" (p. 41)