3.3 Connecting equipment under test to the instrument
37
3
Chapter 3 Setting Preparations
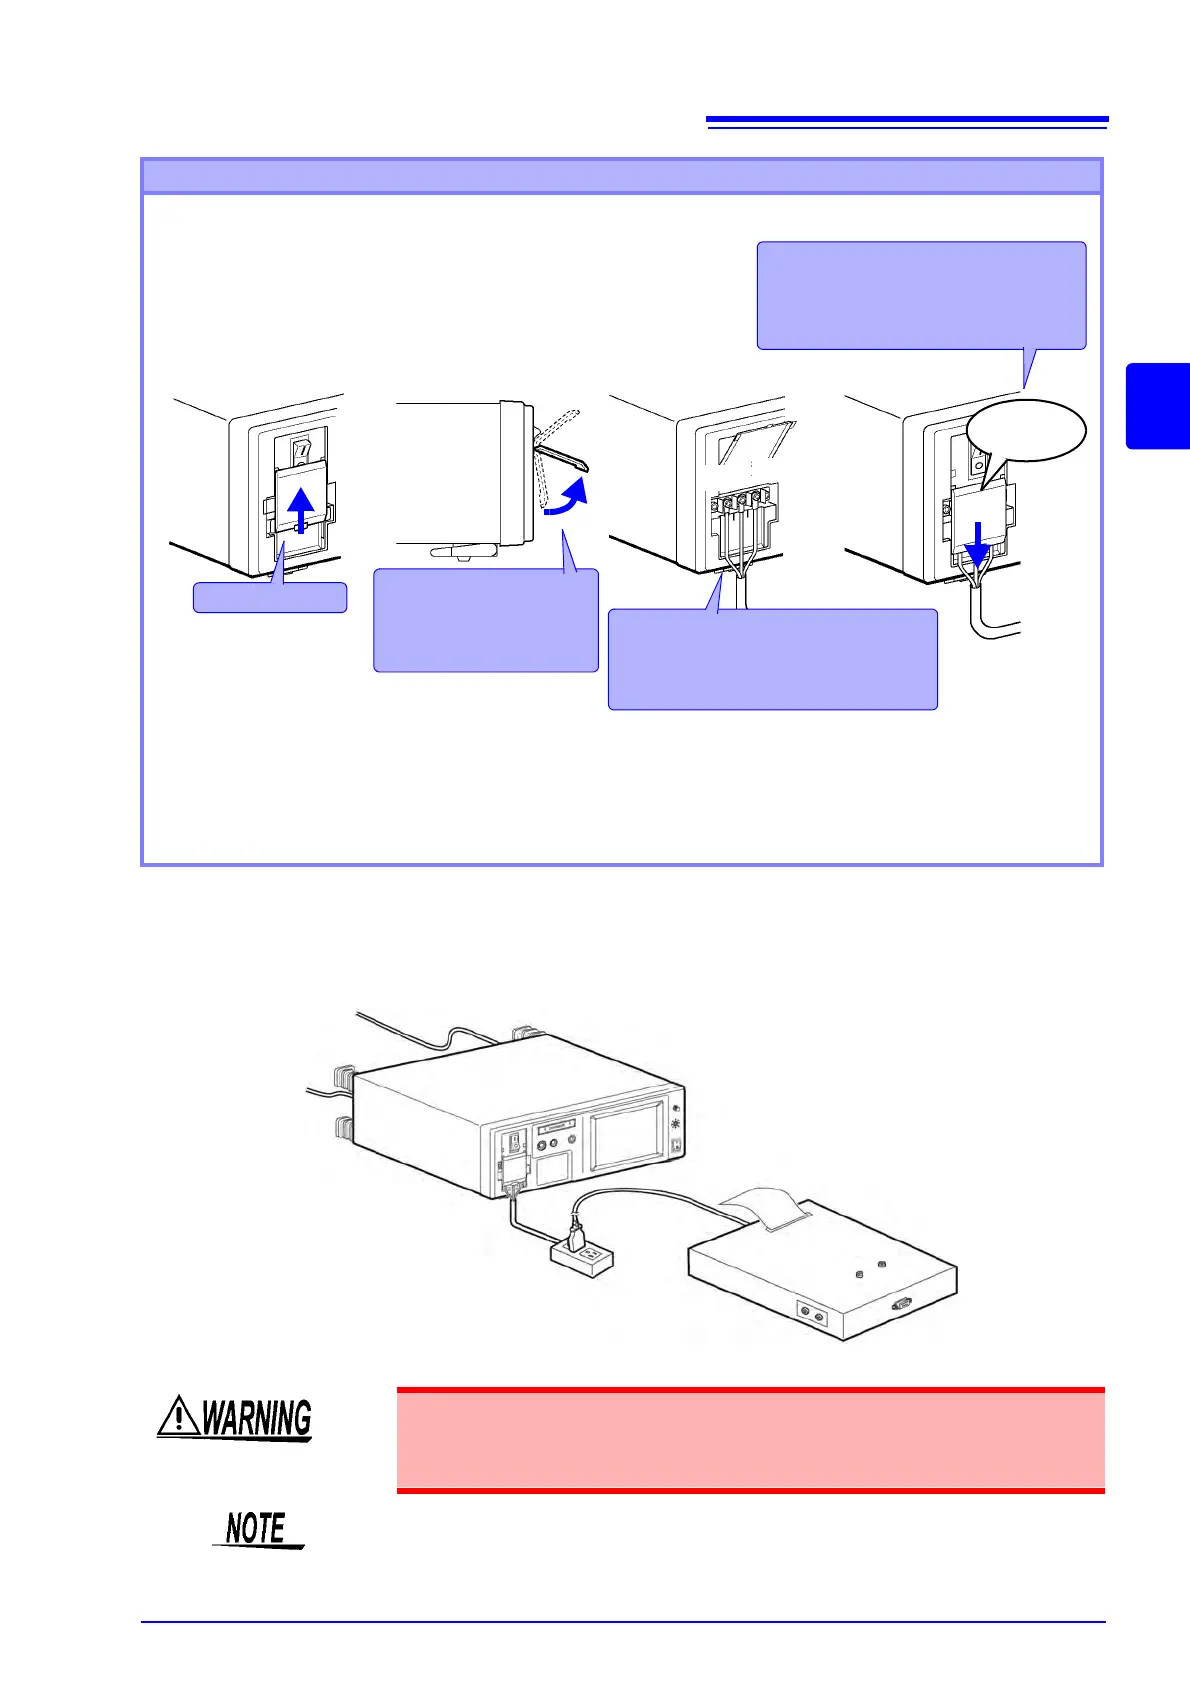
Using a wiring adapter
Obtain and use a wiring adapter as shown below.
Connecting wires to the terminal block
G
N
L
Check that the G, N and L terminals
are correctly connected and make
sure the wires are properly secured
Turn on the instrument.
Fit the right and left projecting por-
tions of the terminal block cover
into the panel slit. Slide the cover
downwards until it clicks into place
Slide upwards
Raise the cover.
(The cover will stay in
place when raised to a
certain height)
G : For grounding wire connection
(Class-I equipment only)
N : For neutral wire connection
L : For live wire connection
Turn off the instrument and set the breaker to Off.
See "Turning Power Off" (p. 40)
See "3.1 Power switch, breaker ON/OFF" (p. 31)
1
2
3
4
5
Turn on the HiTESTER.
See "3.4 Turning Power On and OFF" (p. 38)
6
Clicking
sound
• Turn off the circuit breaker connecting a wiring adapter or equipment.
• The terminal block continuously output the voltage based on the power sup-
plied to [LINE IN].
Multi-connection adapter, etc.
Leakage current will increase with the use of multi-connection adapters, etc.