100 IFP-75/IFP-75HV Installation/Operation Manual — P/N LS10147-001SK-E:D 06/25/2021
Programming System Options
Dial Tone Detection Disabled
11. Select Y (do disable) or N (don’t disable) by pressing the up or down arrow key, then press ENTER.
Monitor Line
Enable the line monitor for each phone line that will be used. See Figure 9.7 for location of this field on the phone lines screen. When the
phone line monitor has been enabled for a phone line, a trouble condition will occur if the line is not connected. If a phone line will not be
used, it must be disabled.
12. Select Y (monitor line) or N (don’t monitor line) by pressing the up or down arrow, then press ENTER.
Answering Machine Bypass
This option is used in conjunction with the HFSS Honeywell Fire Software Suite. This feature ensures that an answering machine will not
interfere with communication between the panel and the computer. If an answering machine is used at the panel site, enable this feature; if an
answering machine is not used, disable the feature.
This option is factory-programmed as Yes (enabled).
The selection made here must match the programming for this option in the Communication Configuration dialog box of the HFSS Honey-
well Fire Software Suite.
13. Select Y (answering machine bypass enabled) or N (answering machine bypass disabled) by pressing the up or down arrow, then press
ENTER.
Phone Line Unused
This option is used so that you can set the unused phones lines to “Yes”, and no Auto-Test will be sent through that line.
This option is factory programmed as No.
14. Select Y or N by pressing the up or down arrow key, then press ENTER.
Edit Ethernet
1. Enter the Installer Code. The panel will automatically access the Main Menu.
2. Select 7 to access the Panel Programming.
3. Select 5 to access the System Options.
4. From the next Menu, select 1 to access the Communication Options.
5. Select 3 to access the Edit Ethernet.
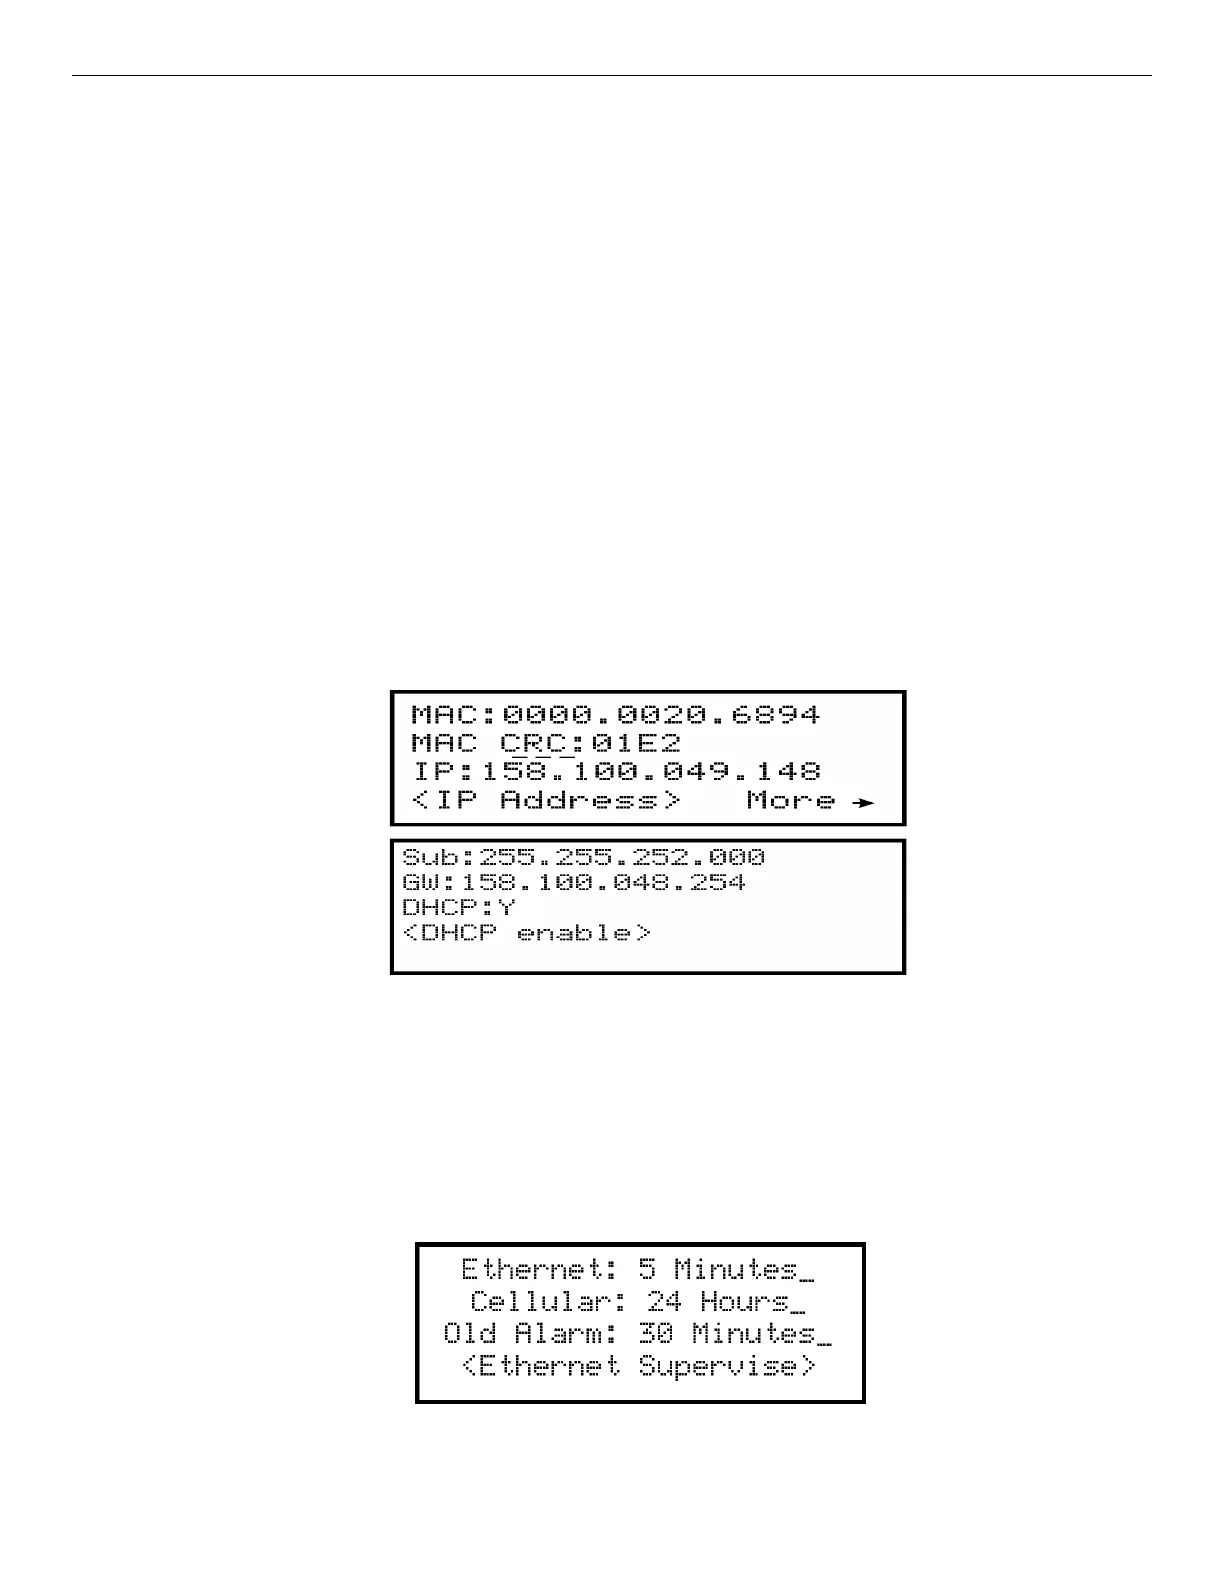
Figure 9.8 Edit Ethernet Message
AlarmNet Timers
1. Enter the Installer Code. The panel will automatically access the Main Menu.
2. Select 7 to access the Panel Programming.
3. Select 5 to access the System Options.
4. From the next Menu, select 1 to access the Communication Options.
5. Select 4 to access the AlarmNet Timers.
6. The available options for AlarmNet Timers are as follows:
• Ethernet: *5 minutes, 3 minutes, 90 seconds, 75 seconds, none, 30 days, 24 hours, 1 hour.
• Cellular: *24 hours, none, 30 days
• Old Alarm *30 minutes, 15 minutes, 10 minutes, none, 24 hours,12 hours, 6 hours, 4 hours,2 hours, 1 hour *defaults.
Figure 9.9
AlarmNet Timers
 Loading...