59
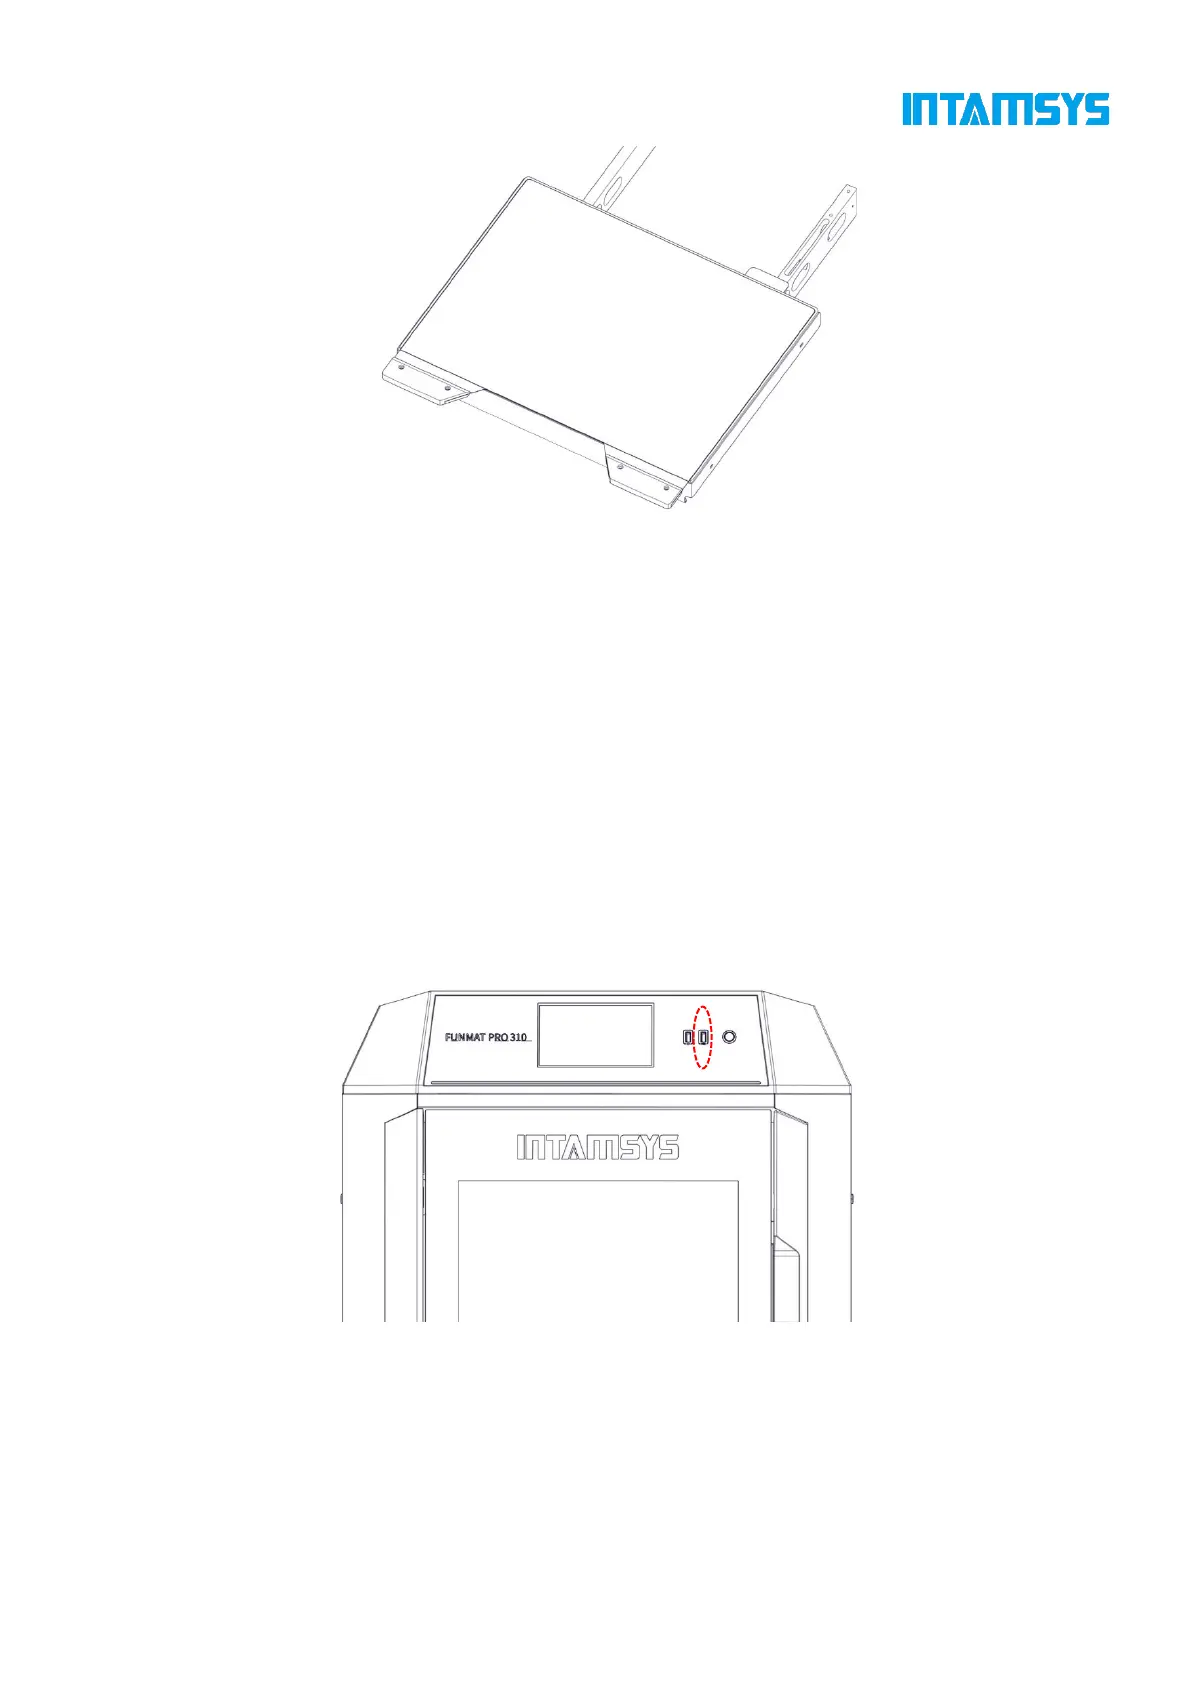
Fig. 5.11 Installation of Printing Platform Glass
5. Load materials according to the print task requirements.
6. Perform leveling, Z calibration, and XY calibration. This step can be skipped if leveling
and calibration have been done.
7. When ready, the printer can perform print tasks formally.
5.4.2 Import print file to the printer
1. Import the model file into the slicing software INTAMSUITE to generate a G-code file after
slicing. If you select to generate an ifp format file, you can preview the model in the main interface
of the device;
2. The G-code/ifp file generated by slicing can be stored in either of the two ways:
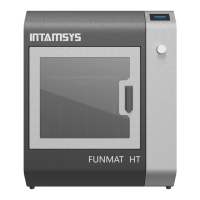
(1) U-disk Copy the file into the U-disk, and insert the U-disk into the USB port on the right
side of the printer operation panel for the printer to read;
Fig. 5.12 Import Model through U-disk
(2) Remote network printing. Enter the IP address of the printer in the window folder address
on PC, and transfer the G-code file to the printer through network for the printer to read. Steps for
remote printing:
1. You can obtain gcode remotely through the api interface: local storage -> ftp -> gcode in the
gcode folder;